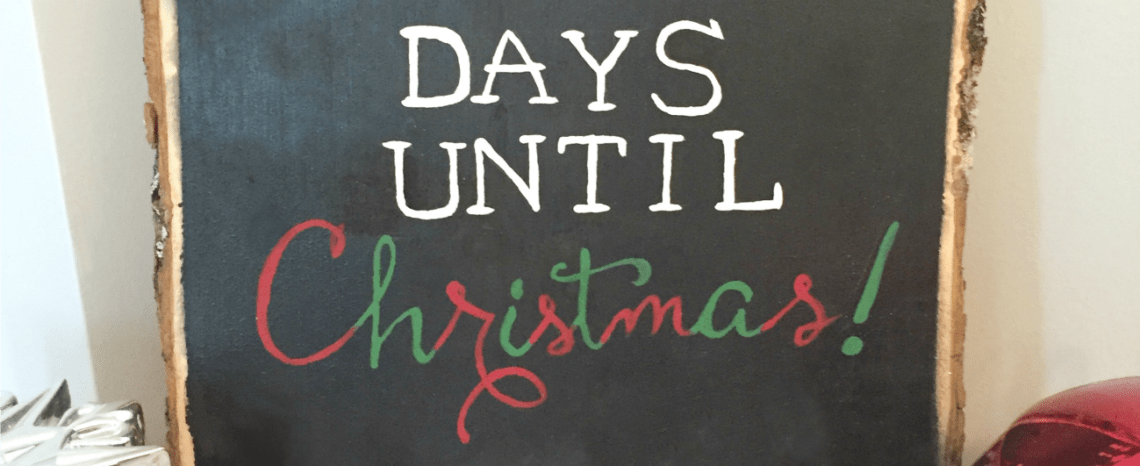
DIY Chalkboard Countdown to Christmas
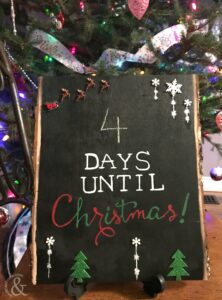
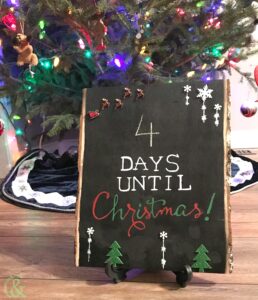
It’s only October and I’m already getting excited about Christmas. Which is not surprising for an avid DIY’er, what is surprising is how fast Christmas comes. This is one of the reasons I made a DIY Chalkboard Countdown to Christmas board. Some other reasons are because I love Christmas, the countdown is exciting and I need something that tells me how many days of prep and shopping I have left! Is this project not what you’re looking for today? How about a Pretty Pearl Snowflake Pillow Cover.
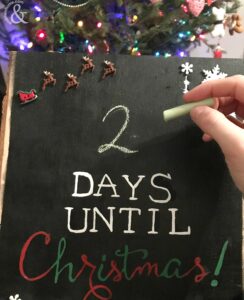
While my kids love the advent calendars with the little daily surprises inside, I prefer to know exactly how many days until Christmas there are, especially when they ask me…which is just about everyday! Not to mention, with my oldest in SK, the board gives us an opportunity to do math and practice writing numbers which is awesome. The girls also loved helping me create this decor piece too, which was great.
Not only was this chalkboard countdown till Christmas board fun to make, it’s a beautiful addition to my holiday decor. And when you make yours you make any changes to complement your style too. The bigger materials for this project such as the wooden board or chalk paint can be found at your local craft store. Check the dollar store for fun accents and acrylic paint. This project may take a day or more to complete but that’s including the time it takes for the paint to dry, and there is a lot of painting to do. Don’t let that discourage you though, it’s easy make and fun to use!
DIY Chalkboard Countdown to Christmas Tutorial
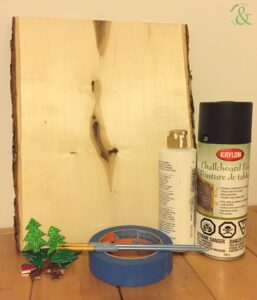
What you’ll need:
- Wooden Board – I found one that still had bark on it, which made a beautiful accent!
- Chalkboard Spray Paint
- Painter’s tape *optional – I used this to cover the bark
- Acrylic Paint – white, red and green
- Accents – such as stickers, glitter, buttons etc
- Glue
- Paint Brush
- Pencil
- Ruler
- Chalk
What you’ll need to do:
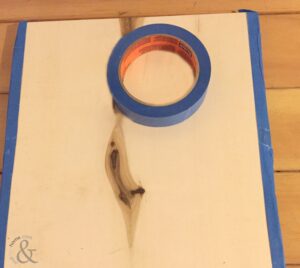
I started by covering the bark on my board with the painters tape. Once the tape was on and the bark was protected I spray painted the board according to the instructions on the can of paint. I needed about three coats to fully cover the board, allowing each coat to dry completely before beginning the next.
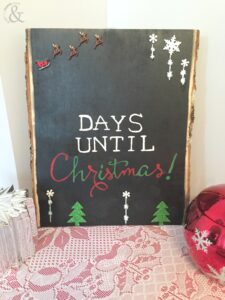
Once the board was painted and dry I removed the painter’s tape. I used a ruler to find the middle of my board and mapped out where I wanted the letter to go. Keep in mind you’ll want to leave a large spot above your letters for the numbers! I then free handed the letters using my pencil. You could also use a stencil if you prefer.
*Crafters Tip– Press very lightly when using pencil on wood products as wood can be dented easily.
After I traced the letters I used acrylic paint to cover the pencil. White is the perfect colour to use with this project as it stands out the most. When I was finished I was slightly disappointed that the red and green weren’t more vibrant, but still happy overall.
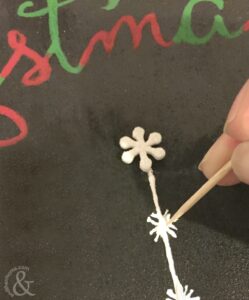
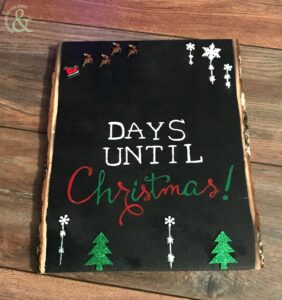
When the letters were dry, I added the accents and ‘fun’. A little snow flake here, a Christmas tree sticker over there and a Santa with reindeer to top it off. I let the kids pic the accents and was surprisingly content with the placements, lol. I used toothpicks to help make with some of the intricate painting.
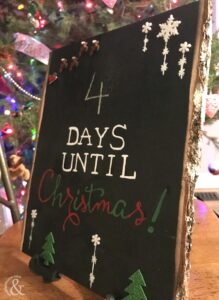
Ta-Da! Your own DIY Chalkboard Countdown to Christmas
A perfectly festive Christmas Chalkboard Countdown for you and your family…but mostly you. haha. I hope you enjoyed the tutorial, share your pictures of the finished product on our Facebook page. Looking for more Christmas decor projects? Check out this DIY Ho Ho Ho Christmas Banner or our Candy Cane Wreath.
Happy Crafting!
*Disclosure: Some of the links in this post are affiliate links. There may be a small commission made by our recommendations, and/or link to products mentioned or services on this website. Any potential purchase you make will help us continue to bring you amazing content, step-by-steps and product reviews.

Previous
Trendy Colour Block Fall Pitcher
You May Also Like
Top Ten Christmas Decorating Trends for 2018
November 20, 2018
Glittery Coastal Christmas Seashells
October 15, 2018

One Comment
Pingback: