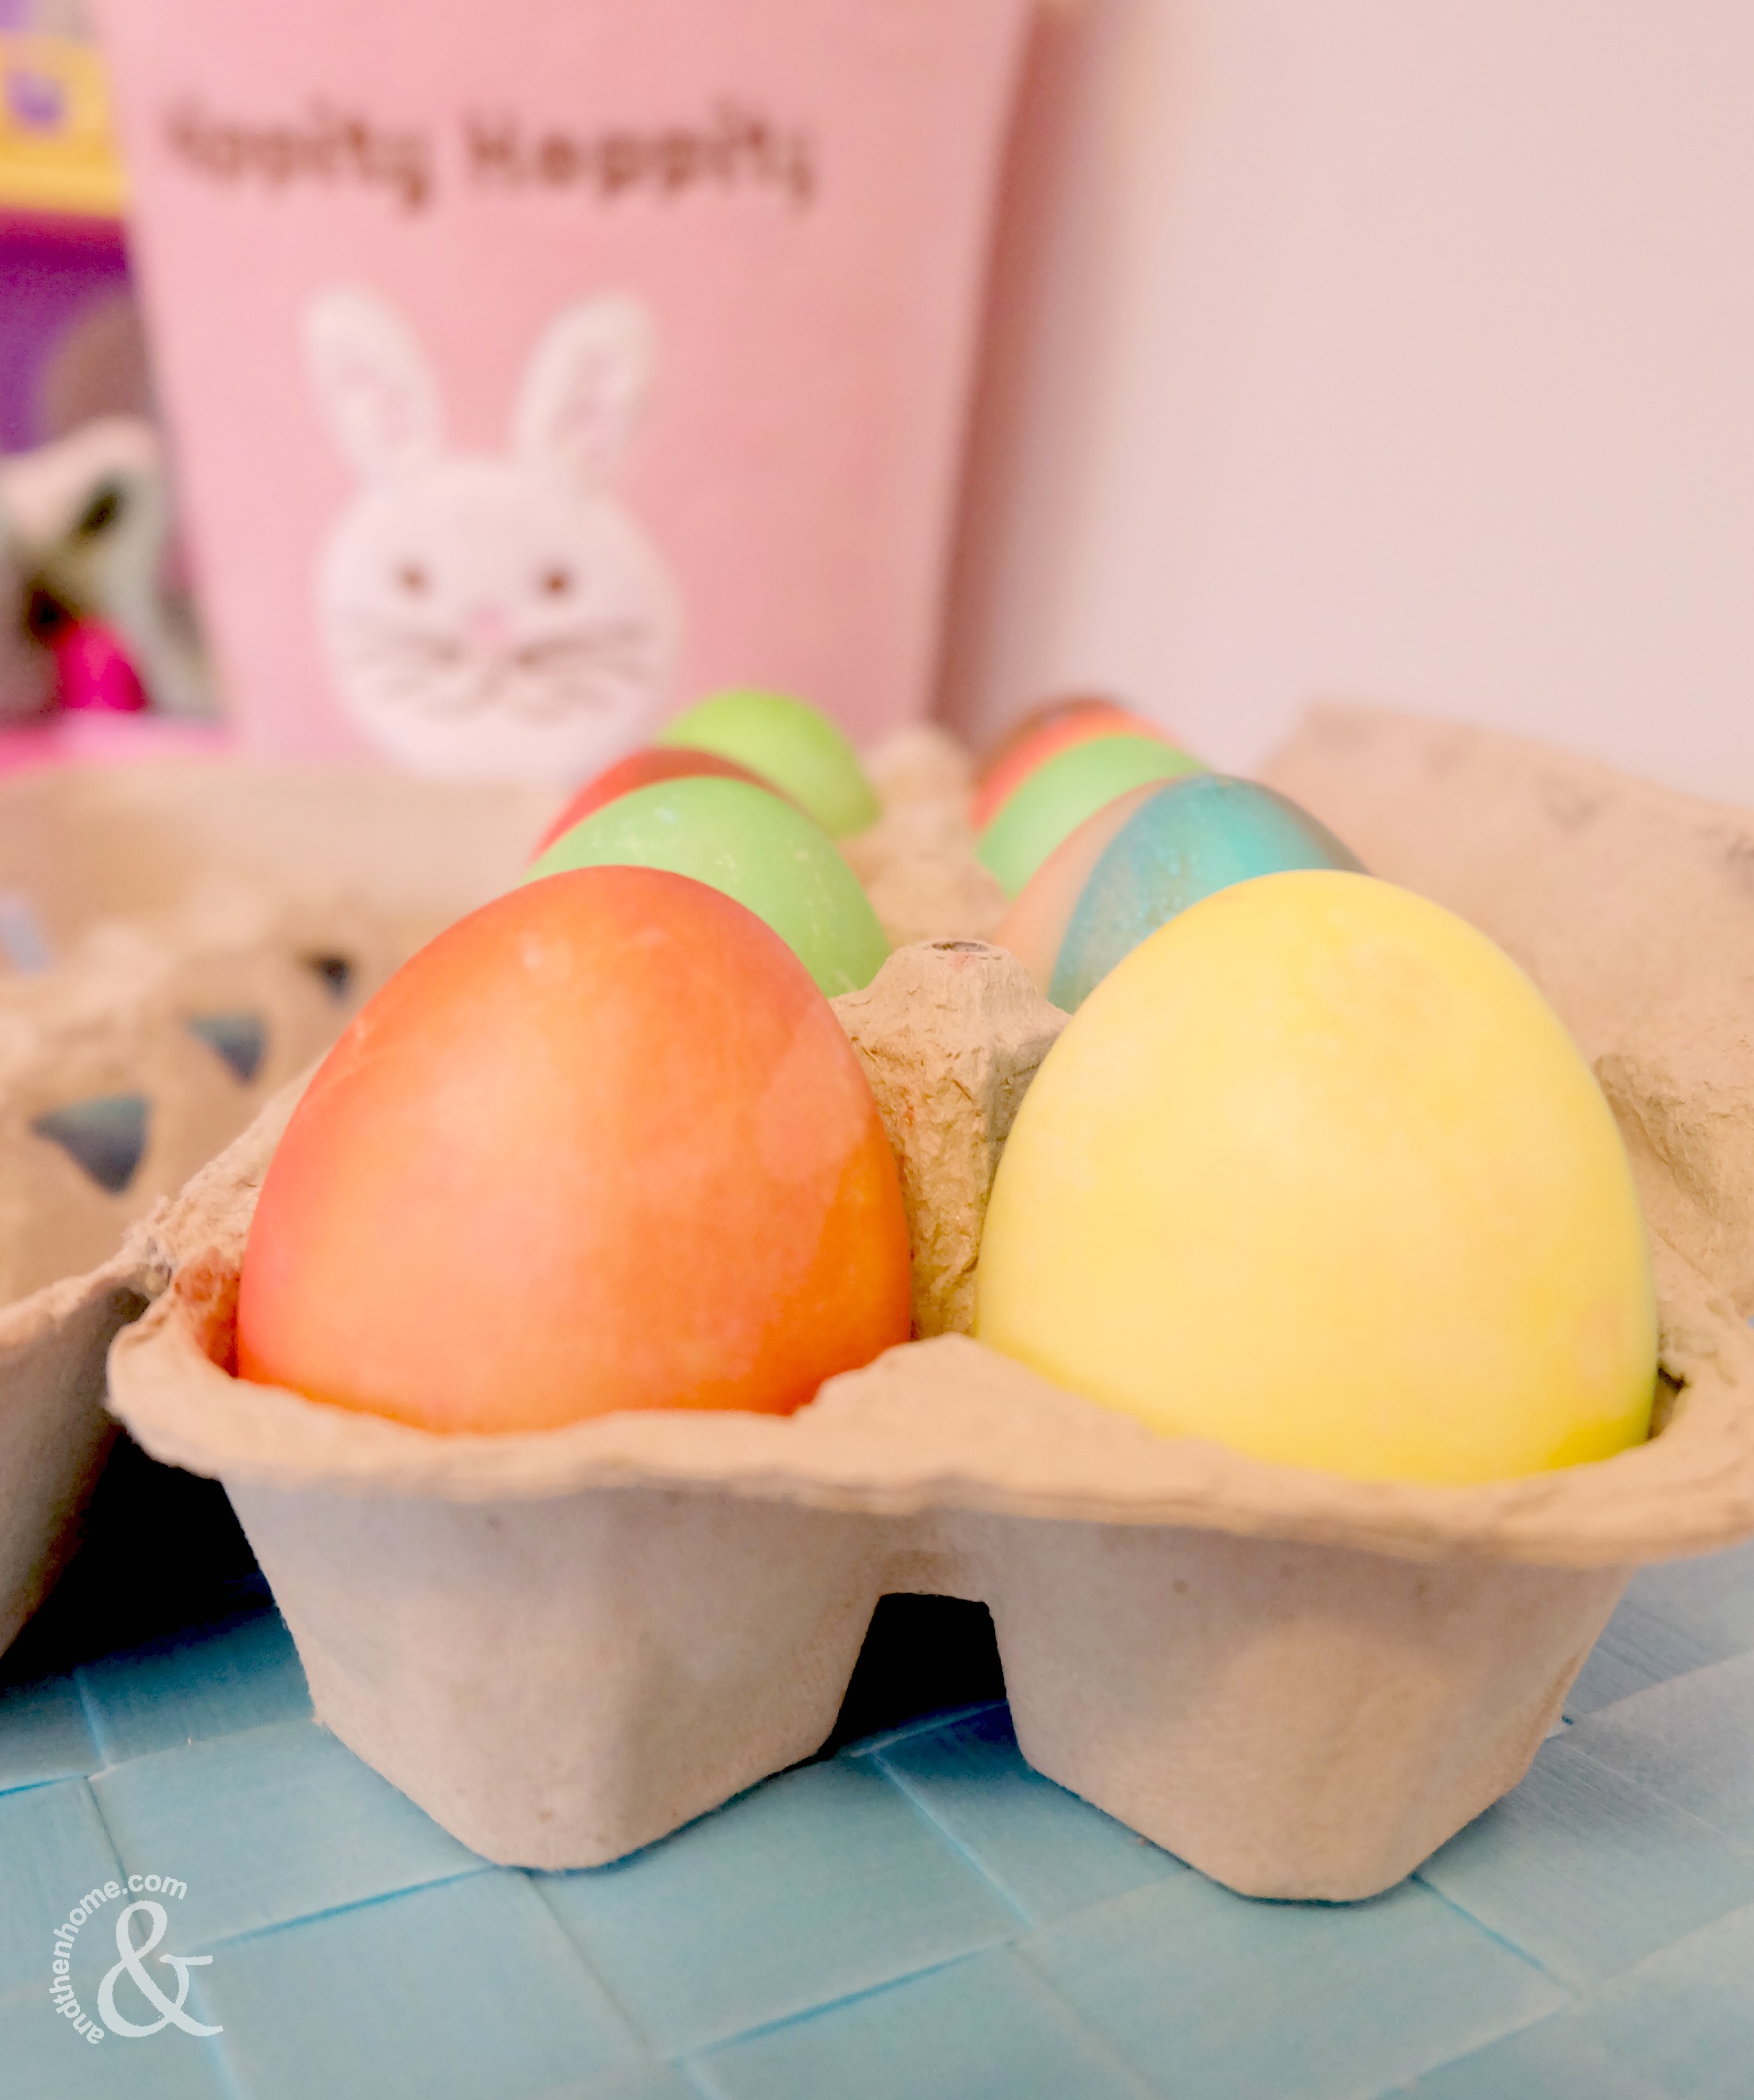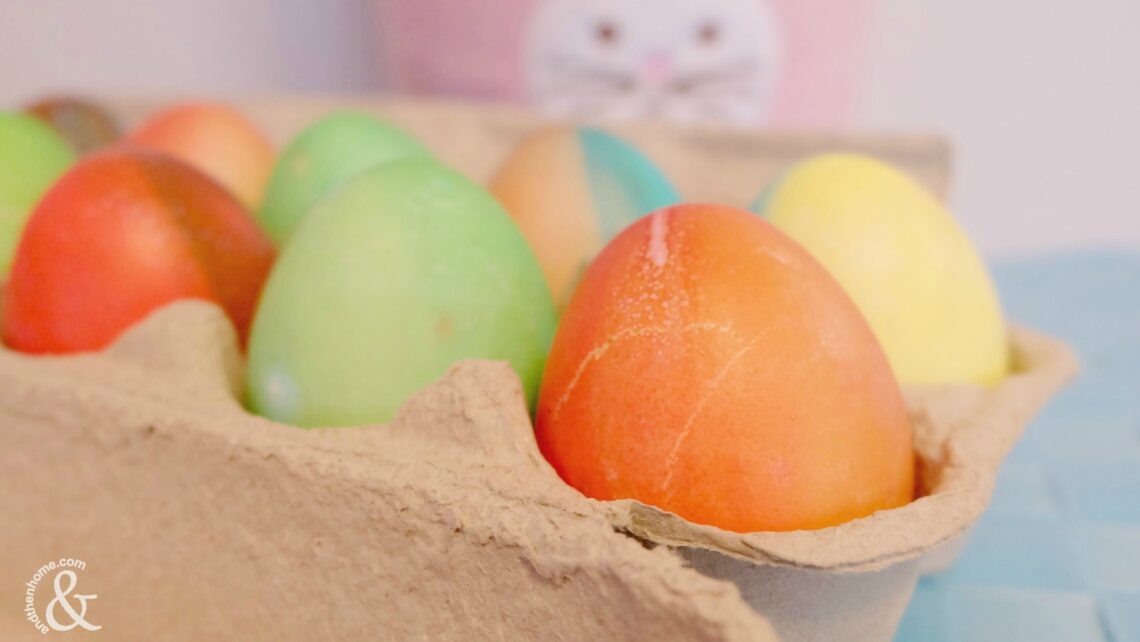
Food Colouring Painted Easter Eggs
Easter is on it’s way! It’s always fun to do themed activities with the kids and this year mine are finally old enough to really get into it. These Food Colouring Painted Easter Eggs are the perfect Easter activity. You likely have all of the materials needed in your pantry already, which makes prep simple and it’s very easy to do. You and your kids will have a blast choosing colours and techniques to make the perfect painted Easter egg!
Food Colouring Painted Easter Eggs
What You’ll Need:
- Hard-boiled eggs
- 1/2 cup boiling water
- 1 teaspoon white vinegar
- Food colouring (about 16 drops per colour)
- Spoons
- Bowls
What you’ll need to do:
Boiled Eggs
- Place your desired number of eggs into a large pot and fill with water until the eggs are submerged.
- Place the pot on the stove and turn the element on high to bring the water to a steady boil.
- Reduce heat to medium, cover the pot and cook the eggs for about 12 minutes.
- Remove from heat, drain the pot and cool the eggs in a stream of cold water.
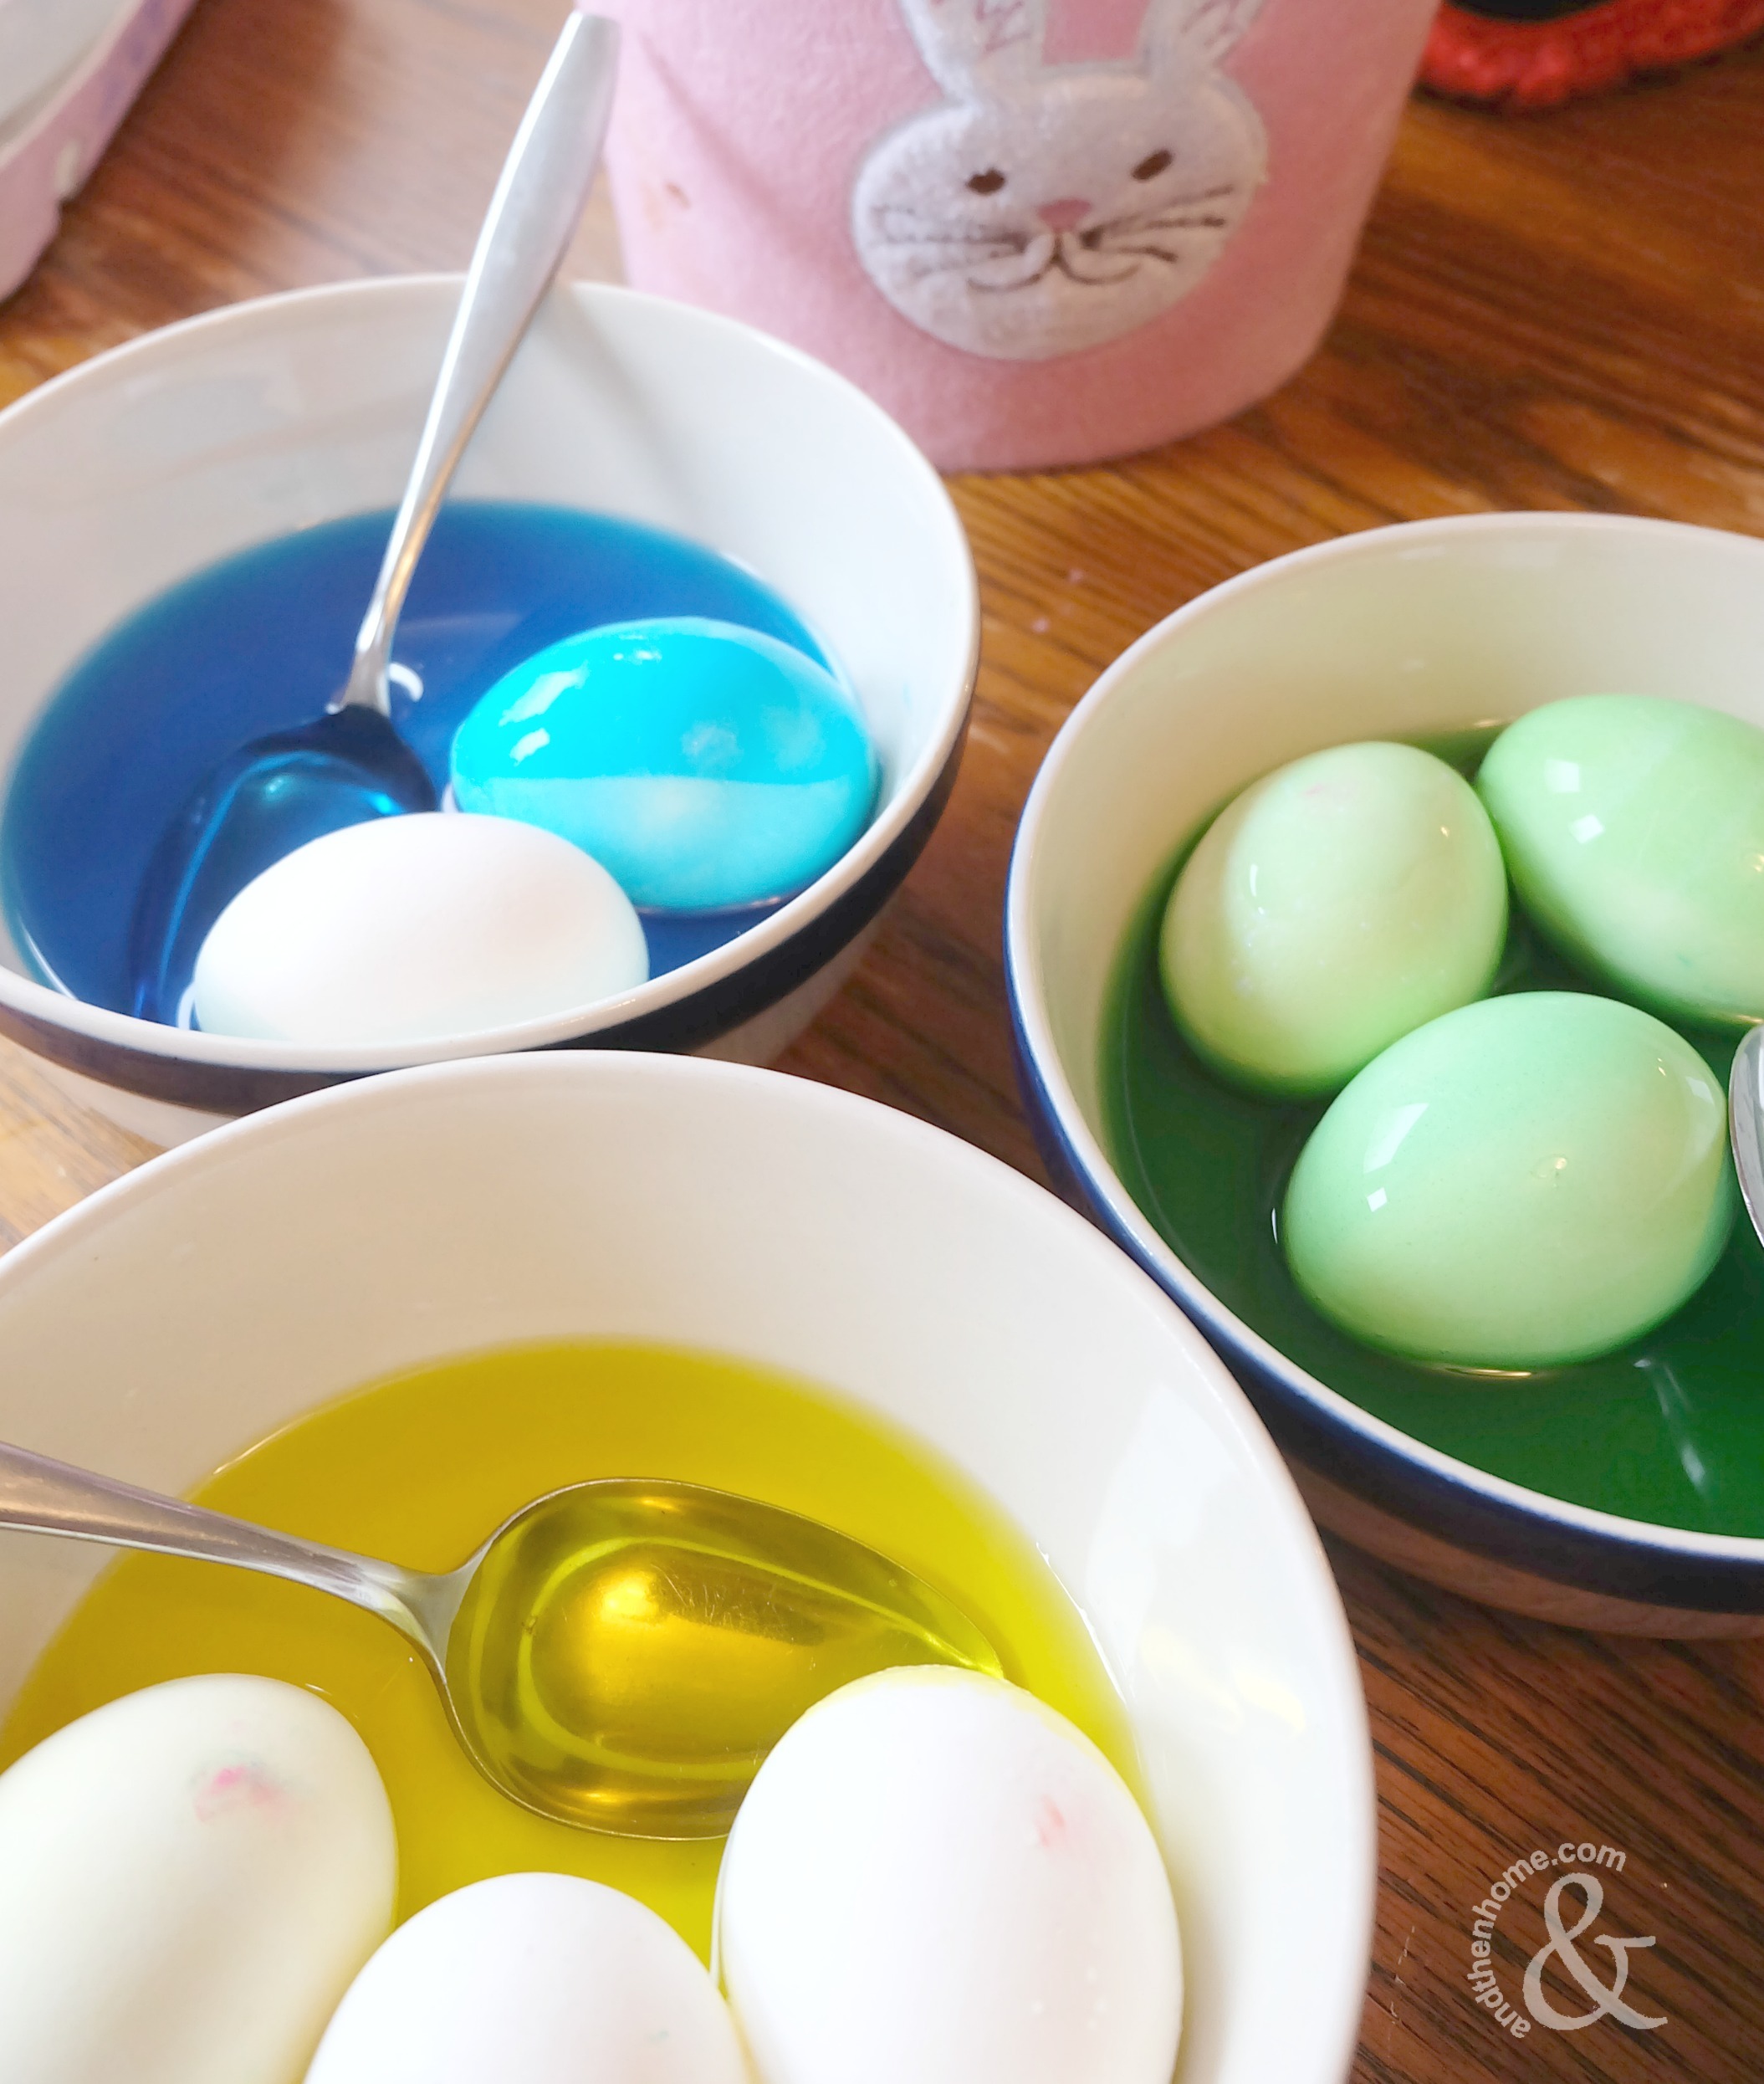
Food Colouring Painted Eggs
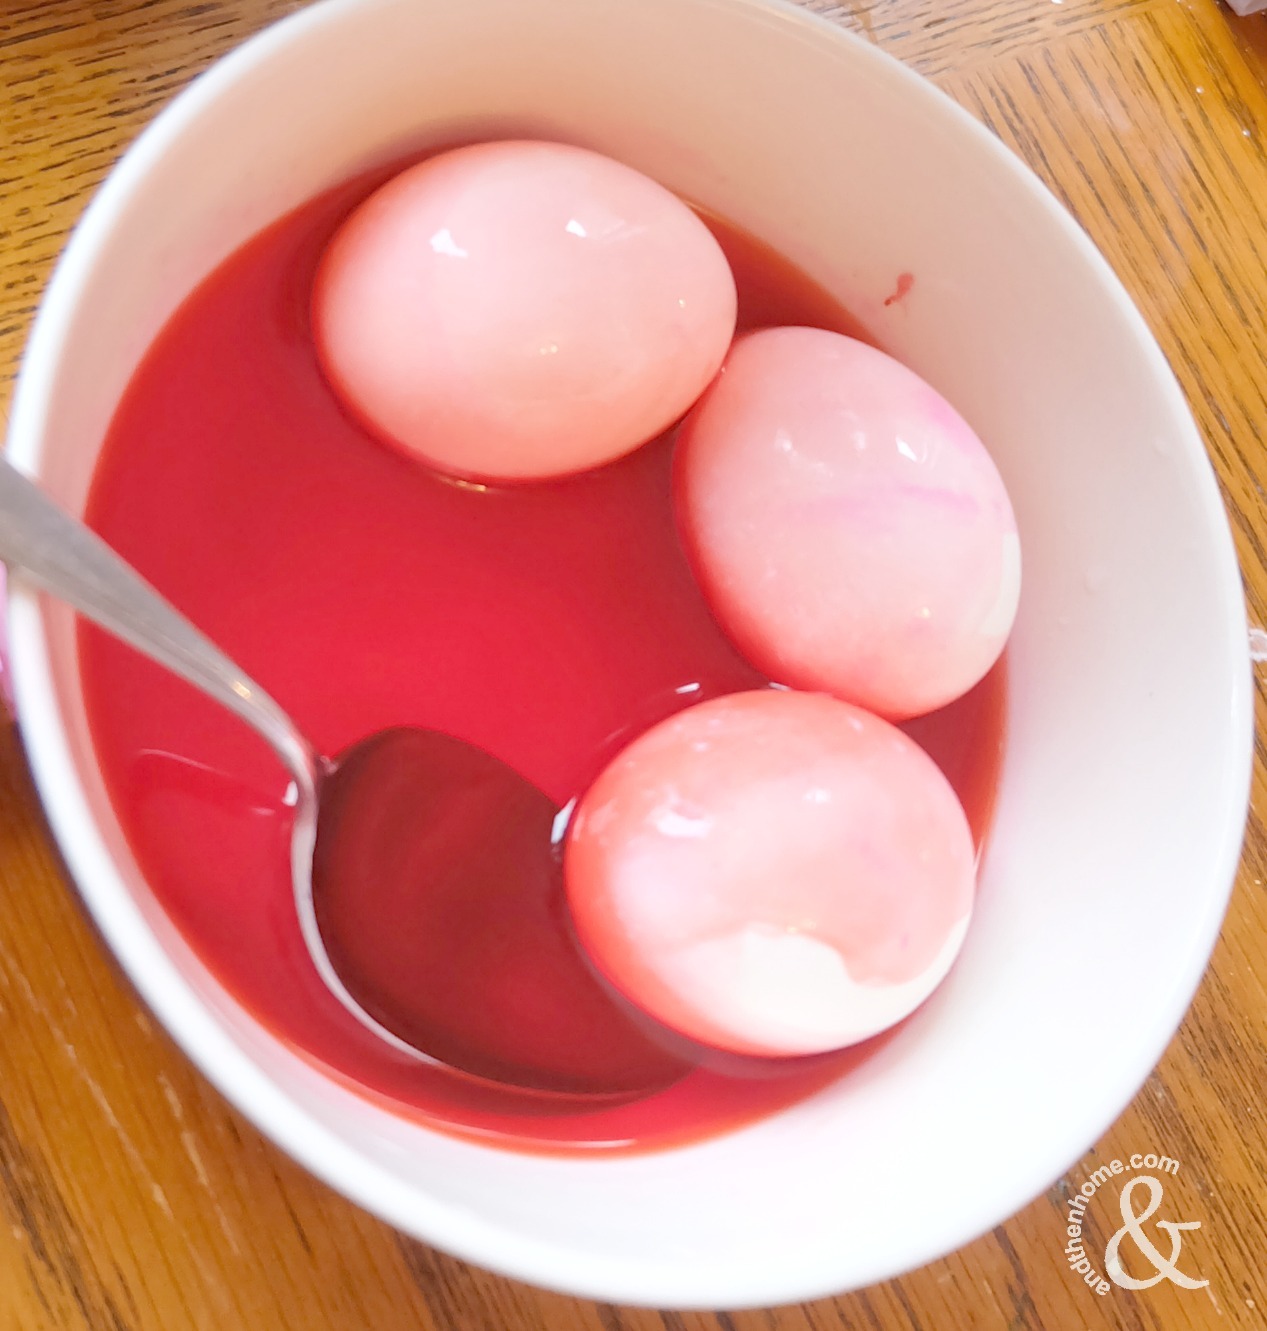
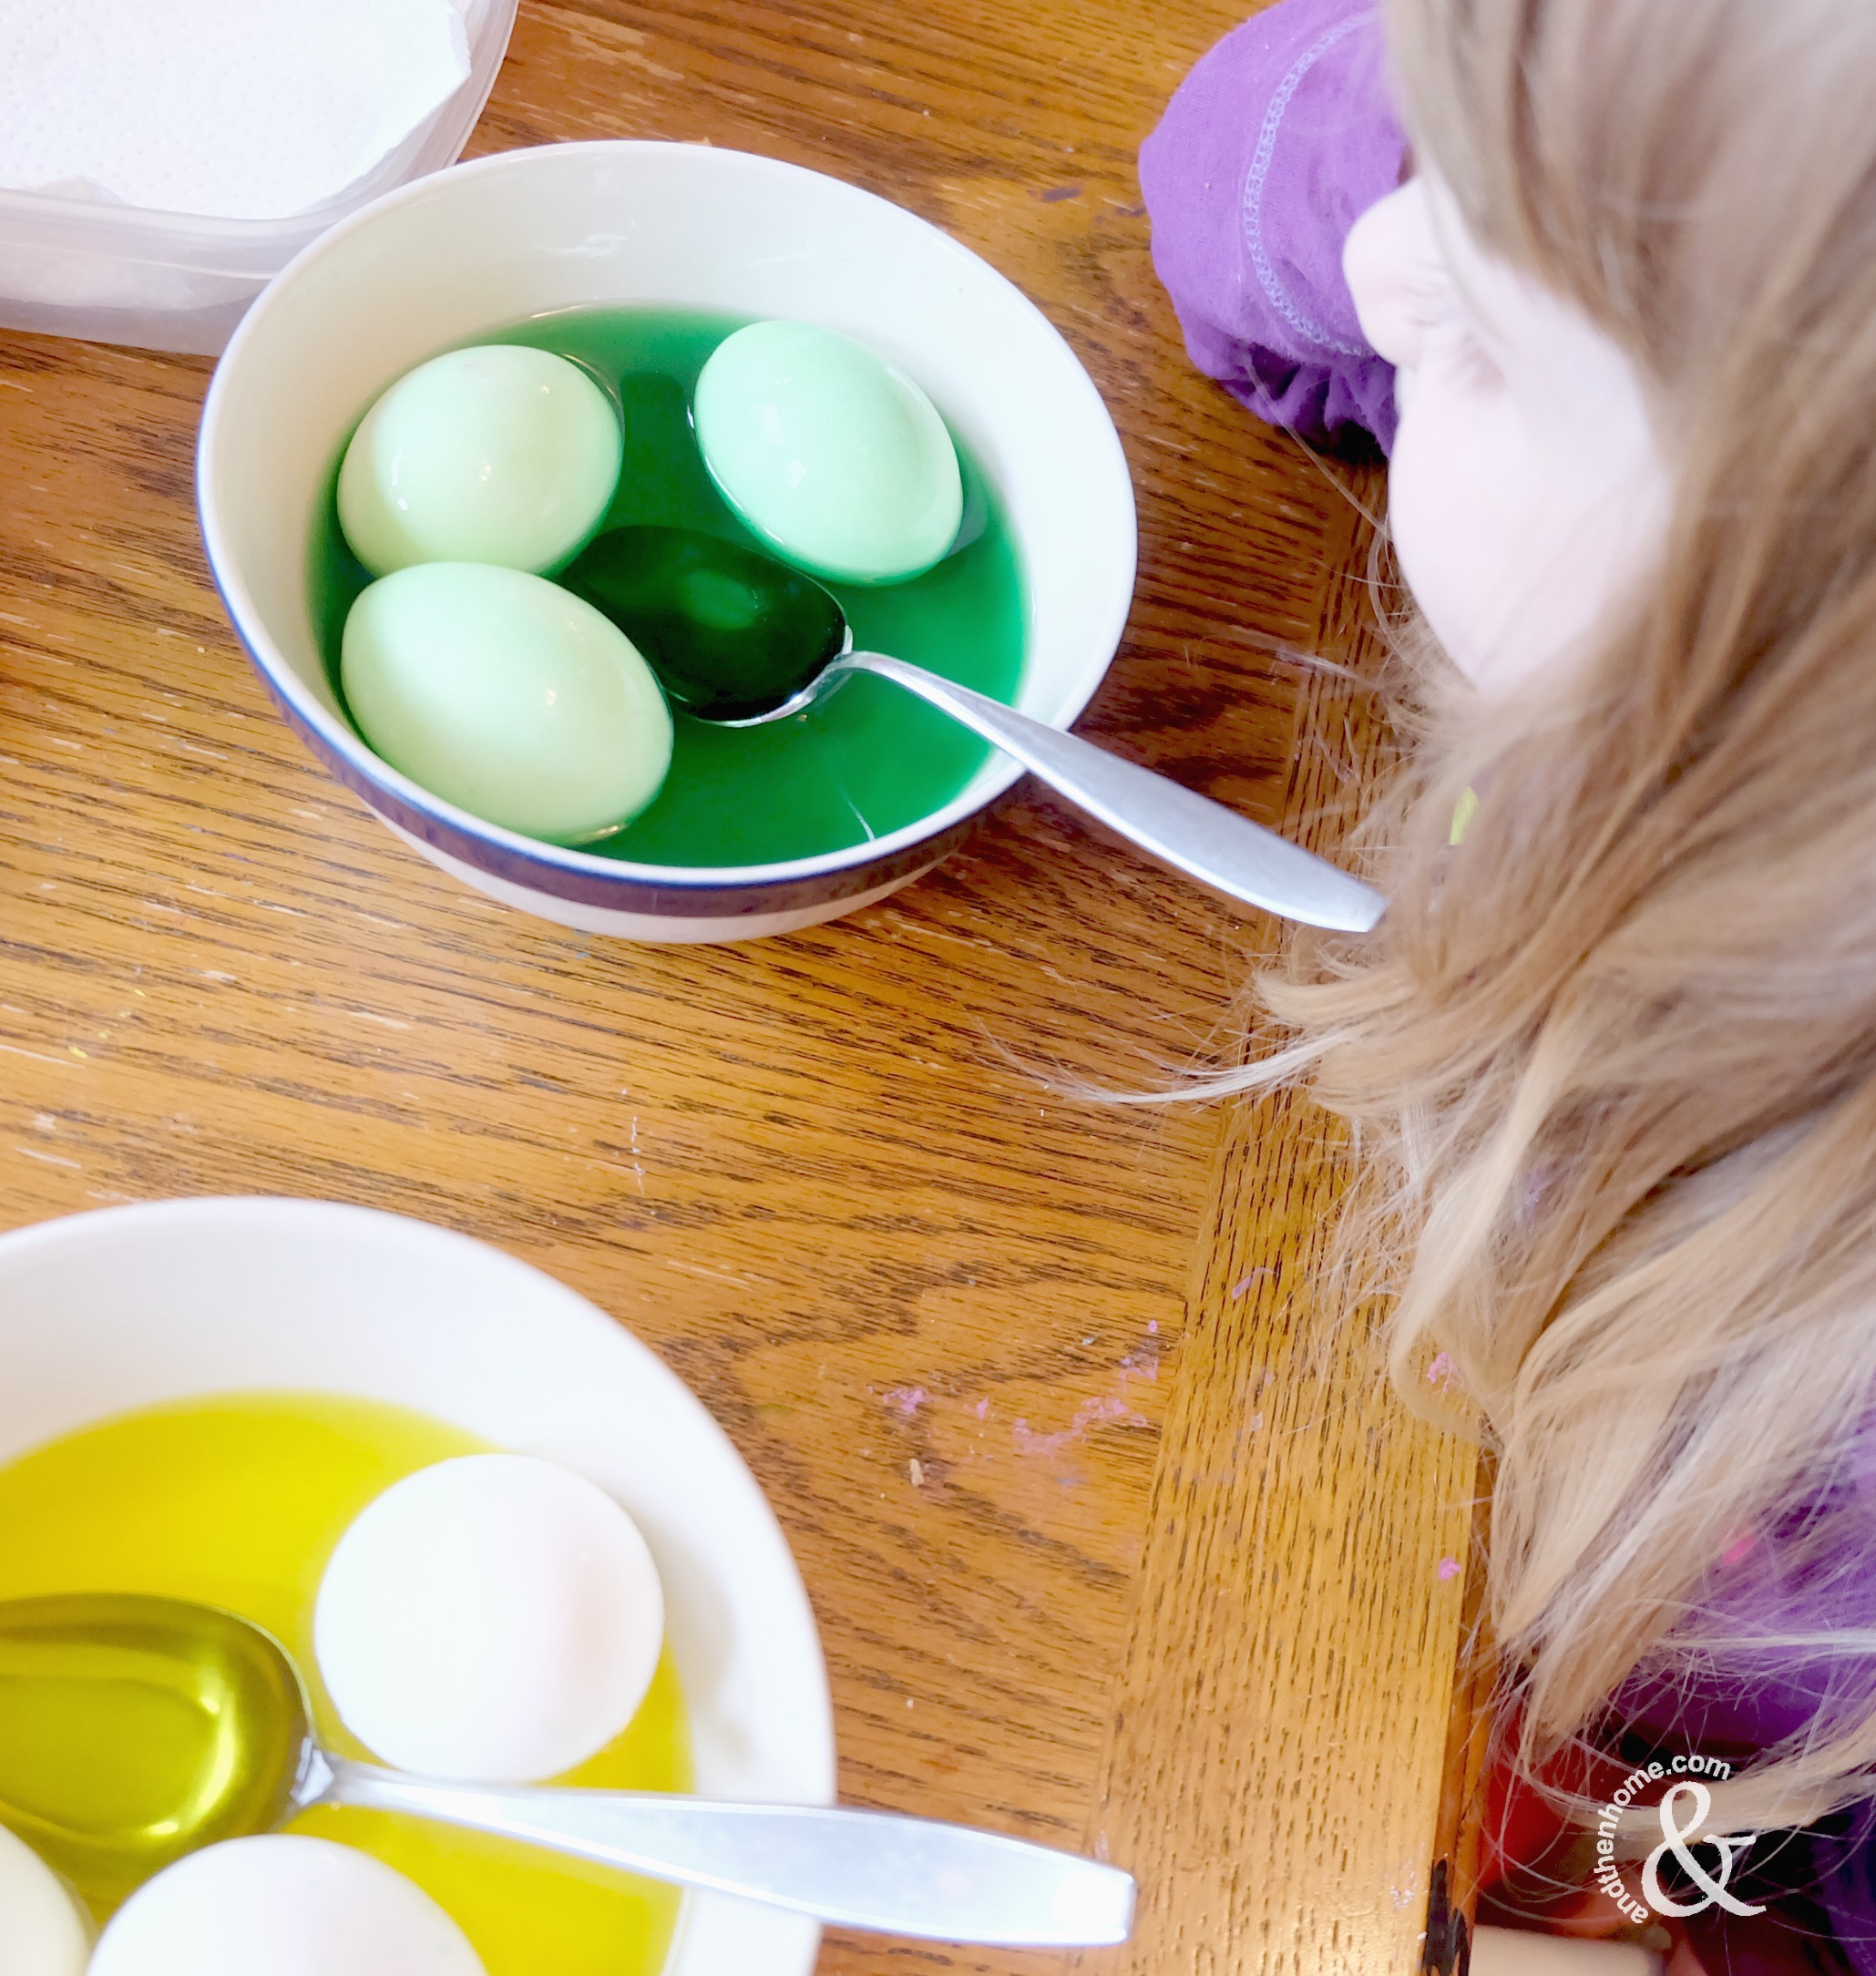
- Mix the water, vinegar and food colouring a deep bowl. The bowl should be deep enough to fully submerge an egg. Use one bowl for each colour.
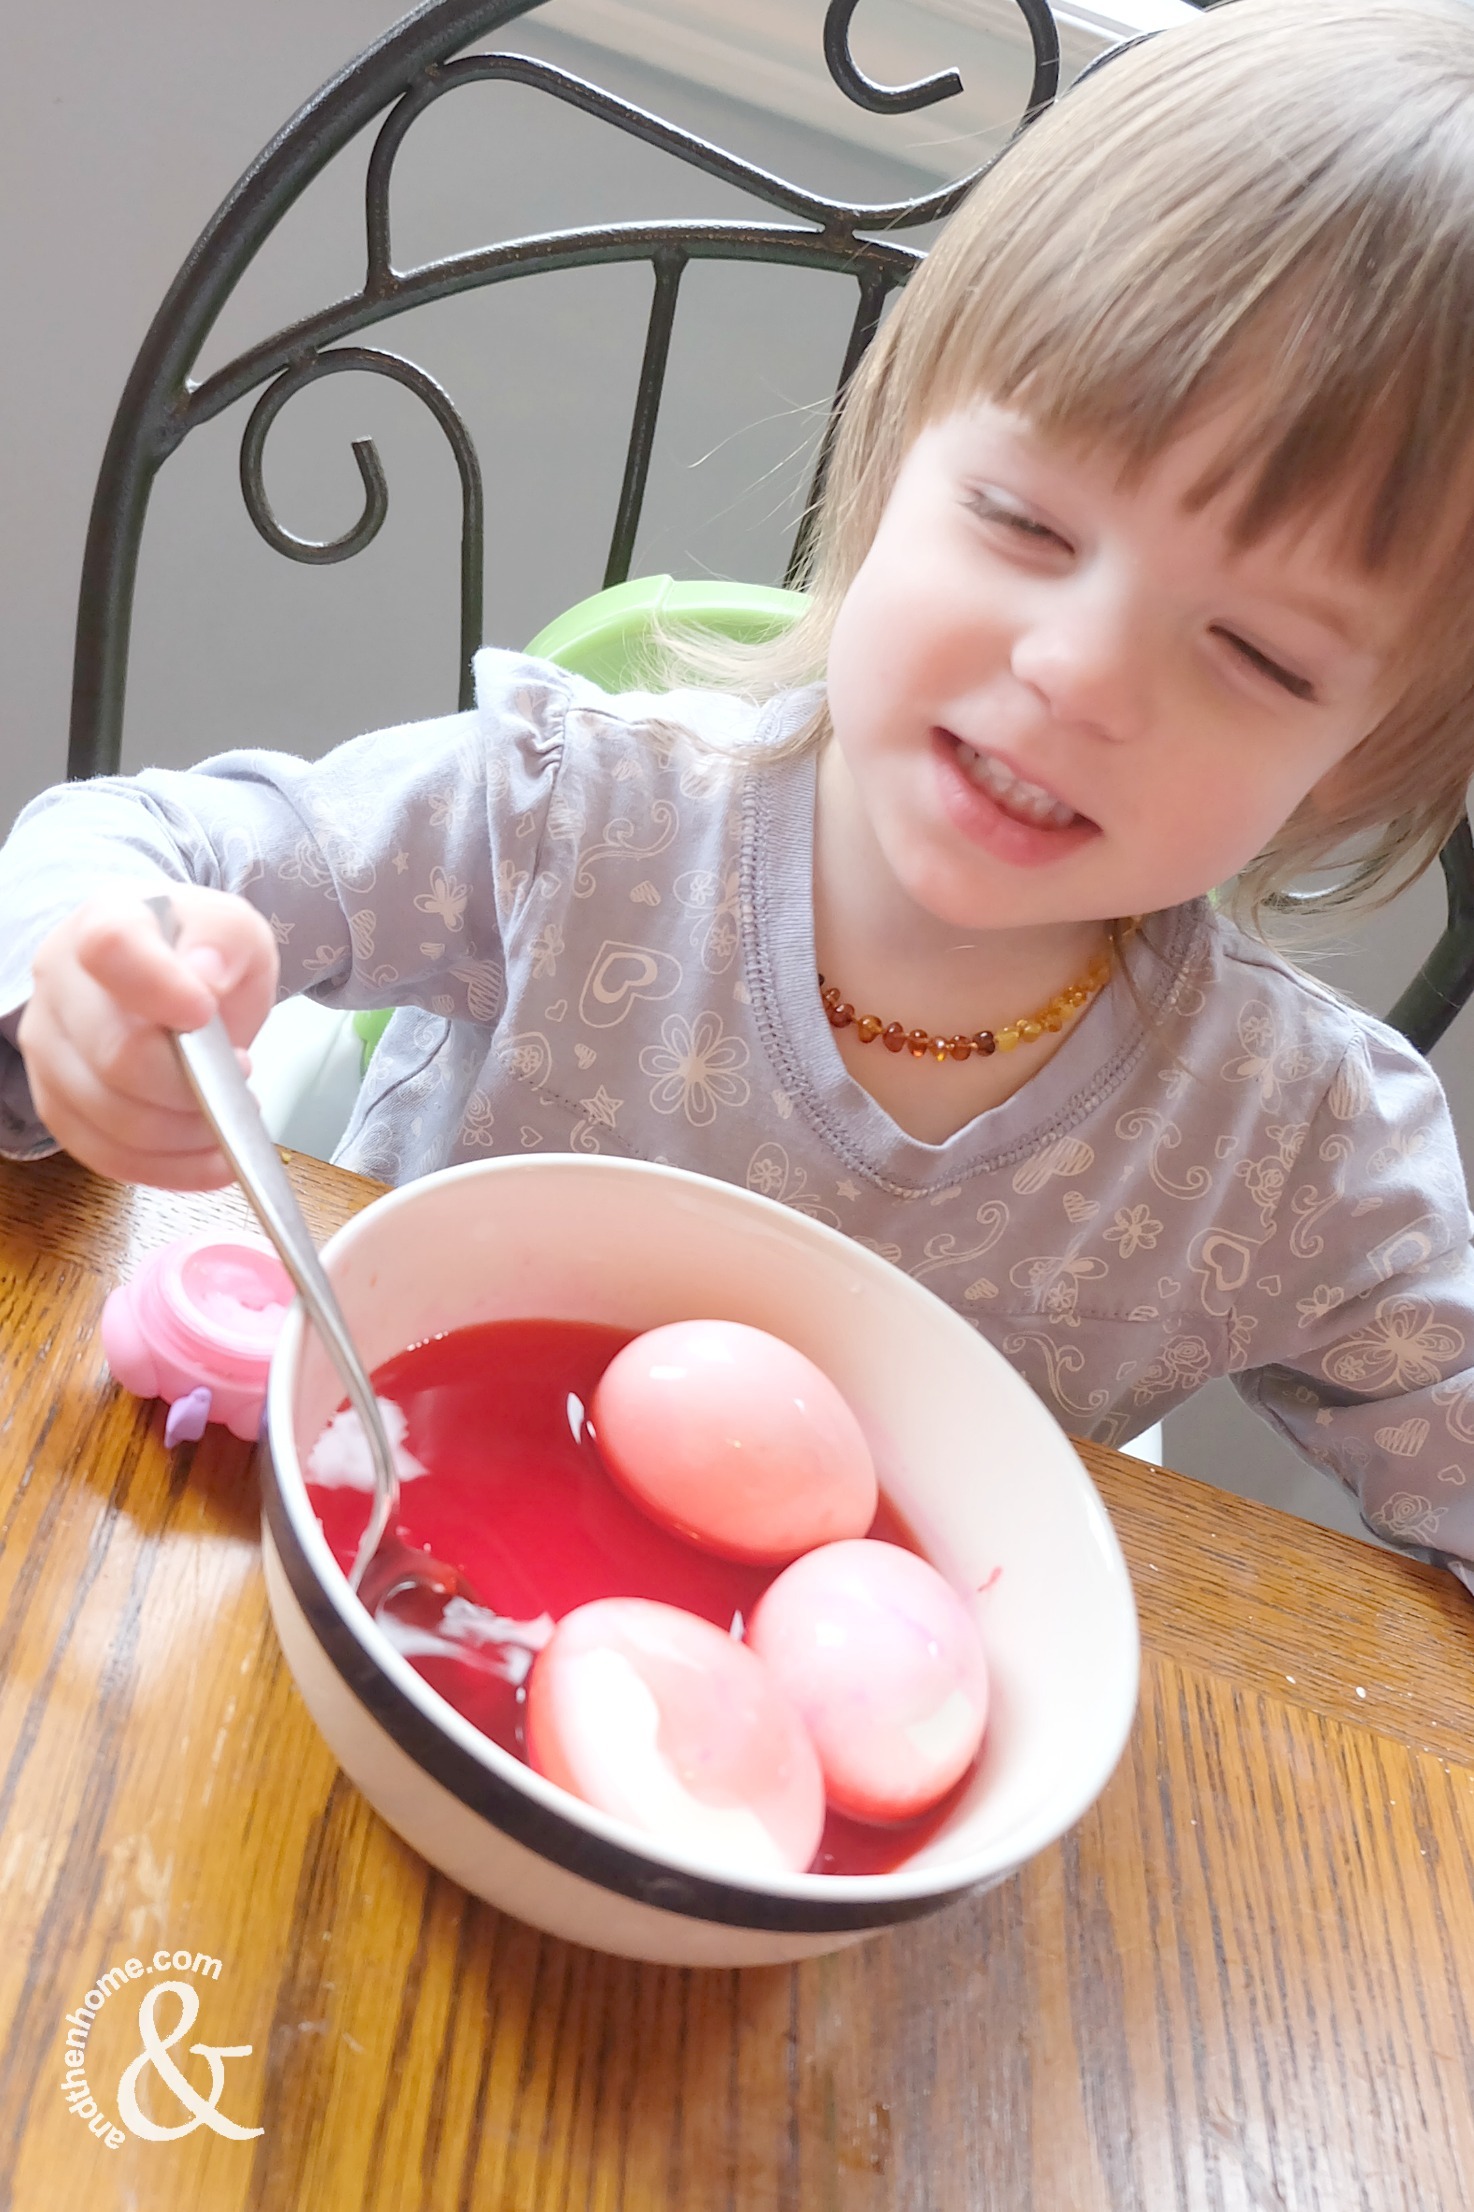
- Place a hard-boiled (cooled) egg on a spoon and dunk it into the water/vinegar mixture. Turn it occasionally to be sure it’s being coated on all sides. Leave the egg in the mixture for at least 5 minutes. The longer you leave it in there the darker the colour will become.
- Remove the egg when you are happy with the colour. Place it aside to dry.
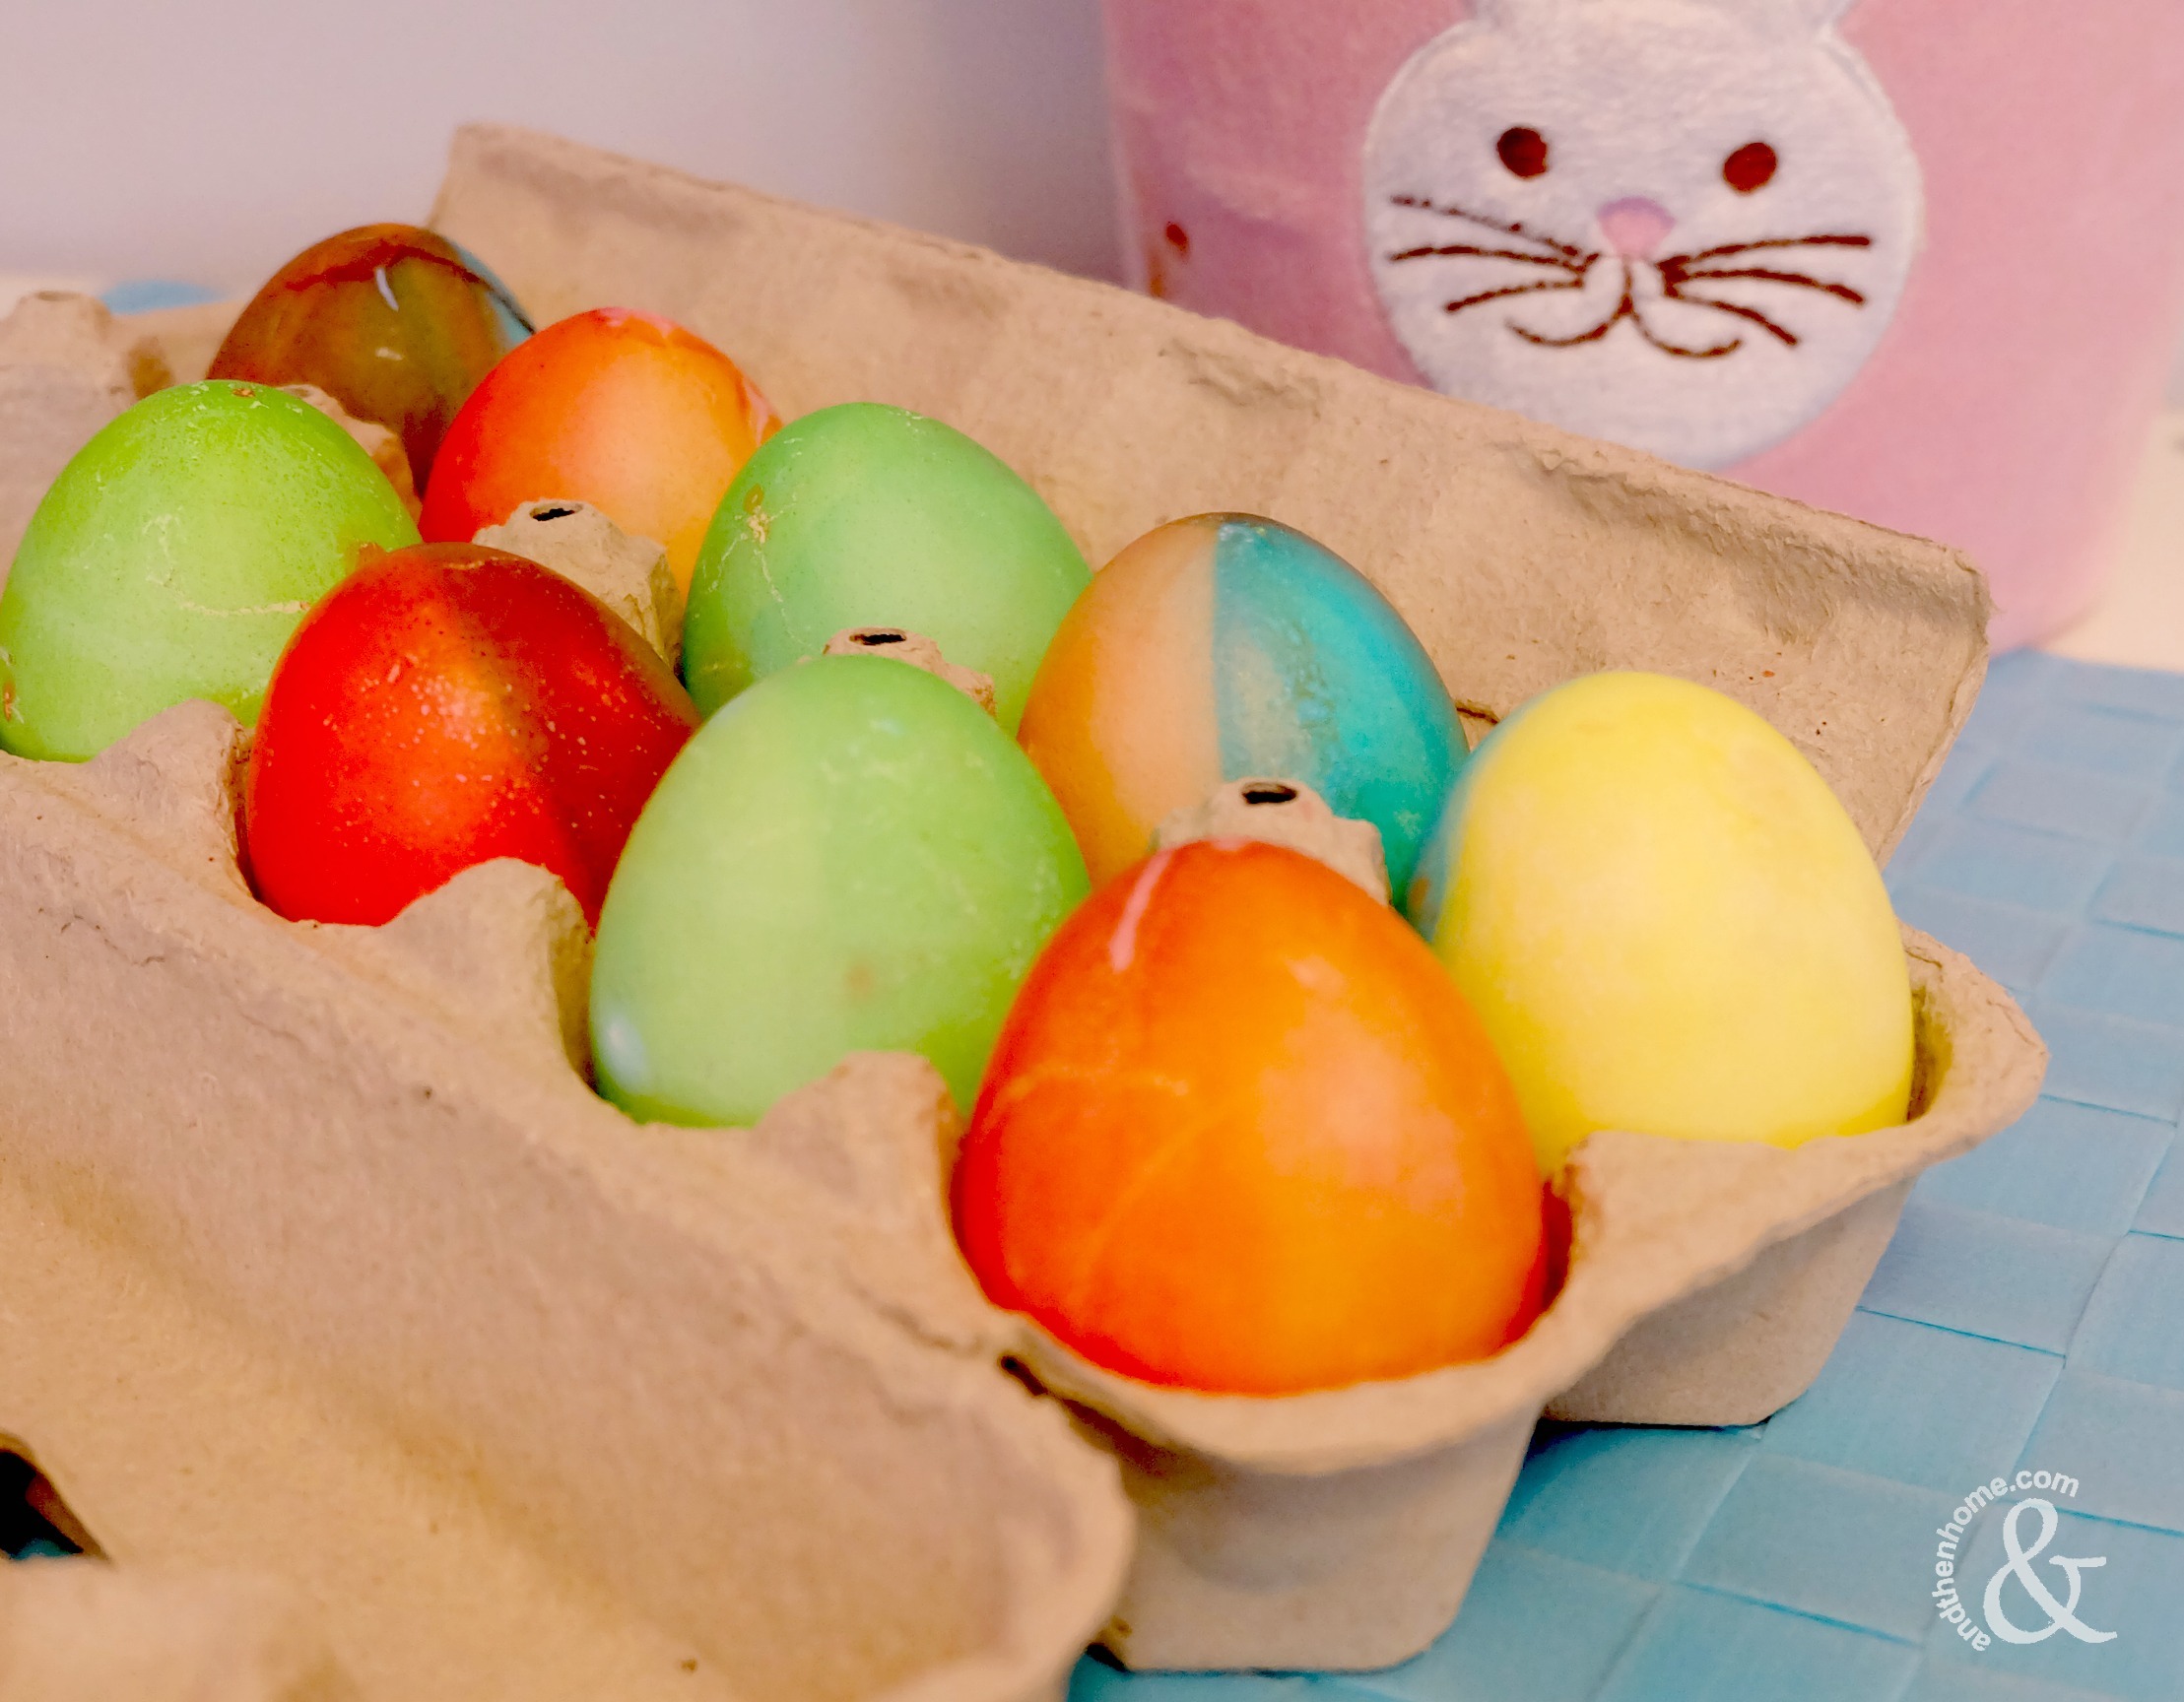
Get Creative
- You can always add stickers to your eggs to create shapes. Simply place the stickers onto the eggs and dye them as above, when they are dry carefully peel the sticker off to reveal the shape underneath!
- Try putting an elastic band around the eggs to make lines and ‘cracked’ designs. Use elastics of different widths.
- You can also try dying an egg lightly, add stickers or elastics and continue to dye the eggs darker. Remove the stickers/elastics after to show coloured designs and shapes!
- Use multiple colours for one egg by placing the egg in different bowls when dying.
Using food colouring to paint eggs for Easter is a lot of fun. It definitely can get messy so keep that in mind when setting up, and the colouring process can take a few minutes…but the end results are too fun to pass up. The kids will love this craft.
We hope you love these Food Colouring Painted Easter Eggs! If you’re looking of more Easter fun check out this Easter Handprint and Footprint Canvas Critters or a fun Punny Carrot Easter Art Plaque.