How to Make Favour Boxes from Scrapbook Paper
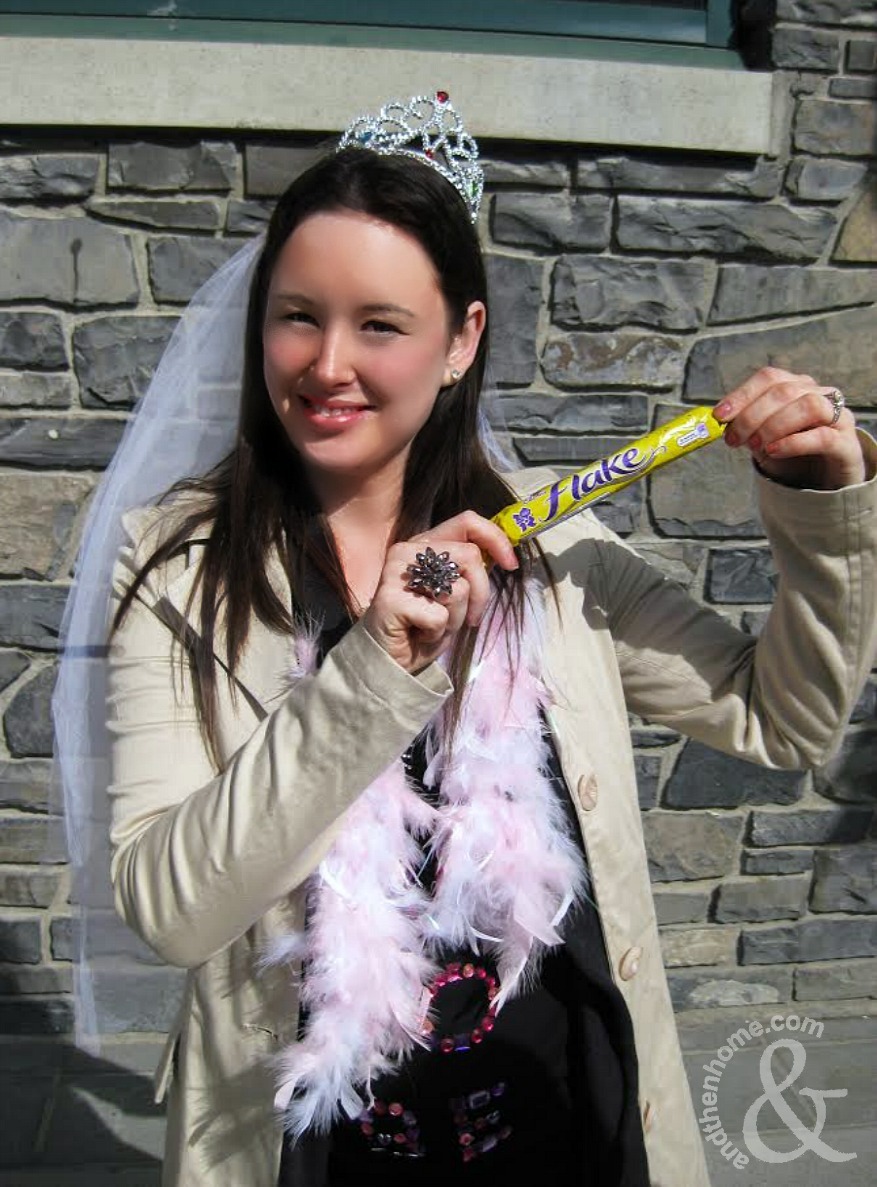
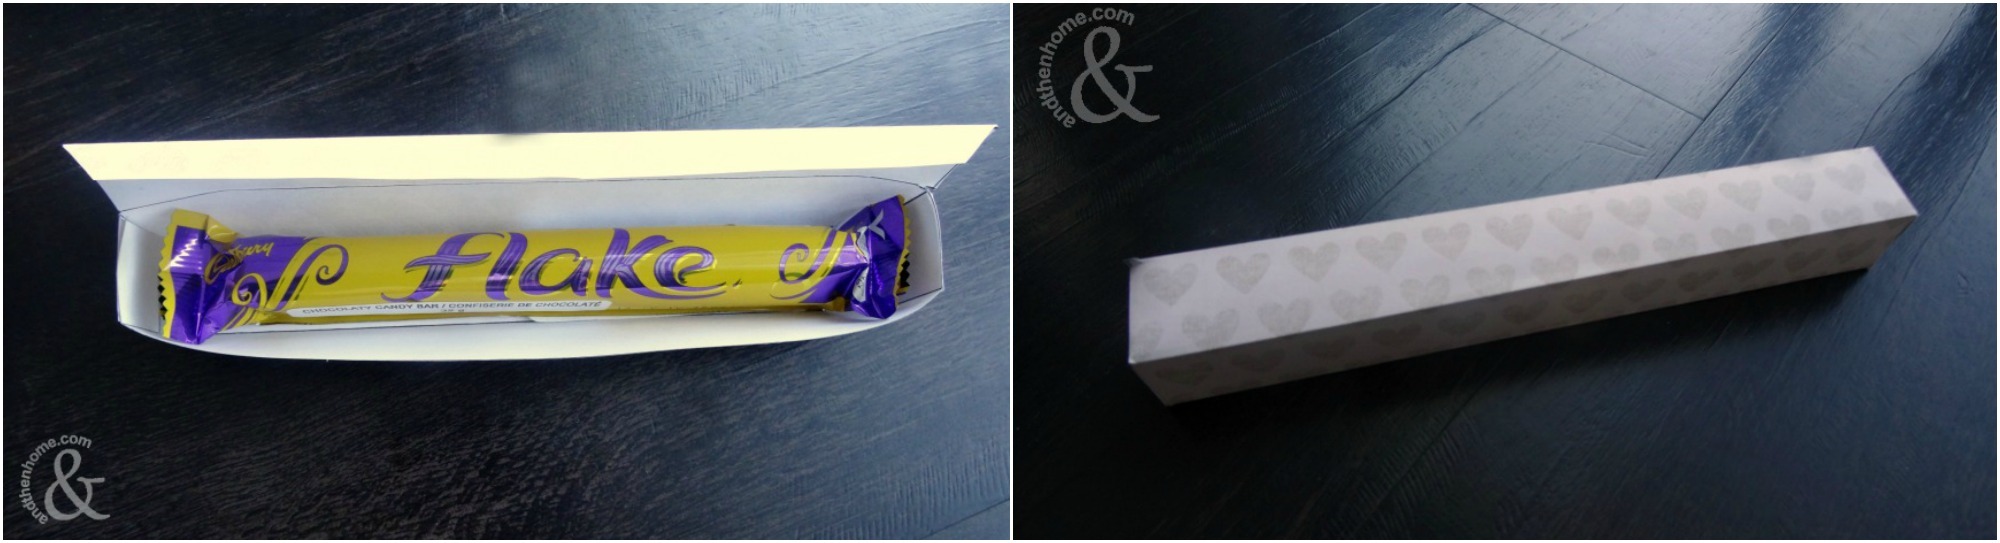
Wedding favours are a great way to give your guests a little gift to thank them for taking the time to come to our wedding. Add a personal touch by choosing something to give your guests that has special meaning to you and your partner. For my own wedding we choose a Flake bar. This chocolate bar has some special memories attached to it for us. Just before M and I got married out friends arranged a fun scavenger hunt for us on a crazy weekend in Banff National Park. We spent a day running around trying to tick photos off of our lists, boys vs girls.
Get Ready to Make These Awesome, Easy Favours!!

One of the tasks was to go into the candy store separately and try to guess what each other would buy. When we met later that day we both pulled out our choices… and they matched! Out of all of the choices in that store, we both picked a Flake bar. We attached small tags with this story attached to our favour boxes so we could include our guests in the story.
The challenge with choosing an unconventional favour is that they do not always fit into the ready made boxes you can buy. This problem can be solved with DIY. Christine and I made 200 of these little boxes to give out to our guests. I suggest using a card-stock scrapbook paper, its both cost effective, comes in countless colours and patters and is strong enough to hold the favours. Finish the boxes with ribbons and custom made tags.
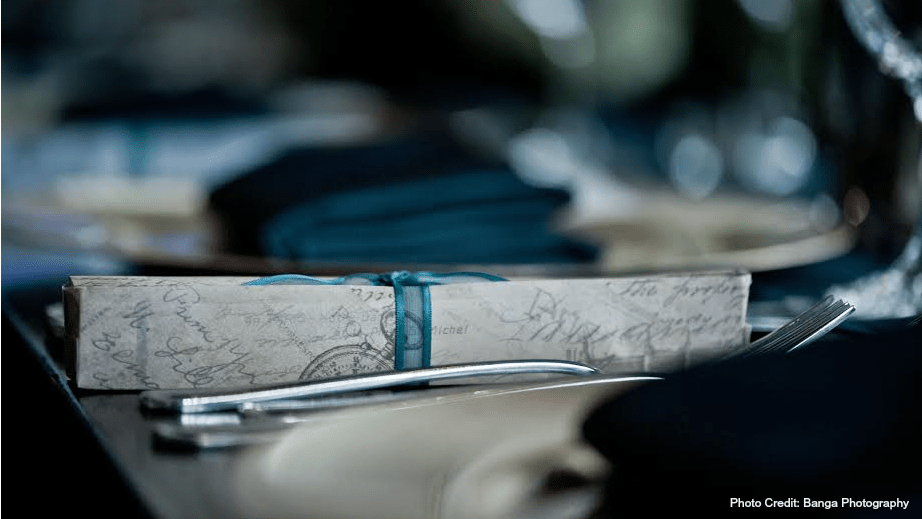
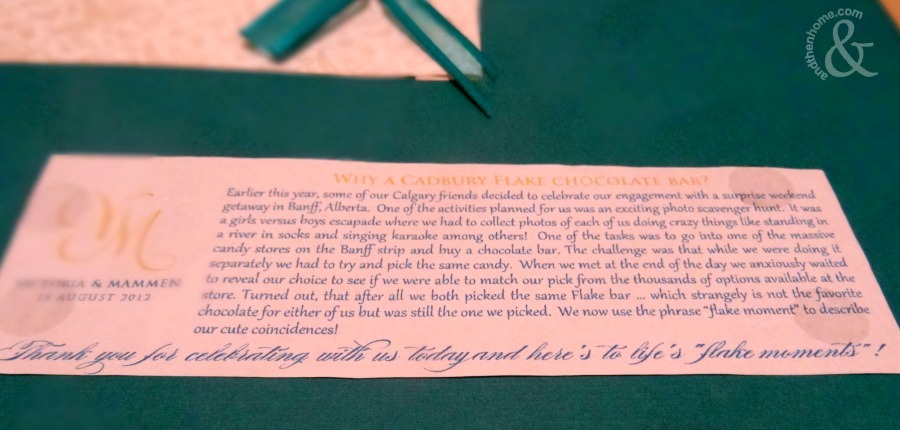 Our custom tag we used to tell the story of our Flake Bar favour
The template I have attached is the one that I created to fit a Flake chocolate bar. You can use this template as a guide to fit your favour by measuring each side of the item you are gifting.
DIY Favour Boxes
Materials:
– Card-stock scrapbook paper
– Template – get it here
– Scissors
– A ruler
– Pencil
– Scrapbook glue
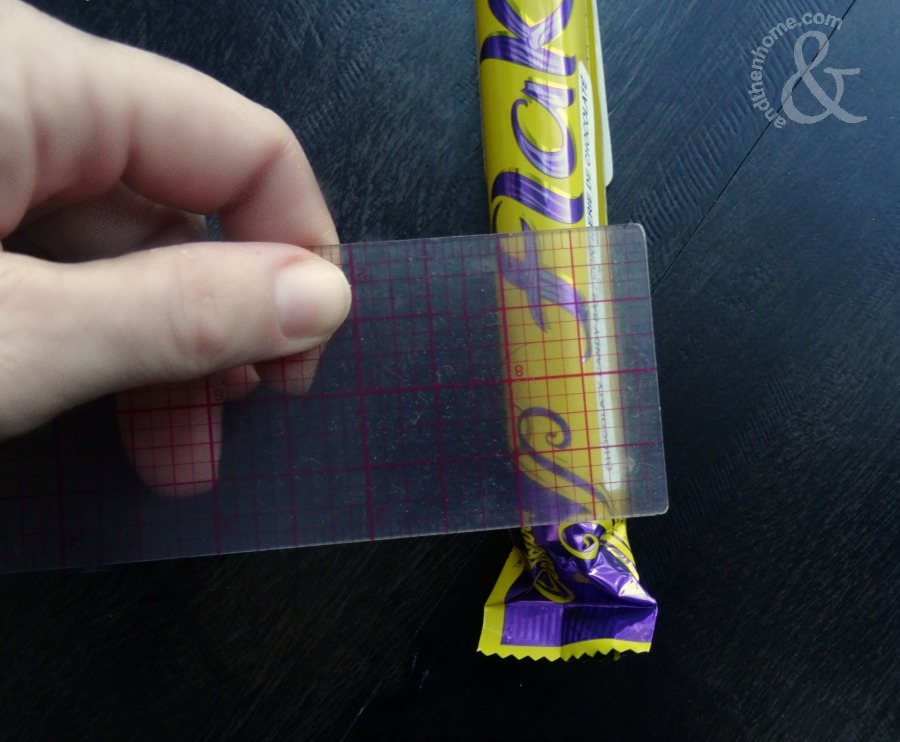
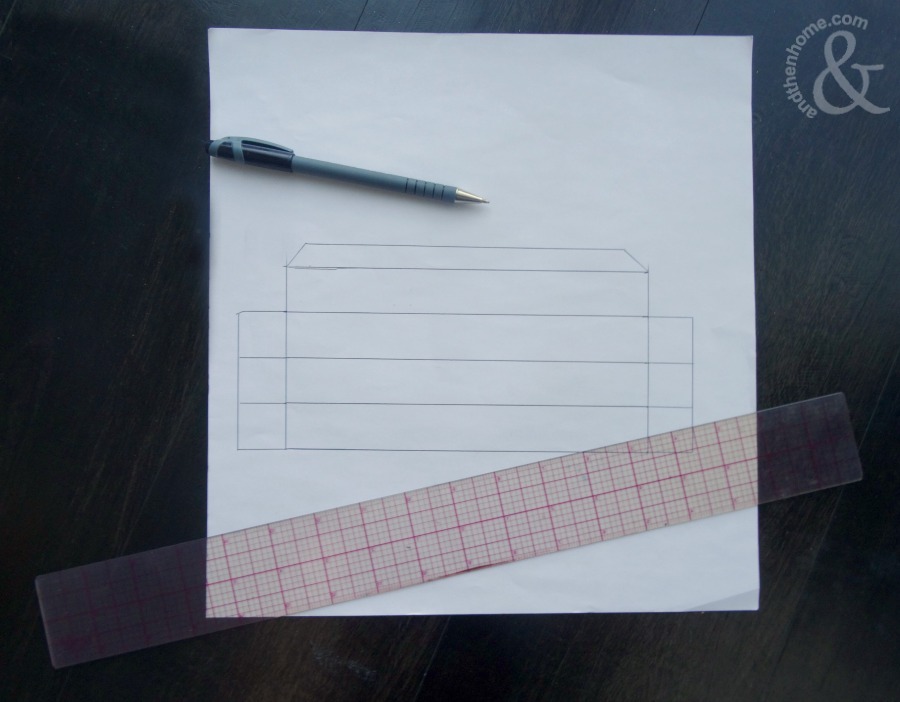
If your favour does not fit into the template (template measures 8″ x 1″), measure it and adjust the template to fit.
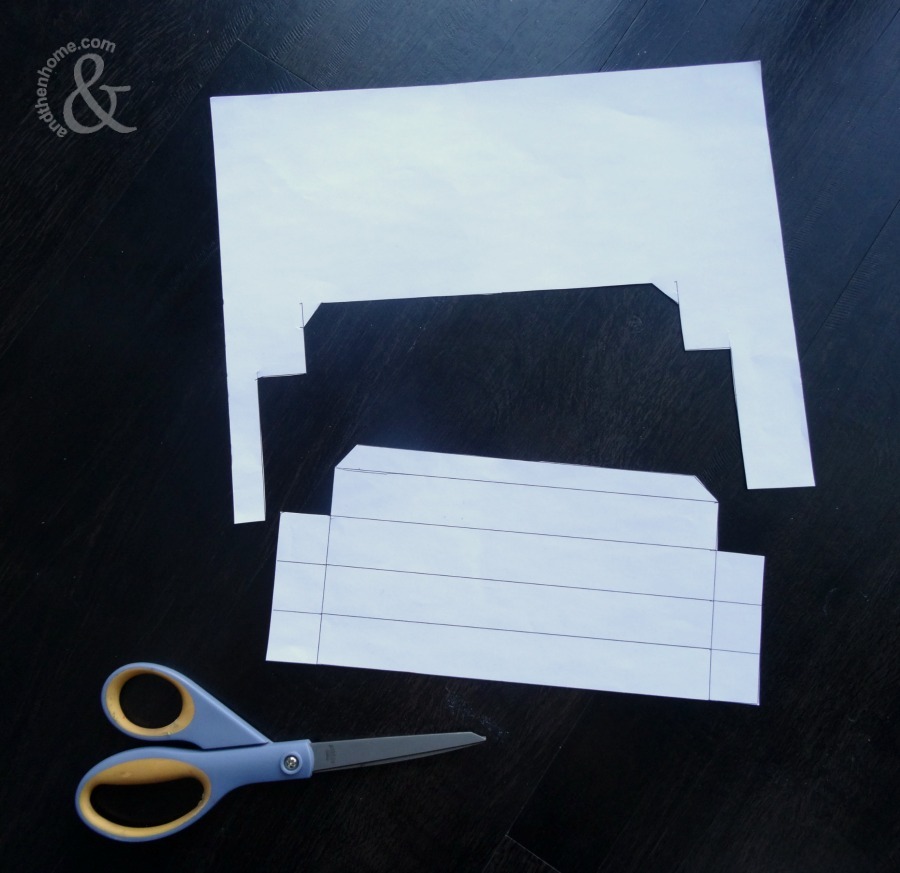
Cut out your template and trace it onto the ‘wrong’ side of your card-stock. Cut out the box shape.
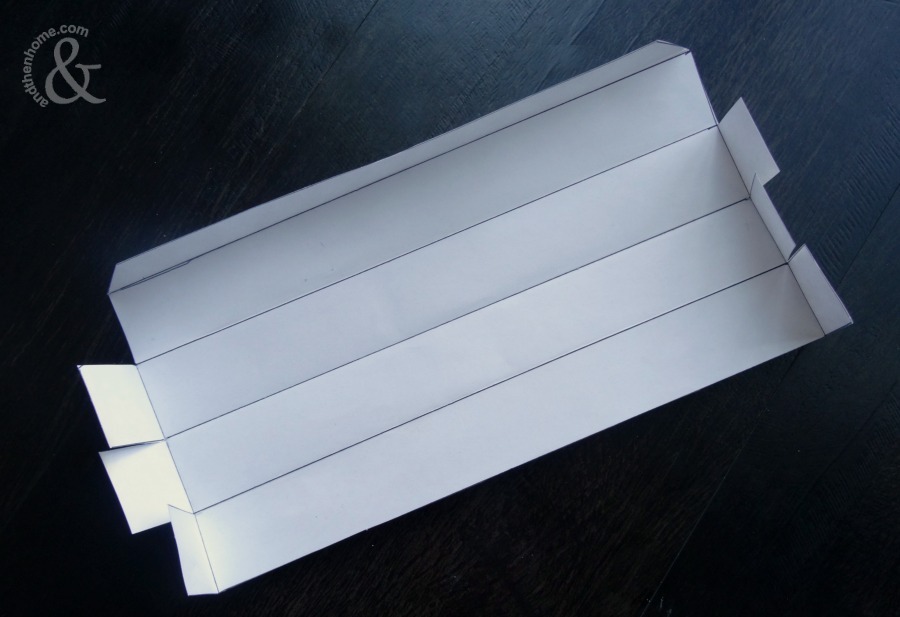
Fold the paper on all of the fold lines (a bone tool can help to make sharp creases).
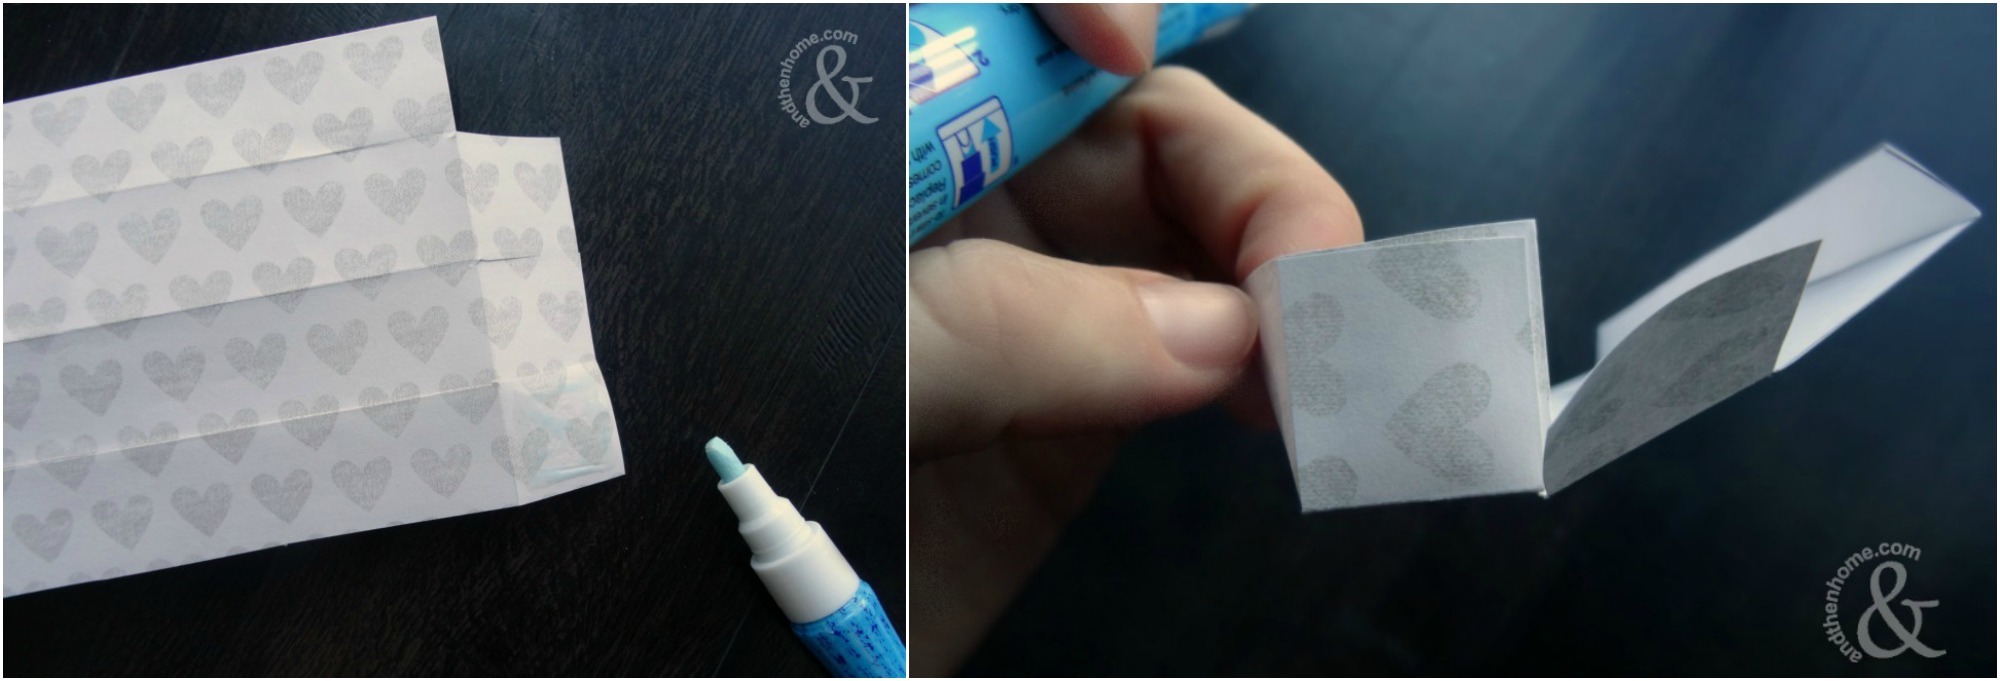
Glue the side tabs together to make the box.
Let dry and decorate! Get your friends and family together to make short work of this wedding task, and have fun!
Disclosure: Some of the links in this post are affiliate links. There may be a small commission made by our recommendations, and/or link to products or services mentioned on this website. Your purchase will help us continue to bring you amazing content, step-by-steps and product reviews.