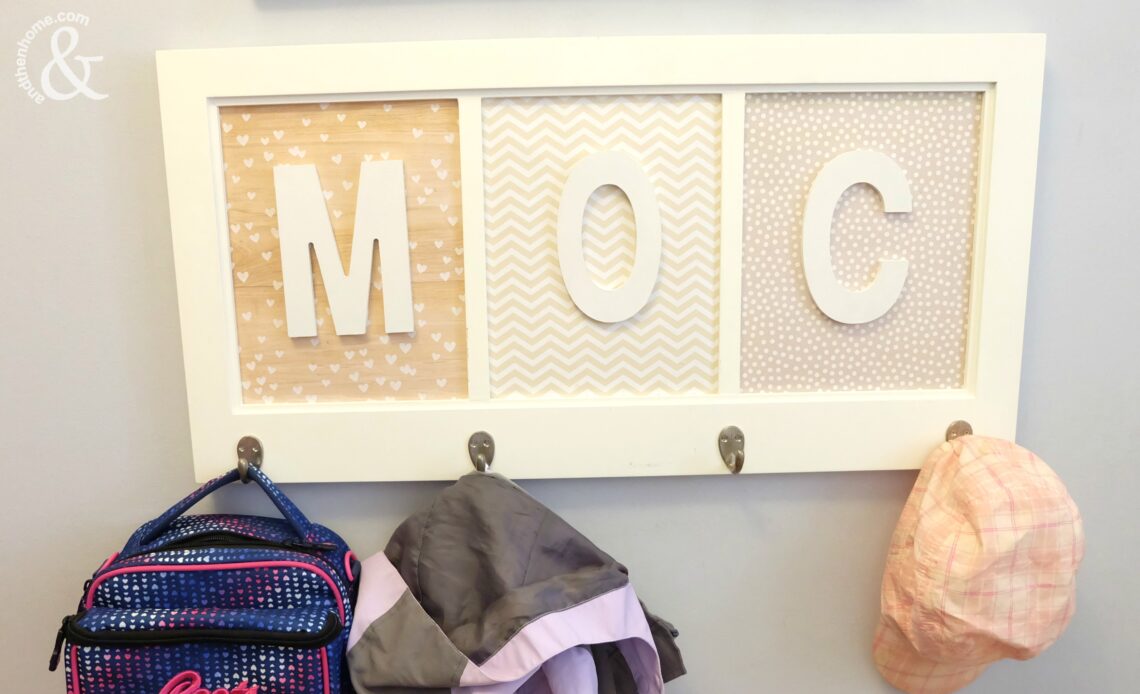
Fabulous DIY Up-cycled Kids Coat Rack
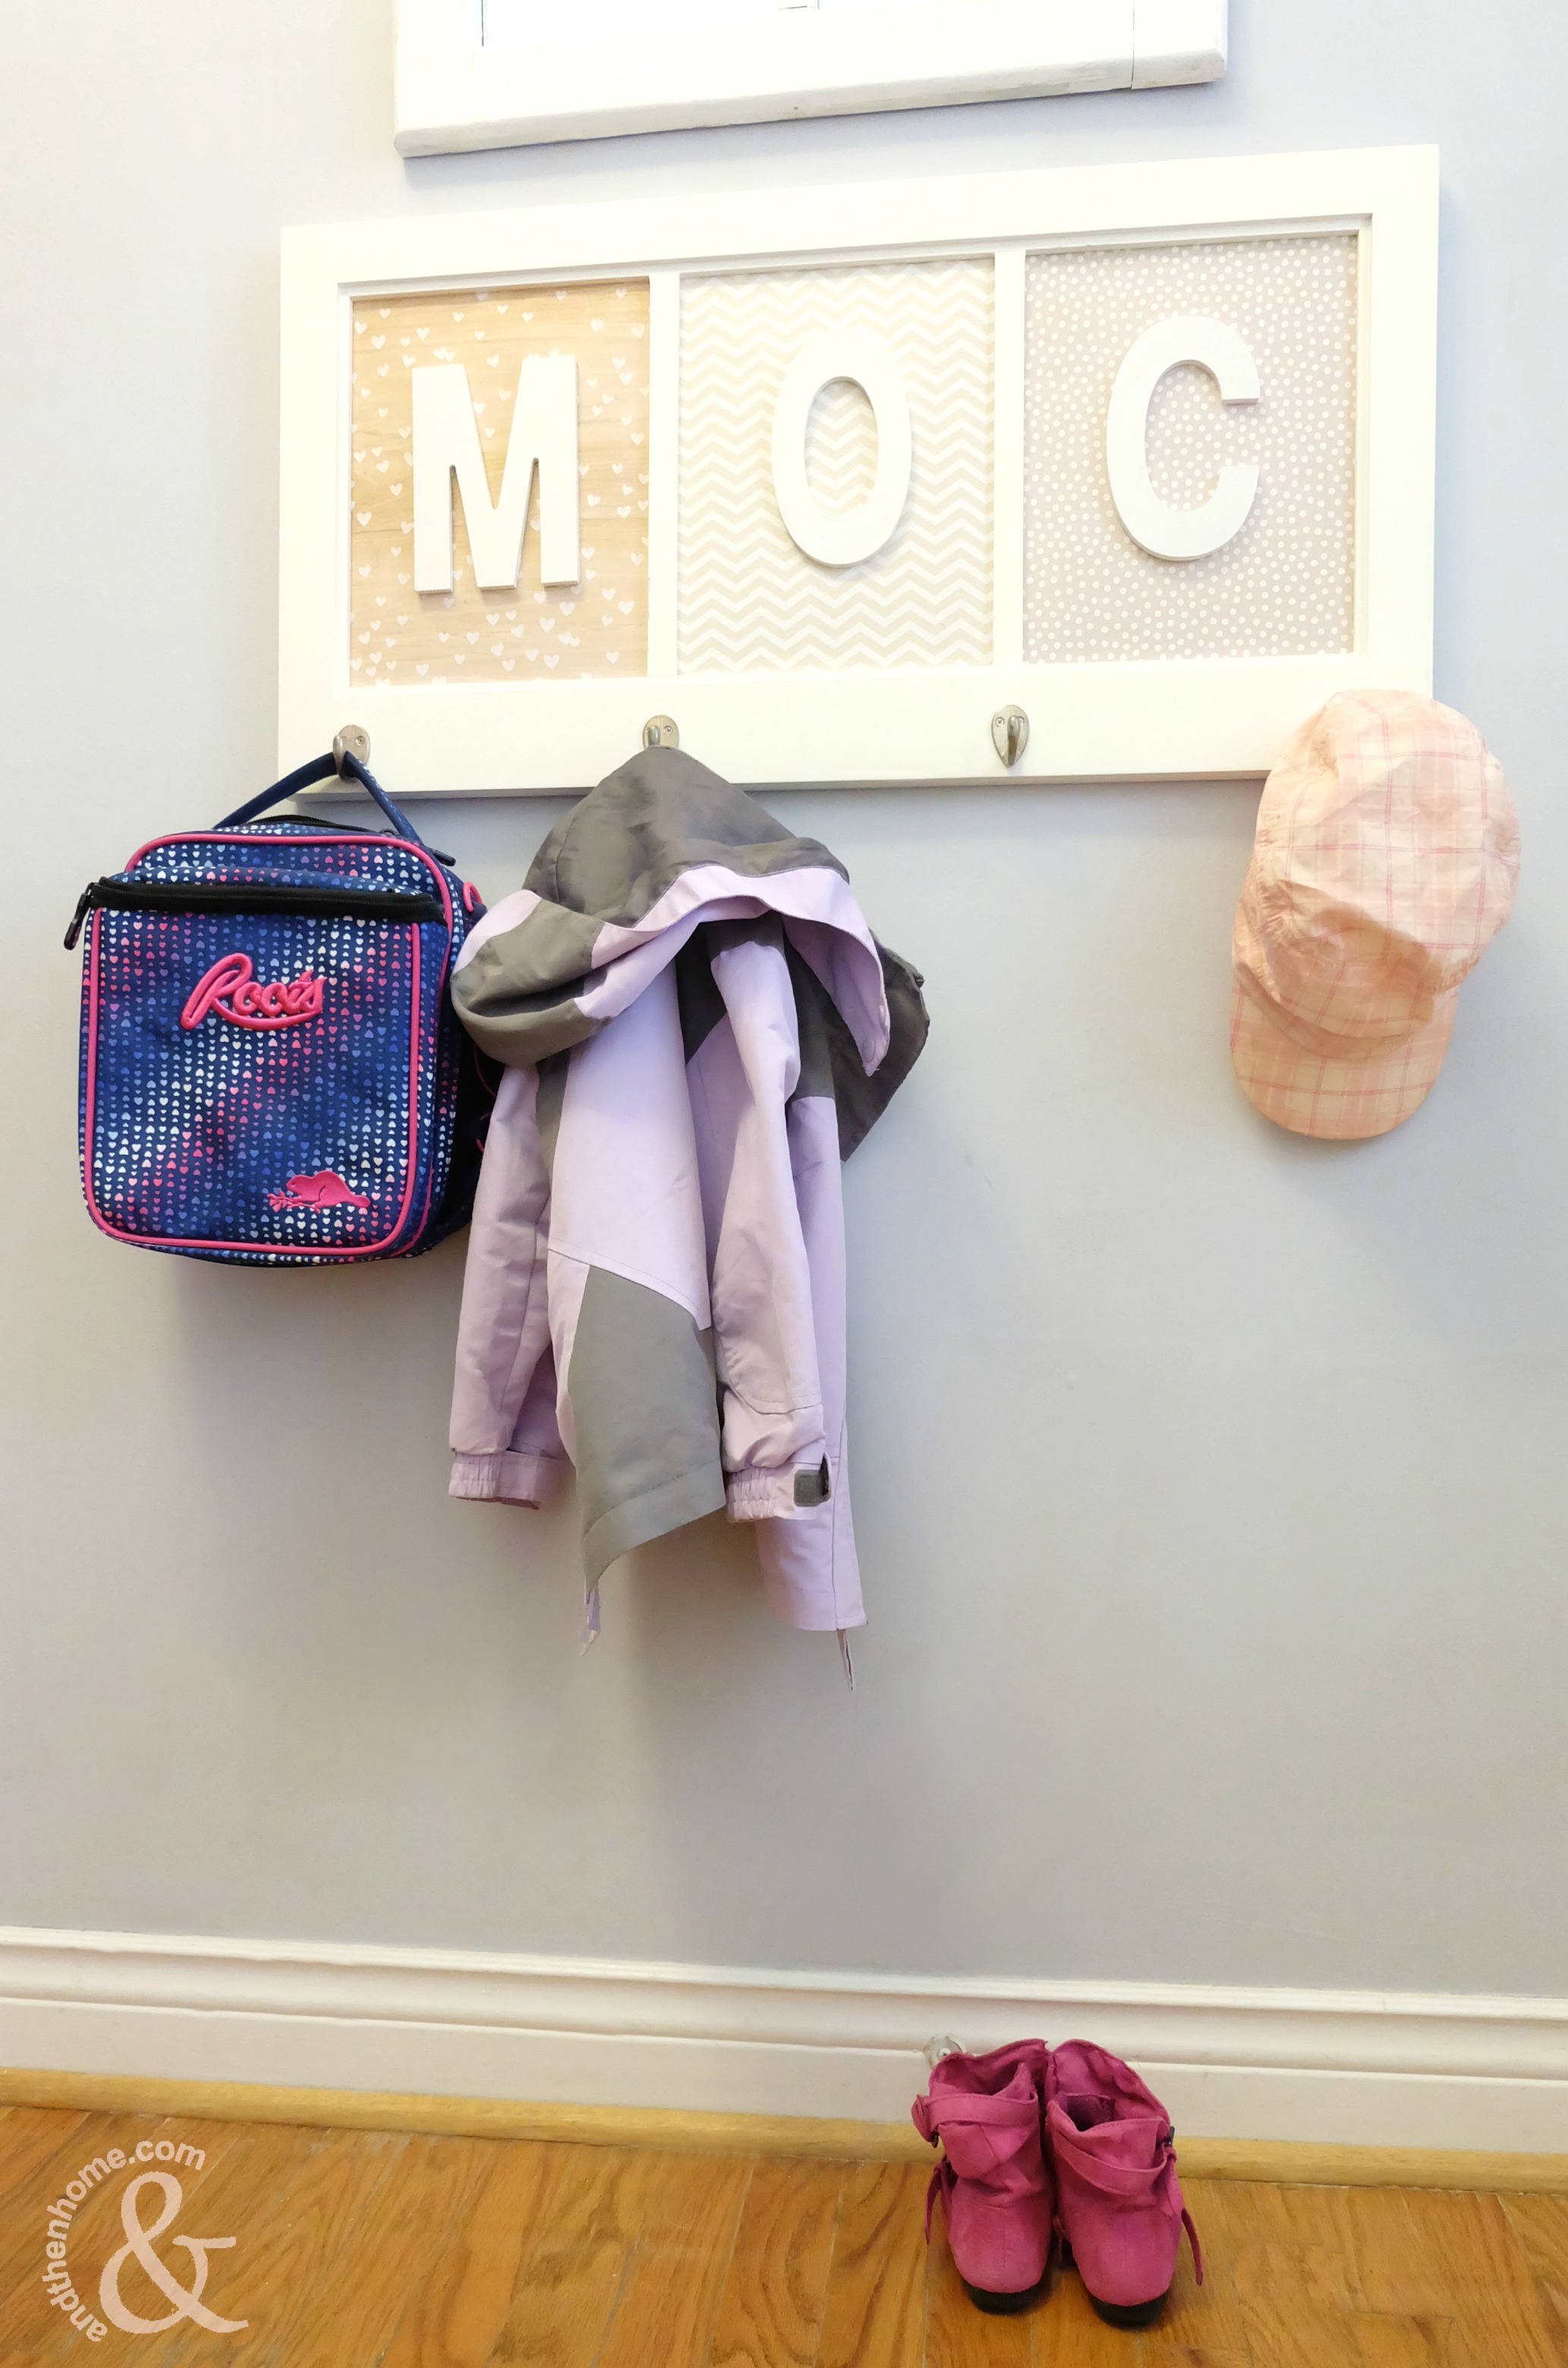
I may have mentioned that my oldest daughter is starting JK this year and with that comes a lot of small items to buy and then store. Everything is pretty much ready to go, I have her lunch bag, coat, new clothes and book bag. All that’s missing is somewhere to hang all these things. I could put them in the coat closet like everything else but that would be too boring…not to mention would eliminate the need for another fun DIY project! Enter the Fabulous DIY Up-cycled Kids Coat Rack.
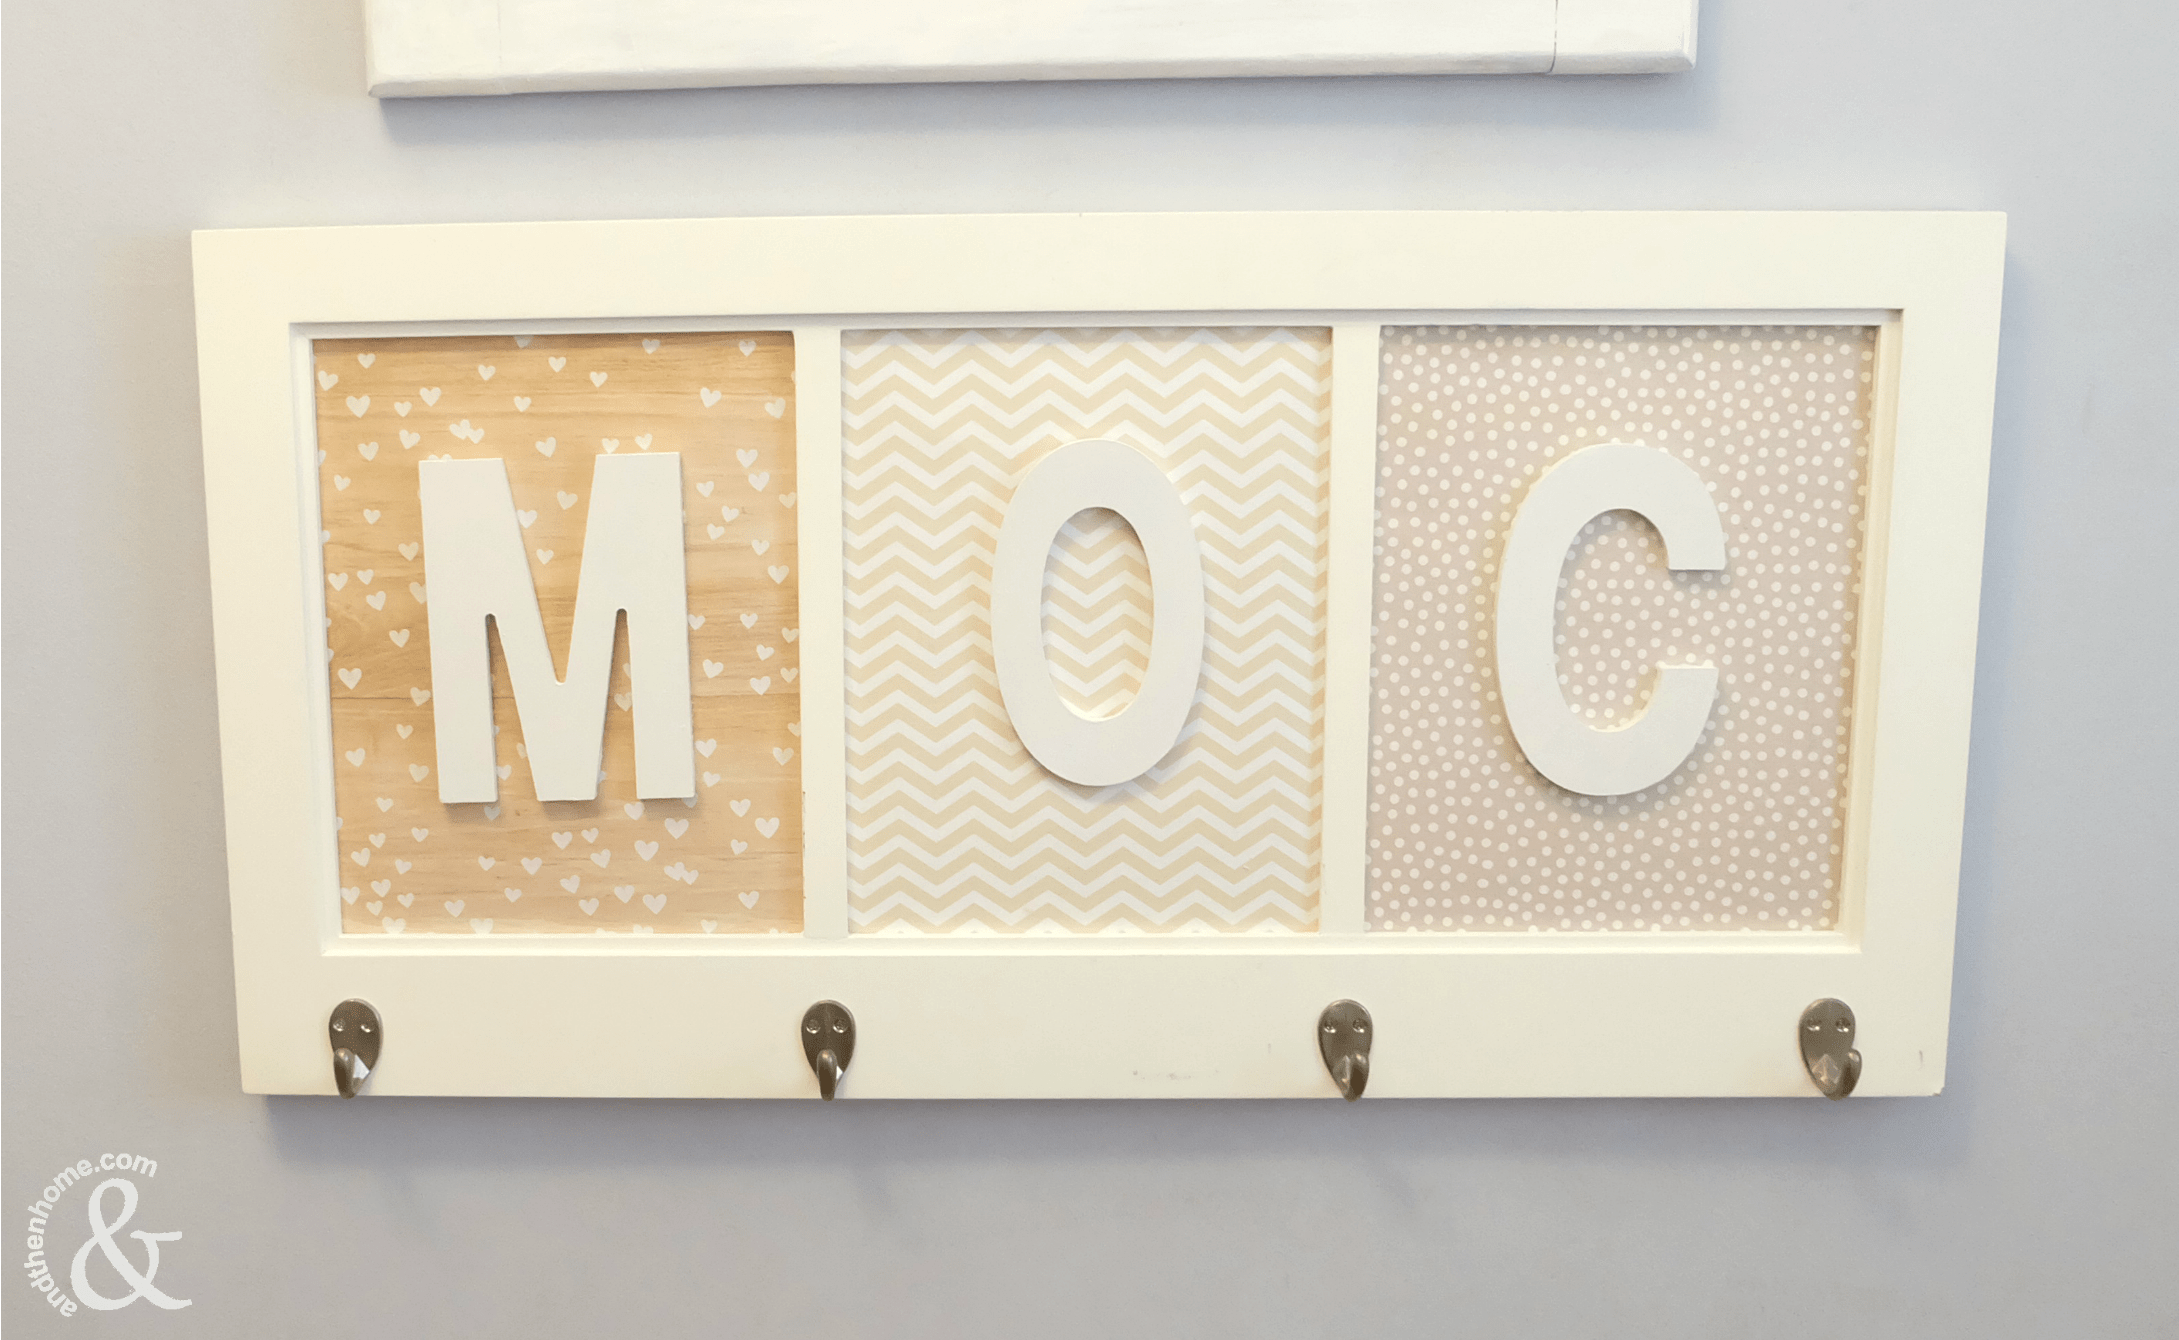
This Up-Cycled DIY’er was easy to do and a lot of fun. I had a hard time deciding what colour I wanted the backgrounds to be. My mind was bouncing between keeping it classic, versus fun colours versus something sparkly. As you can see from the pictures, I went with a classic look. If you’re indecisive like me you can always change the background colours later, it would be easy to do.
The base for this project was found at a local second hand store. I’ll admit it, I got a lucky that day. You really have to go frequently to find awesome steals like this one. As soon as I saw this piece leaning against the wall I knew I could use it for something. It had some dents and marks but the frame was in great shape with no cracks or broken pieces and the best part – it had a $5.00 price tag (with the original $29.99 one on the back). Who would say no to that??
The only other materials I needed to complete my piece were some wooden letters and card stock, both I found at the local craft store. The letters I bought were wood coloured, so I painted mine. There were white ones available but I didn’t like the style they had, and the wooden ones were the perfect size! I picked up a couple of different card stock sheets…because…well, I can’t make a decision in the store, I need to agonize over it for a couple days haha.
Fabulous DIY Up-cycled Kids Coat Rack
What you’ll need:
- Rack (preferably with ‘windows’ and hooks)
- Paint
- Glue
- Wood letters
- Scrapbook Paper
- Ruler
- Scissors
Step 1. Fix any blemishes in your coat rack, if you found it at a second hand store that is! Mine had a few scratches and dents that I painted, but otherwise I was good to go.
Step 2. Paint your wooden letters the colour of your choice. I used white as my coat rack is primarily white. You may need two coats. Set aside to dry completely.

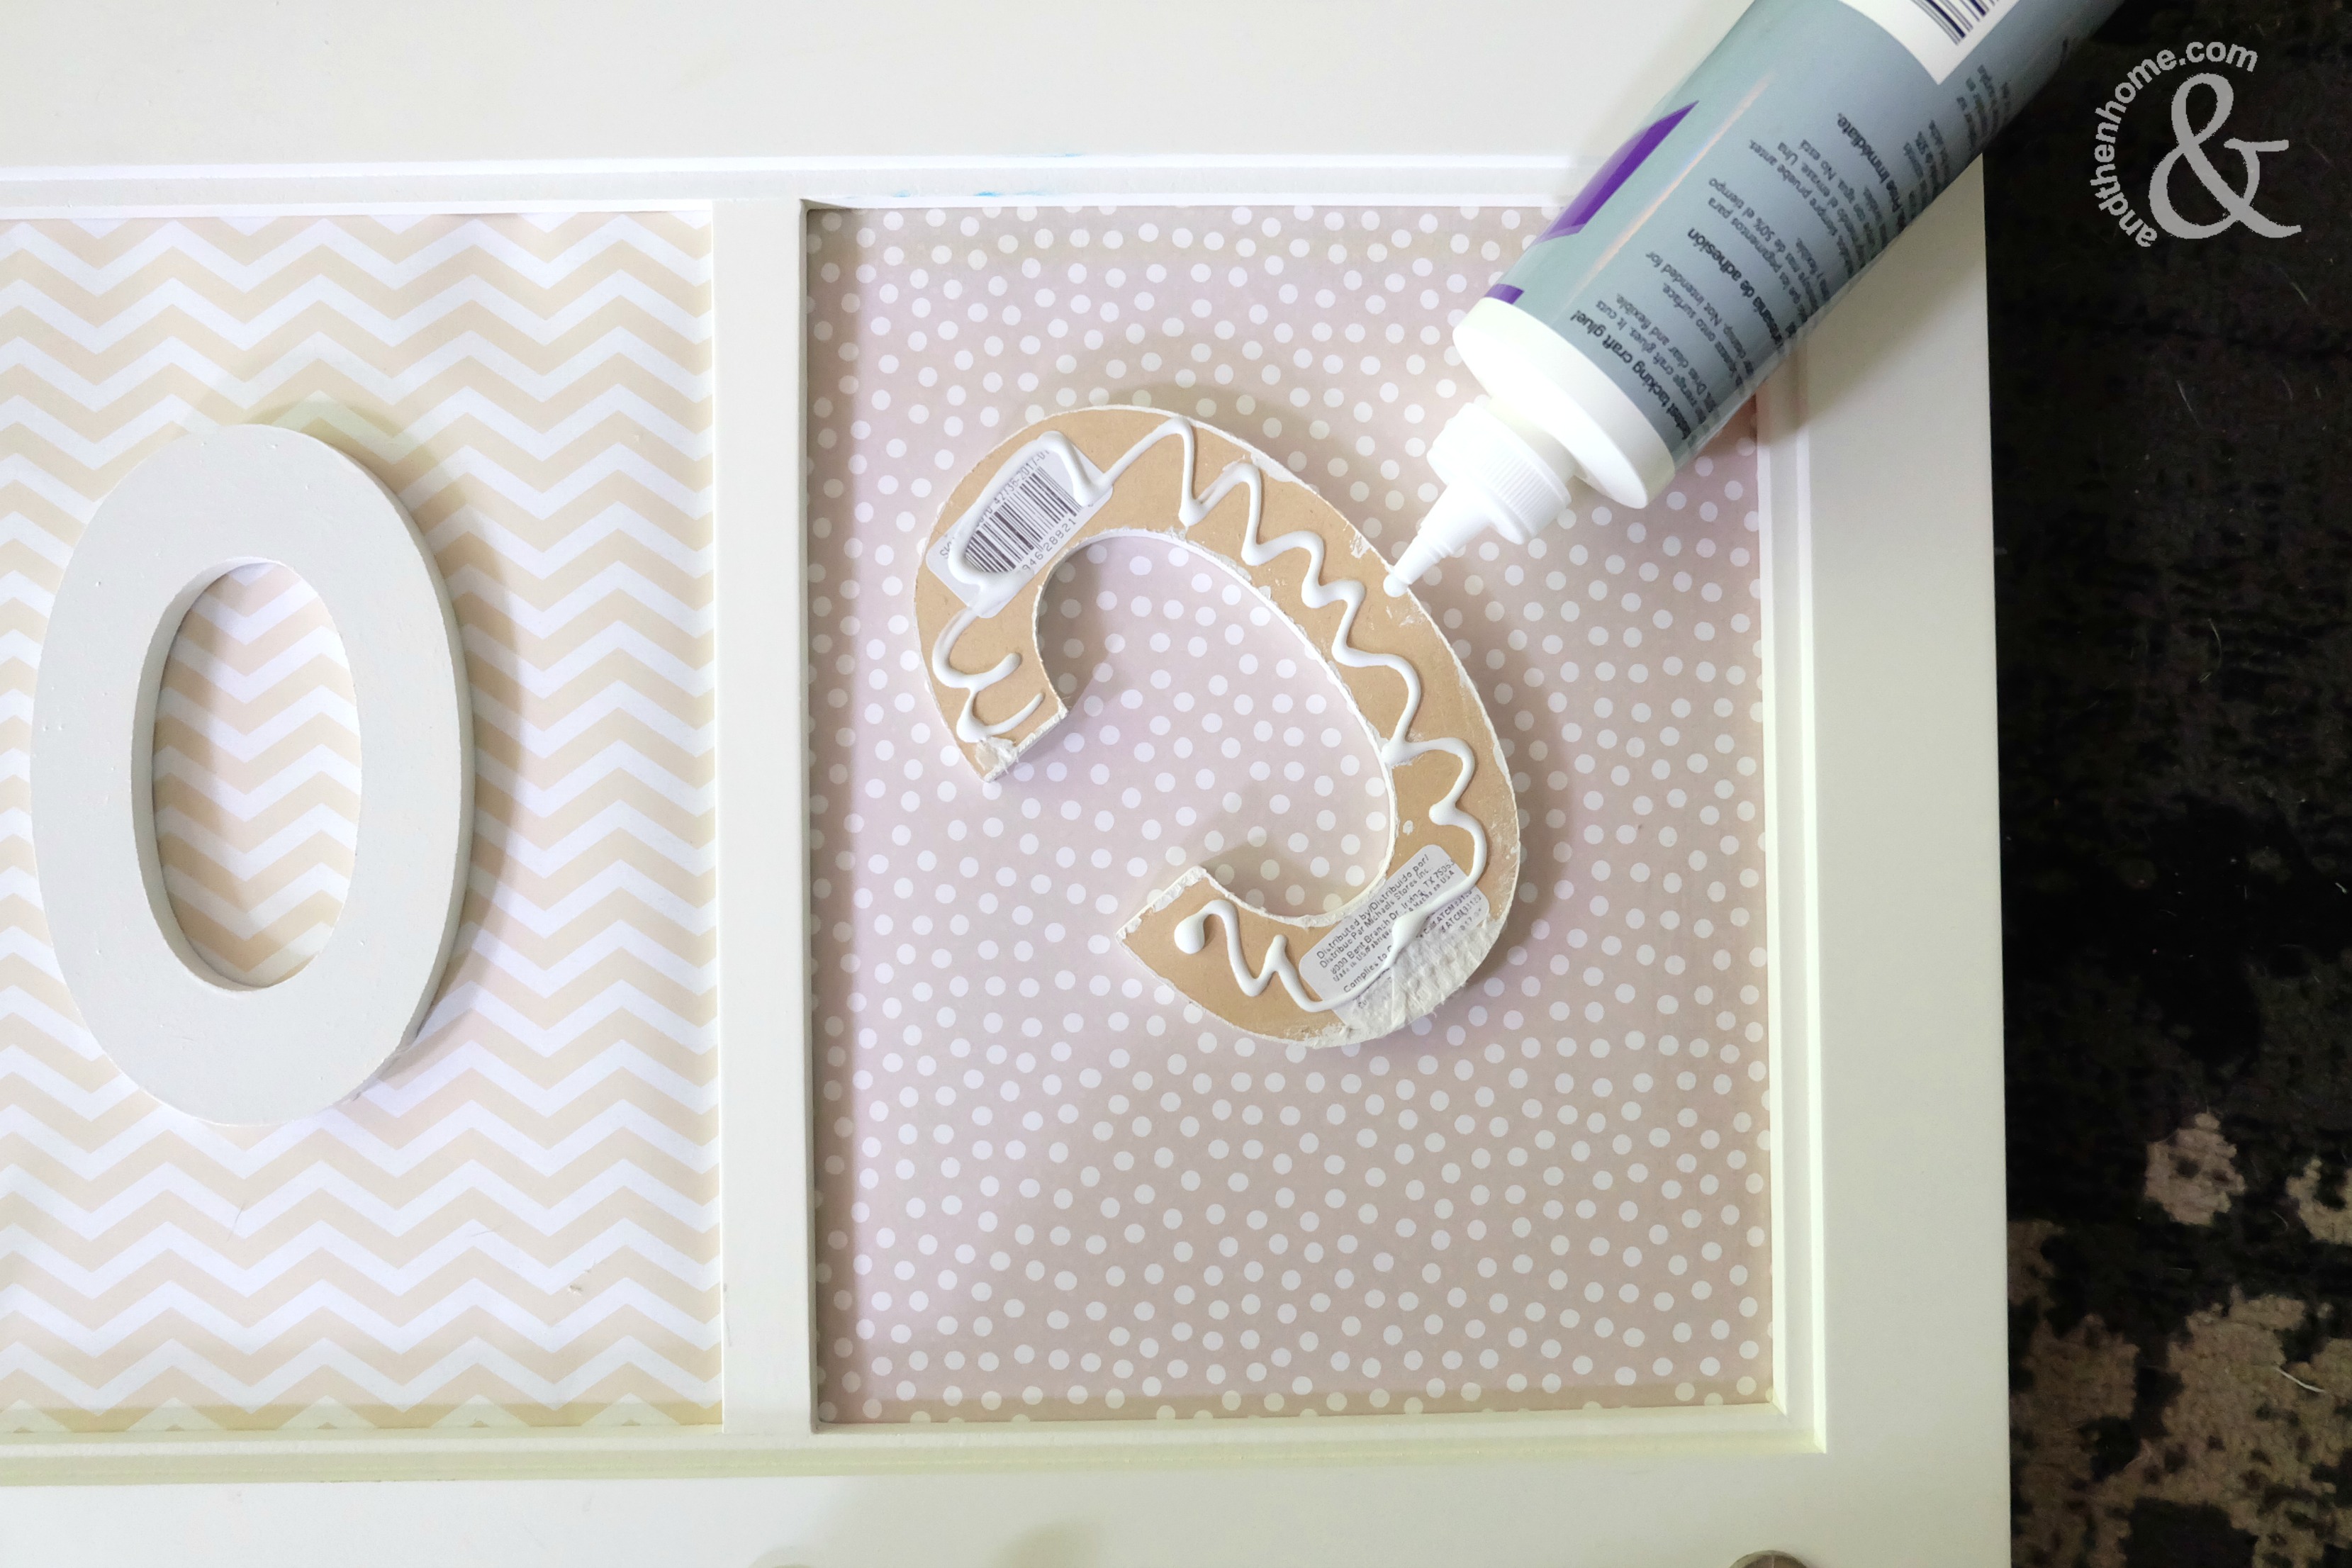
Step 3. Measure and cut your scrapbook paper to the size needed to fill the ‘windows’ of your coat rack. Then remove the back of the window and place your scrapbook paper inside. No need to glue them down.

Step 4. Glue your letters down onto the scrapbook paper using glue (if your not sure which one to use, check out our handy Glue Guide). Set the letters in the middle of each window and set it aside to dry.
Step 5. Hang your finished Kids Coat Rack in your mud room or entry way for an easy to use coat and backpack organizer!!

I hope you liked this easy decor project! Obviously great to keep the kiddos organized, but could also work for your pets or yourself. If you’re looking for more Up-Cycled projects check out our fun Up-Cycled Dollar Store Trash Can.
Disclosure: Some of the links in this post are affiliate links. There may be a small commission made by our recommendations, and/or link to products mentioned or services on this website. Your purchase will help us continue to bring you amazing content, step-by-steps and product reviews.