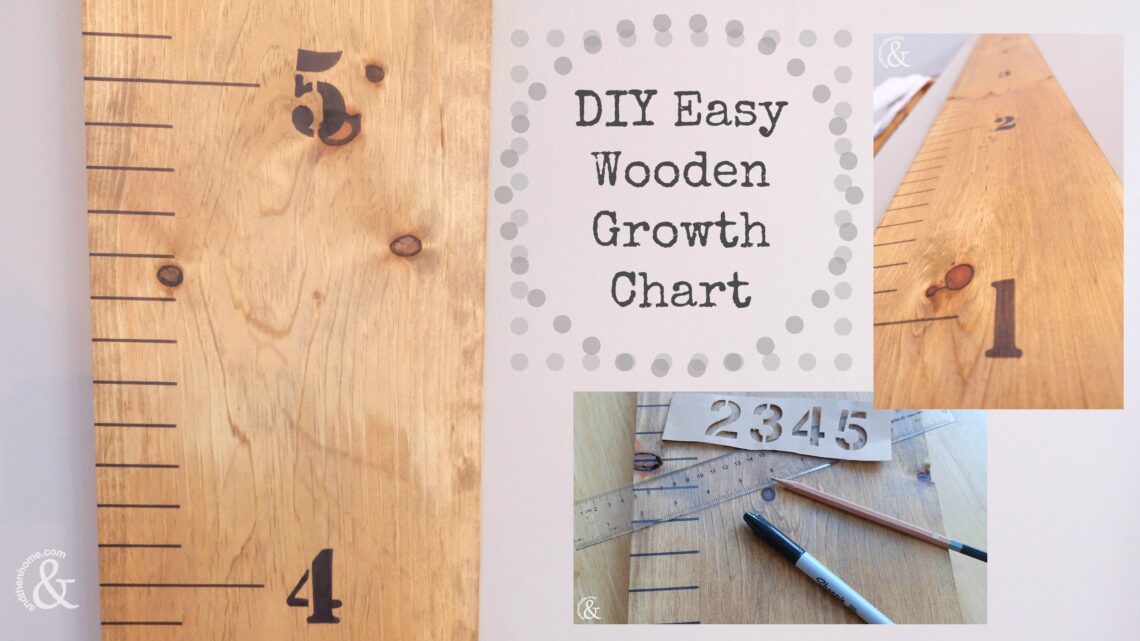
DIY Easy Wooden Growth Chart
Kids growth charts have been around for a long time. They use to be done on doorways of houses, but families quickly realized that without a lot of effort…those charts had to be left behind. Somewhere along the way a removable wood growth chart was created, a height chart that can move with us. I have been wanting to make a growth chart for my three girls ever since. I have been procrastinating for a while thinking that this project was going to be a big one, but I was pleasantly surprised by how easy it was! If you have the time, let me tell you a little bit about making an DIY Easy Wooden Growth Chart, or skip down and see the How To.
This blog post may contain affiliate links or ads. What does that mean? We may get a little commission if you make a purchase using our links, at no extra cost to you.
Easy DIY Kids Height Chart
The first thing you need for this height chart is a plank of wood. I stupidly thought this was going to be a hard task and I obviously hadn’t spent very much time inside of a hardware store. I ended up buying a piece that was 1’ x 6’ which is the perfect size. Let me tell you why…
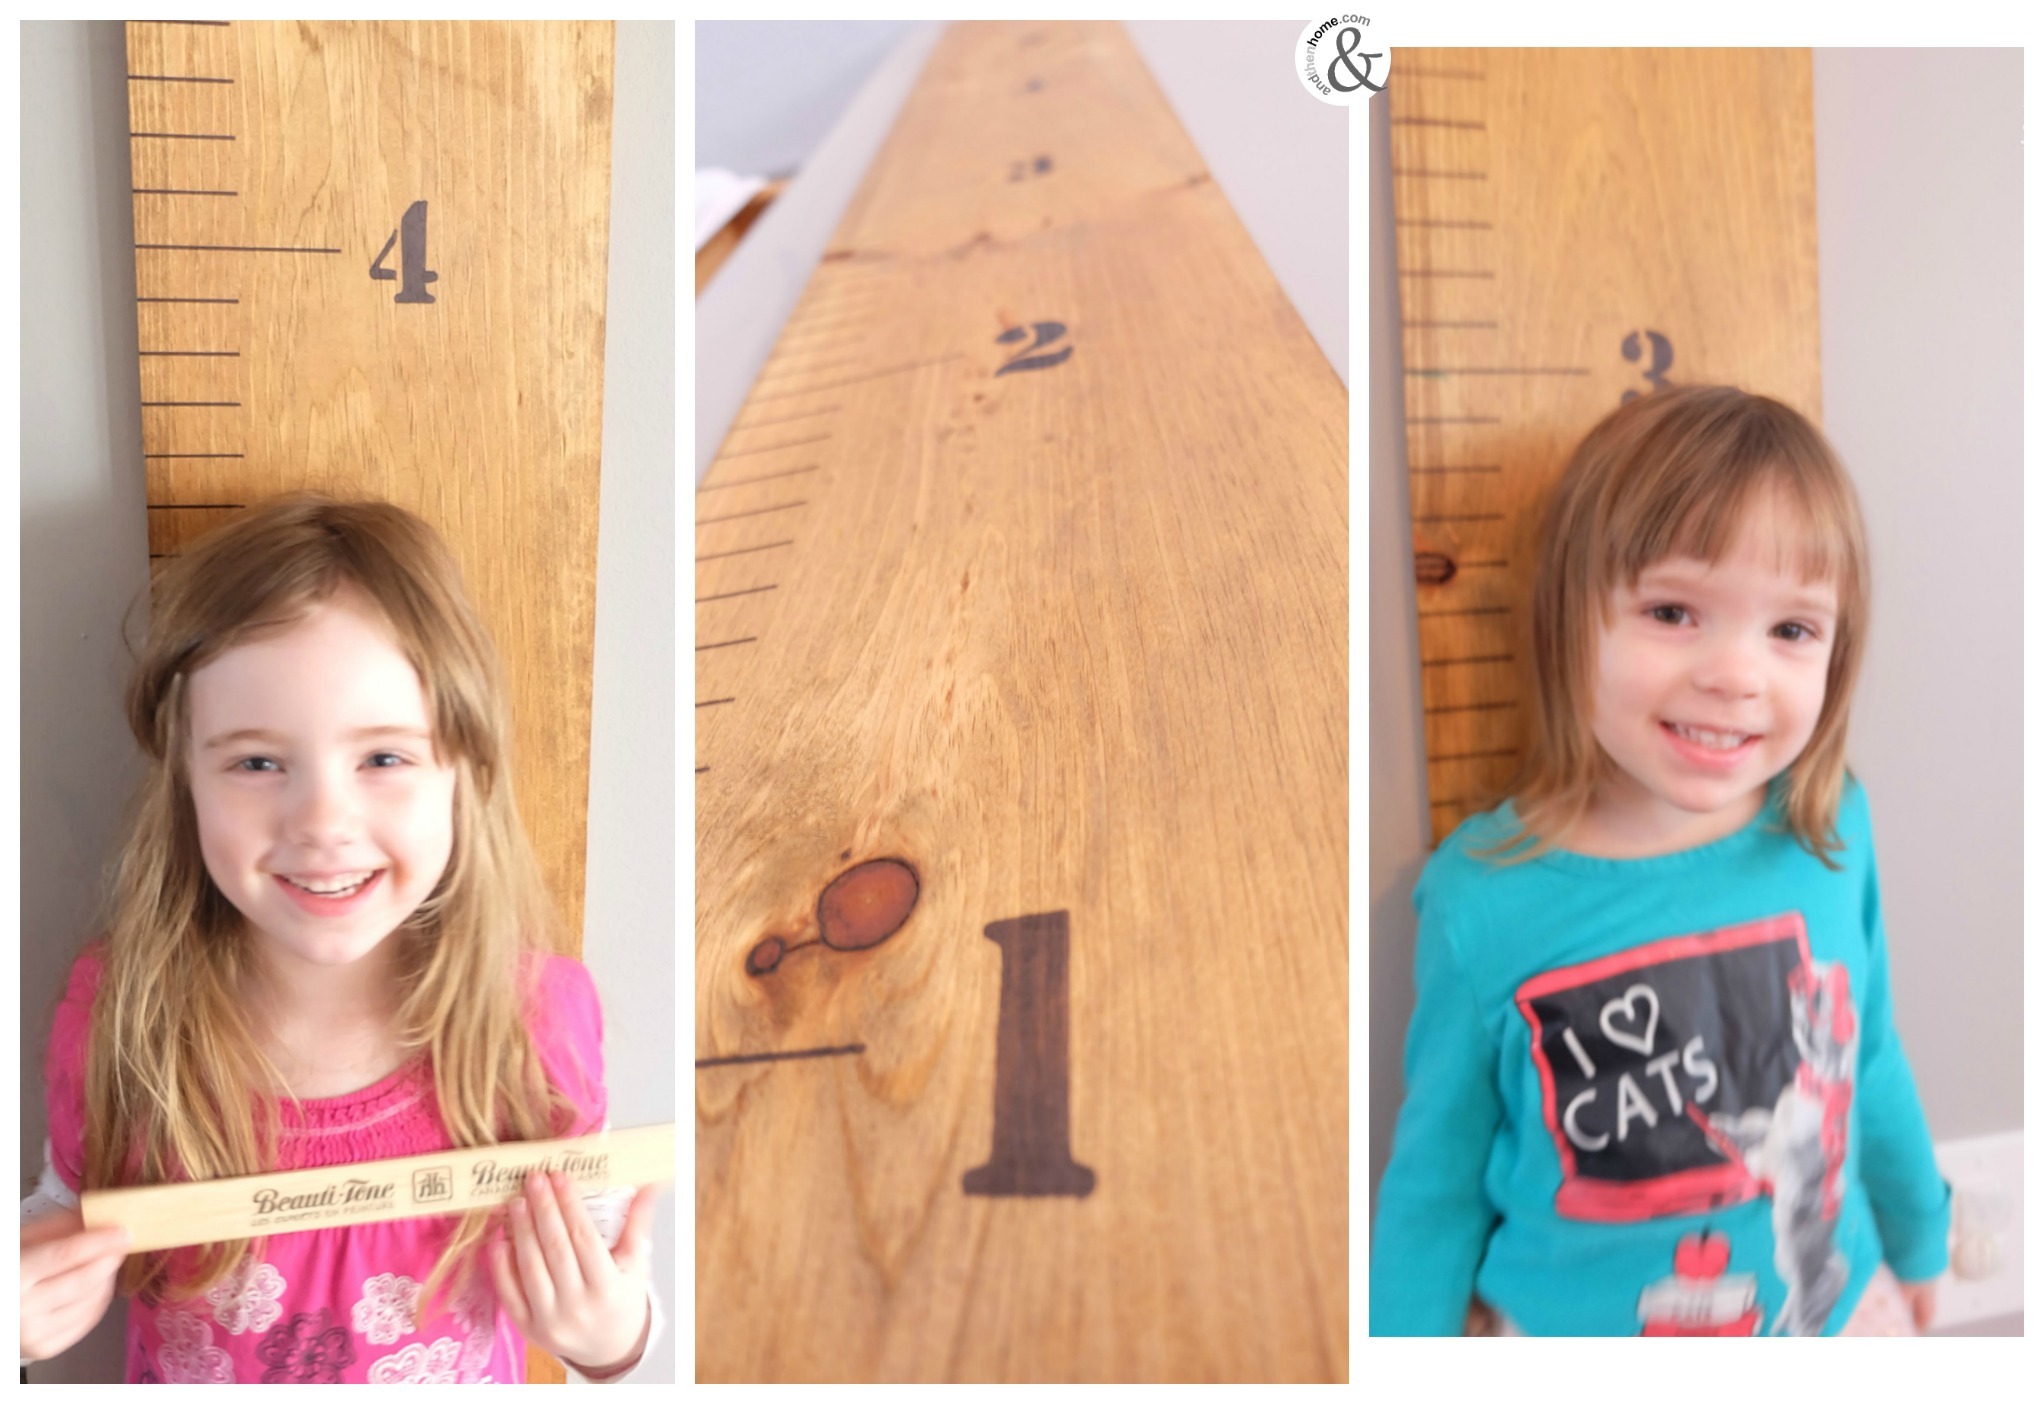
Remember that when you hang your board, you’re not going to hang it flat on the floor. You’ll want to hang your board a couple inches above the floor, at least above the baseboards. So, a six foot board will give you a growth chart of about 6’5, which means you can measure you kids when their adults! They’ll love it, I’m sure.
The longest part of this project is staining the wood. Make sure you apply the stain evenly and allow it to dry completely before moving onto the next steps. Pick any colour you like, but keep in mind you want to be able to see the numbered chart and more importantly your child’s growth. For these reasons I chose a light stain. This way I could use a black sharpie (keep it simple!) for the chart and also any colour sharpie/paint pen to mark the growth of my kids. I could even do one colour for each of my girls.
Here’s how to make this DIY Easy Wooden Growth Chart
- 1’x 6’ wood plank
- Wood stain
- Brush or sponge
- Stencil
- Permanent marker or paint pen
- Ruler
- Stain the wood plank, follow the instructions on the side of the can. Apply it evenly and allow it to dry completely.
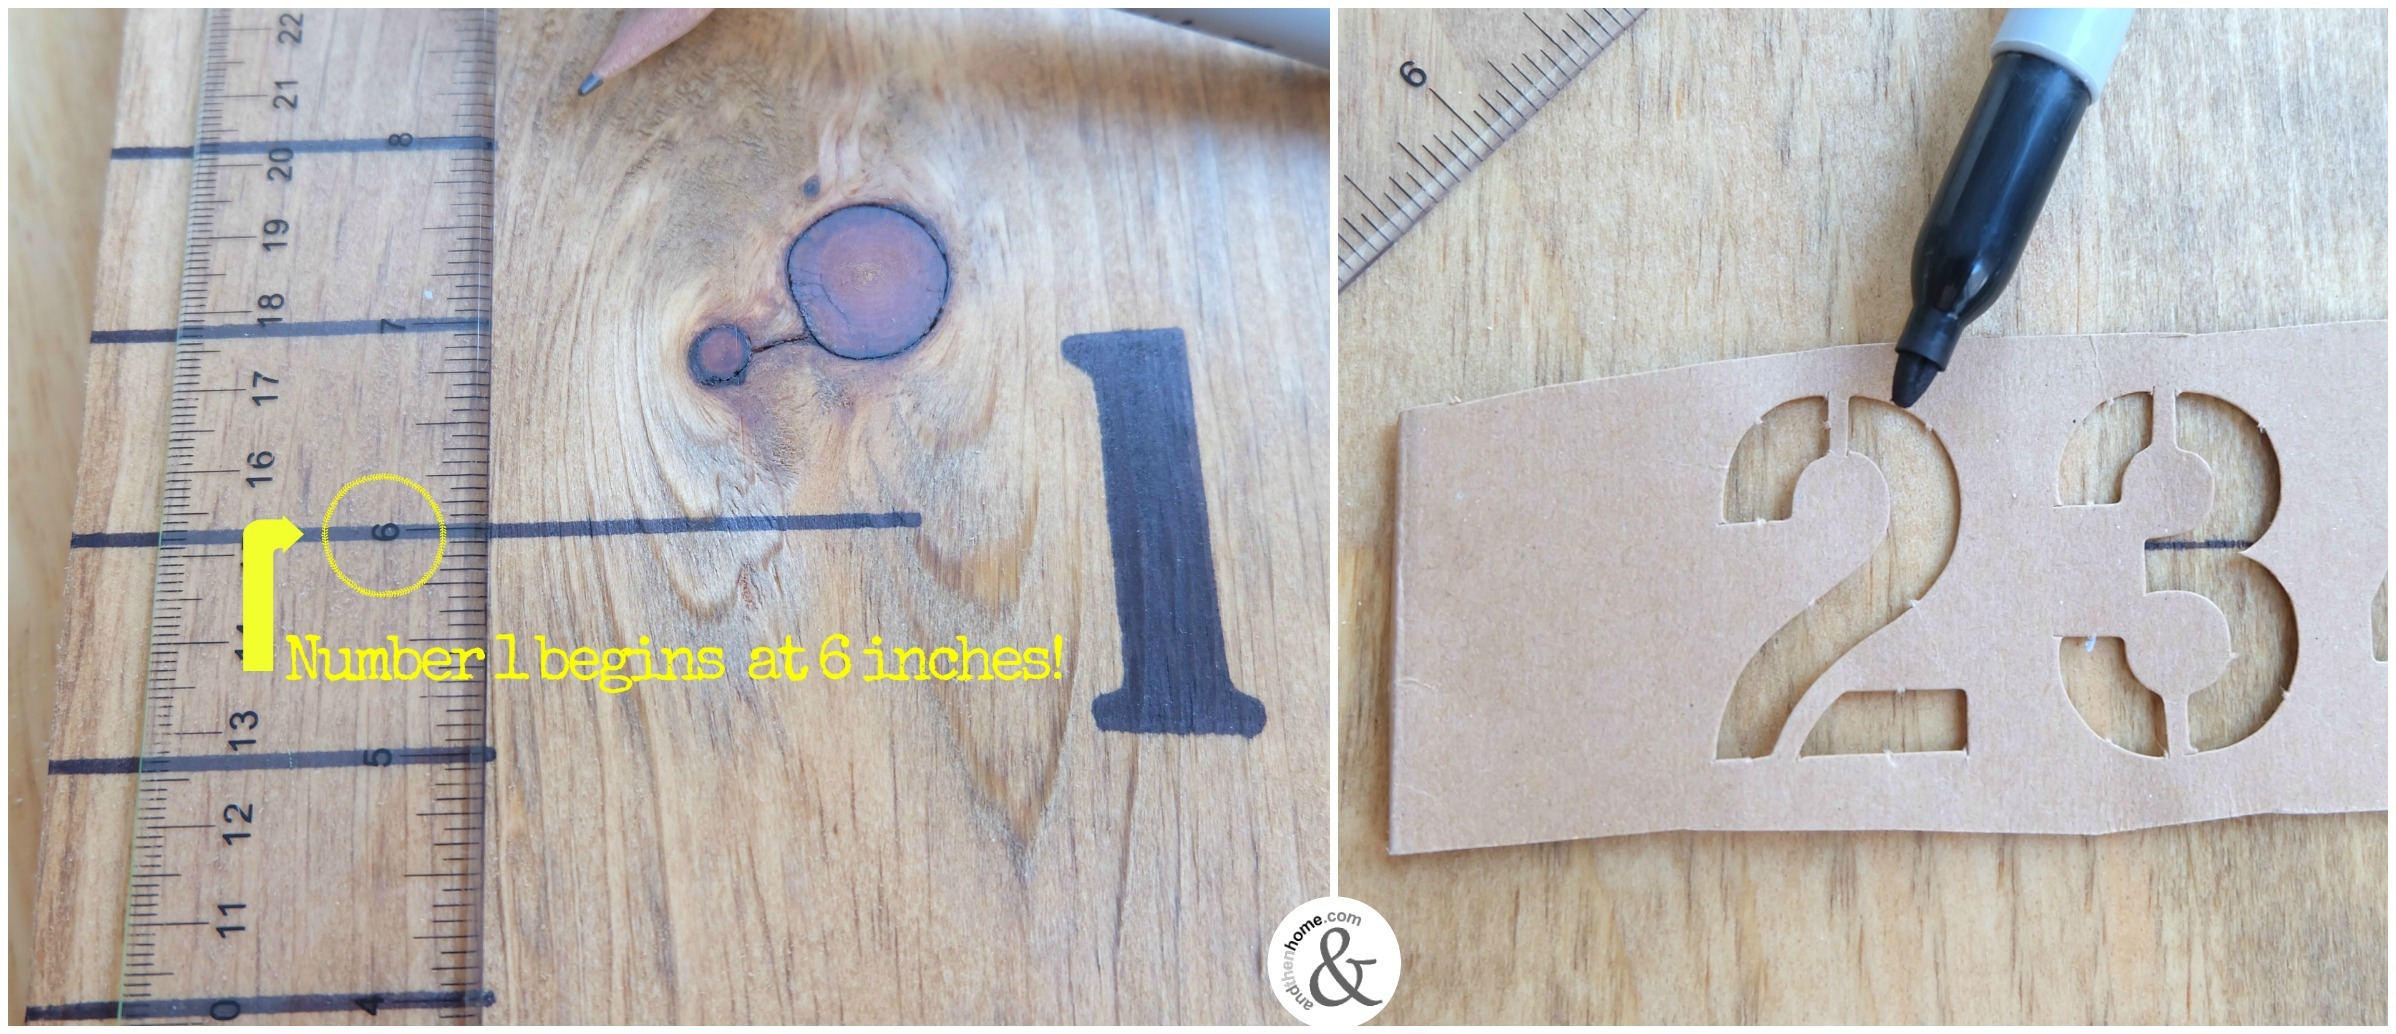
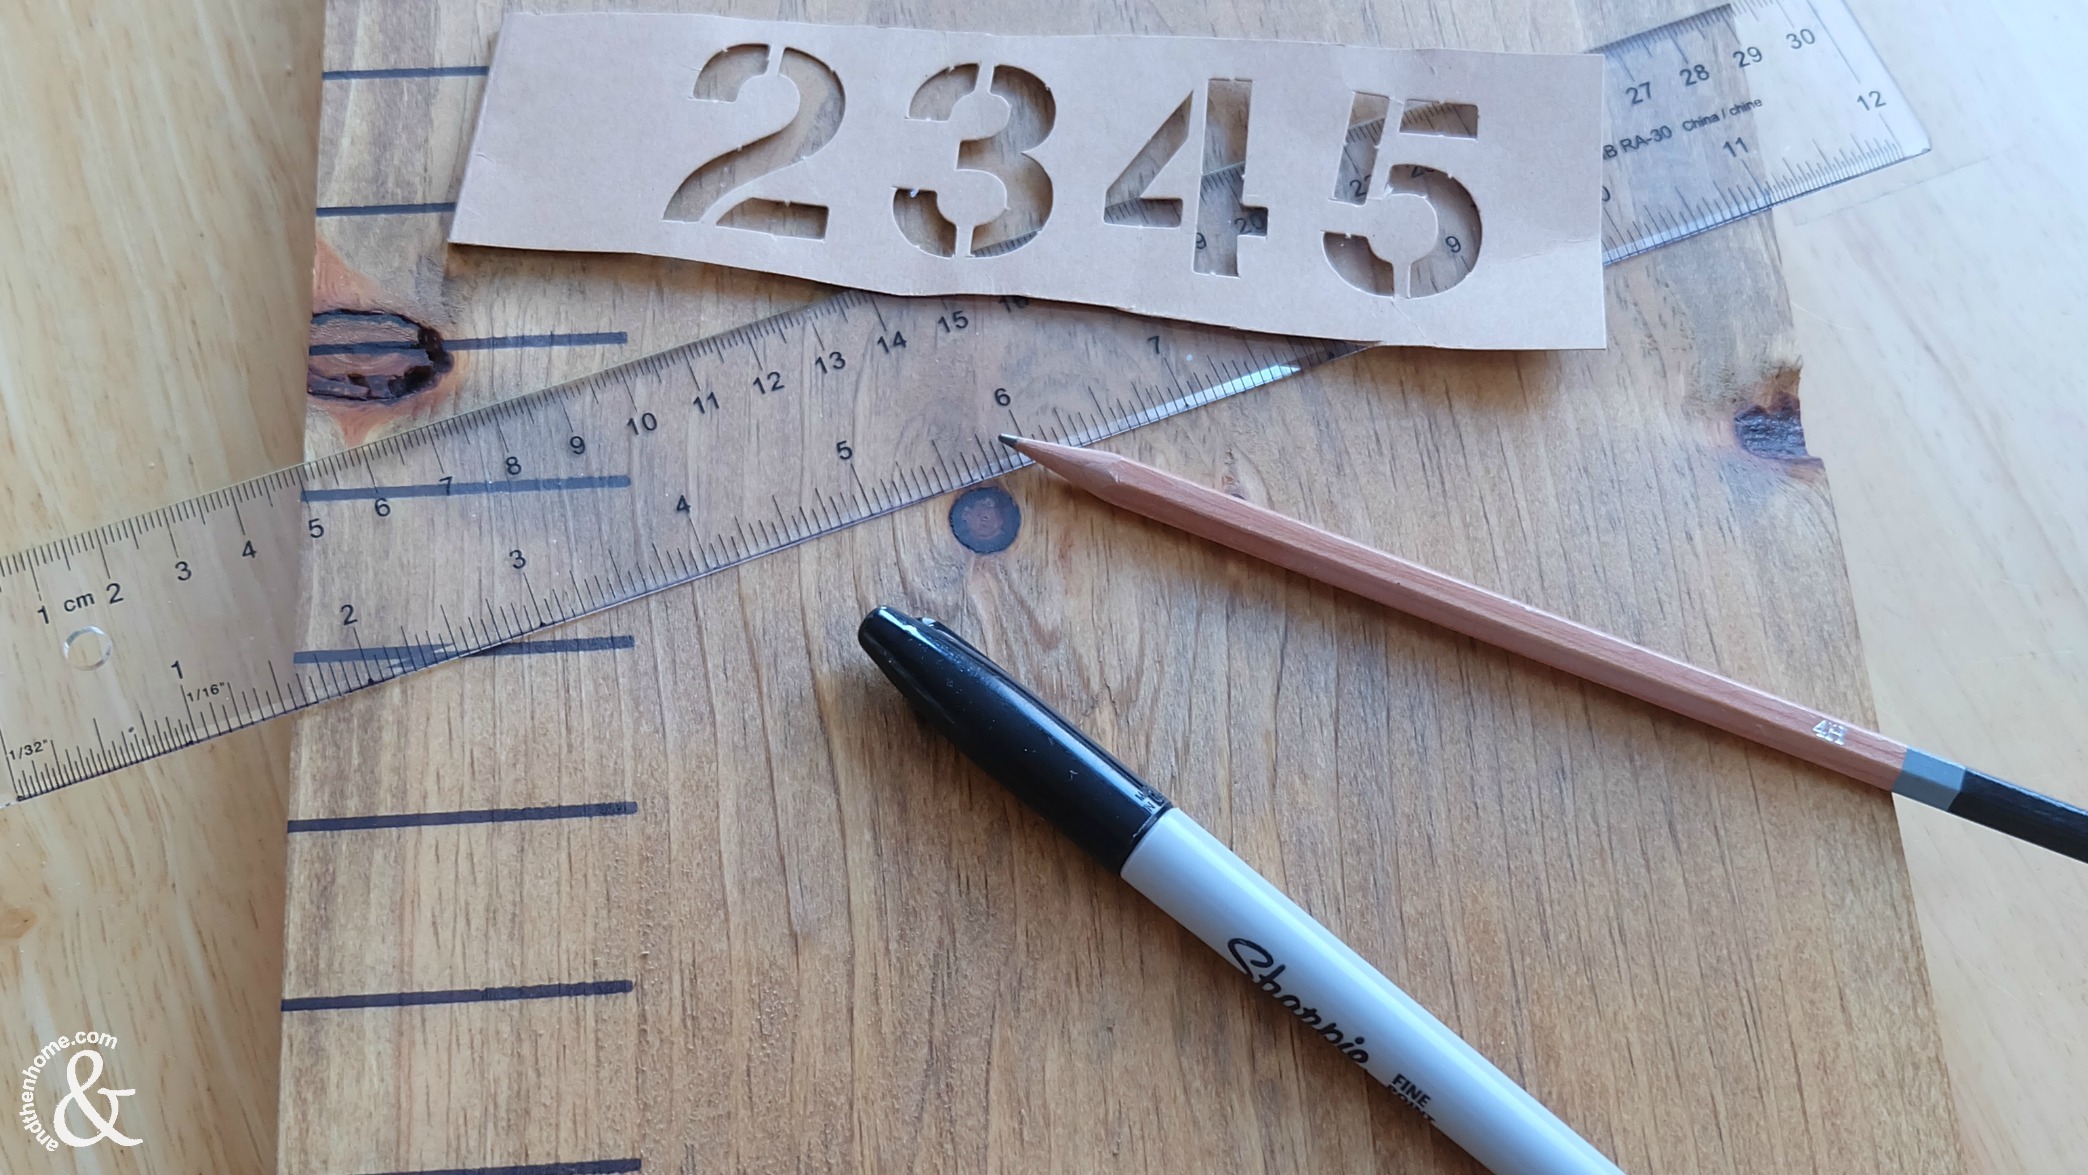
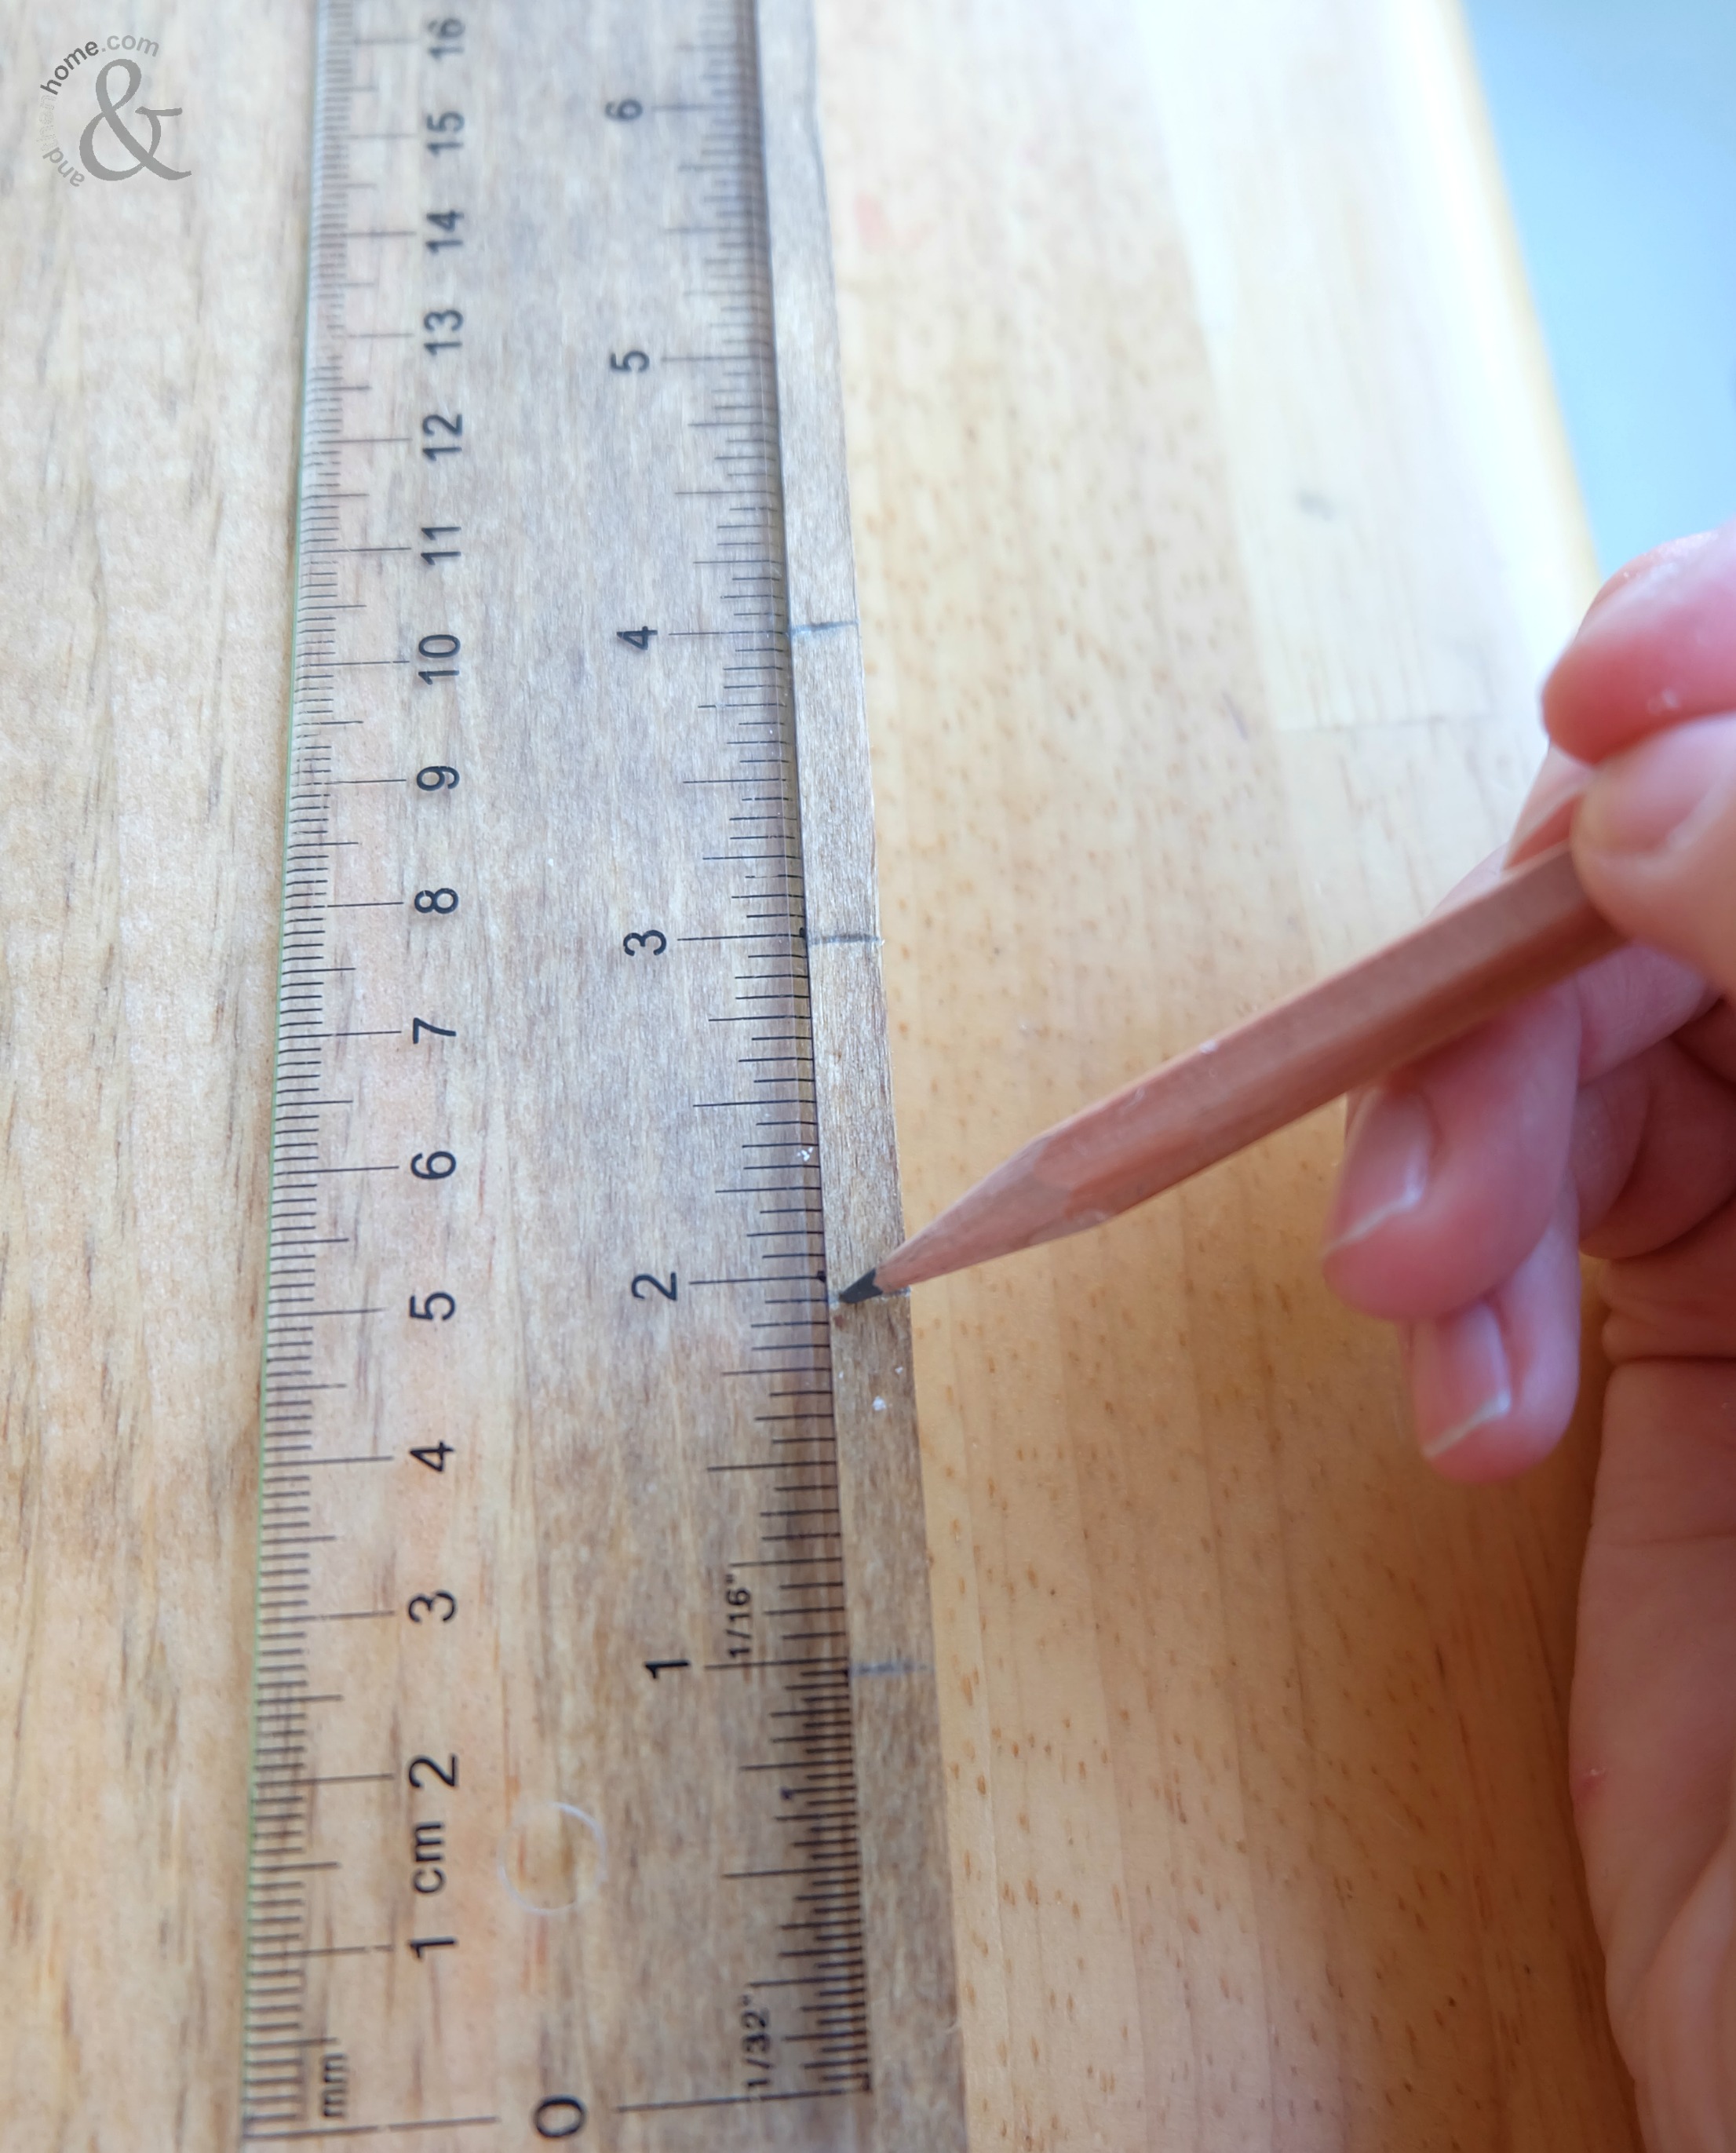
- Using your ruler, measure and mark every inch along the length of the board. Don’t press too hard with your pencil as it could indent in the wood.
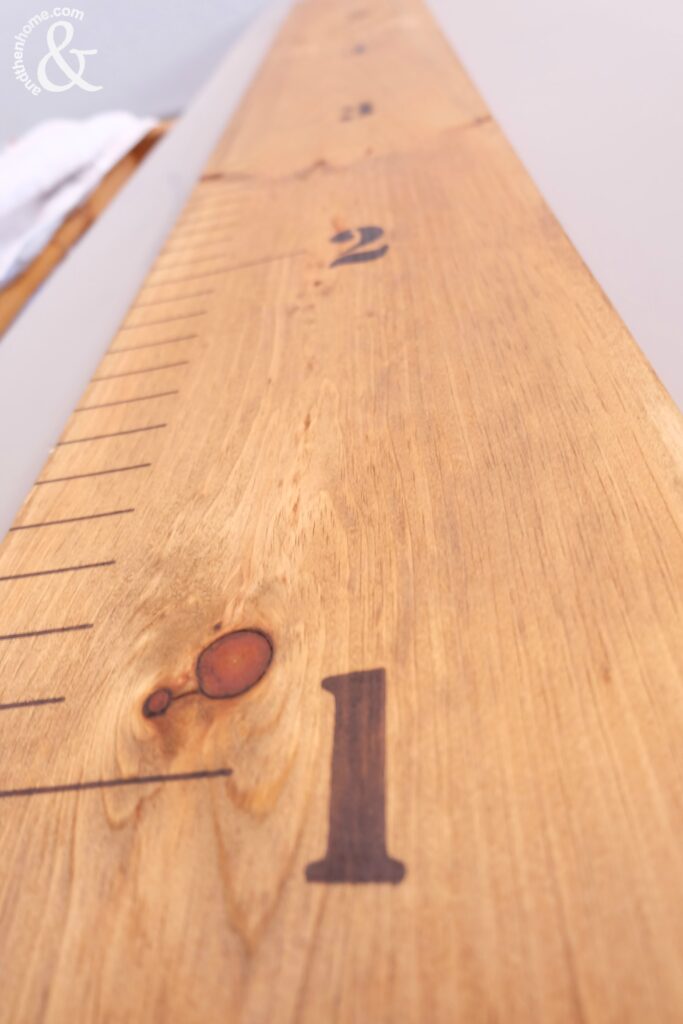
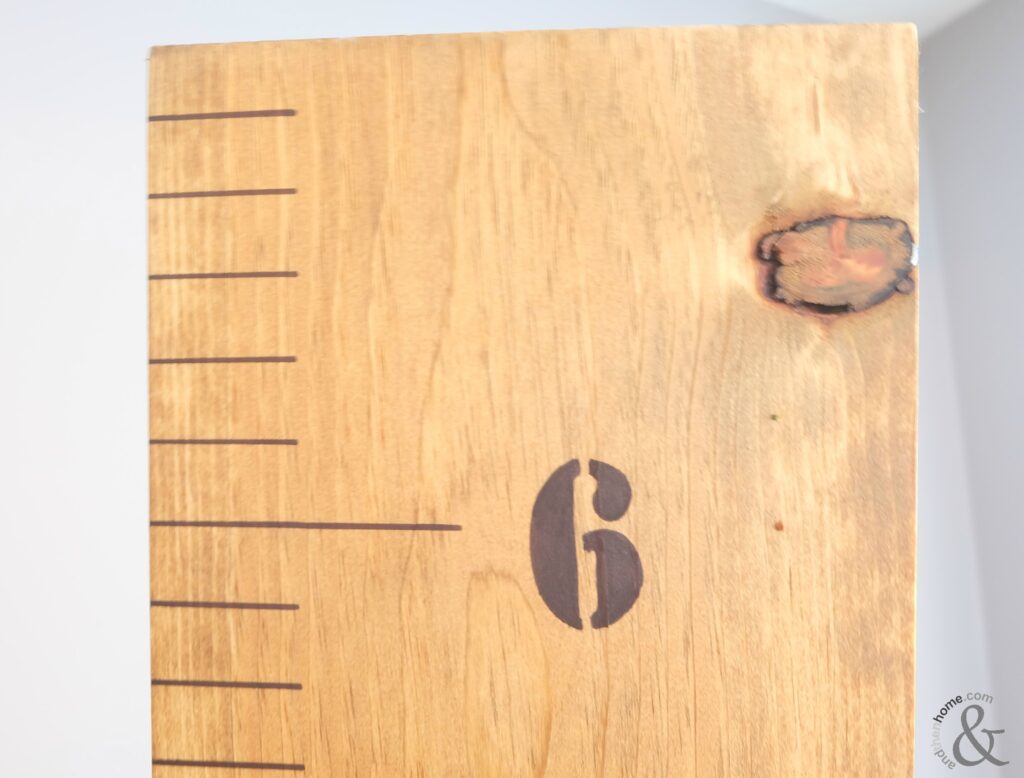
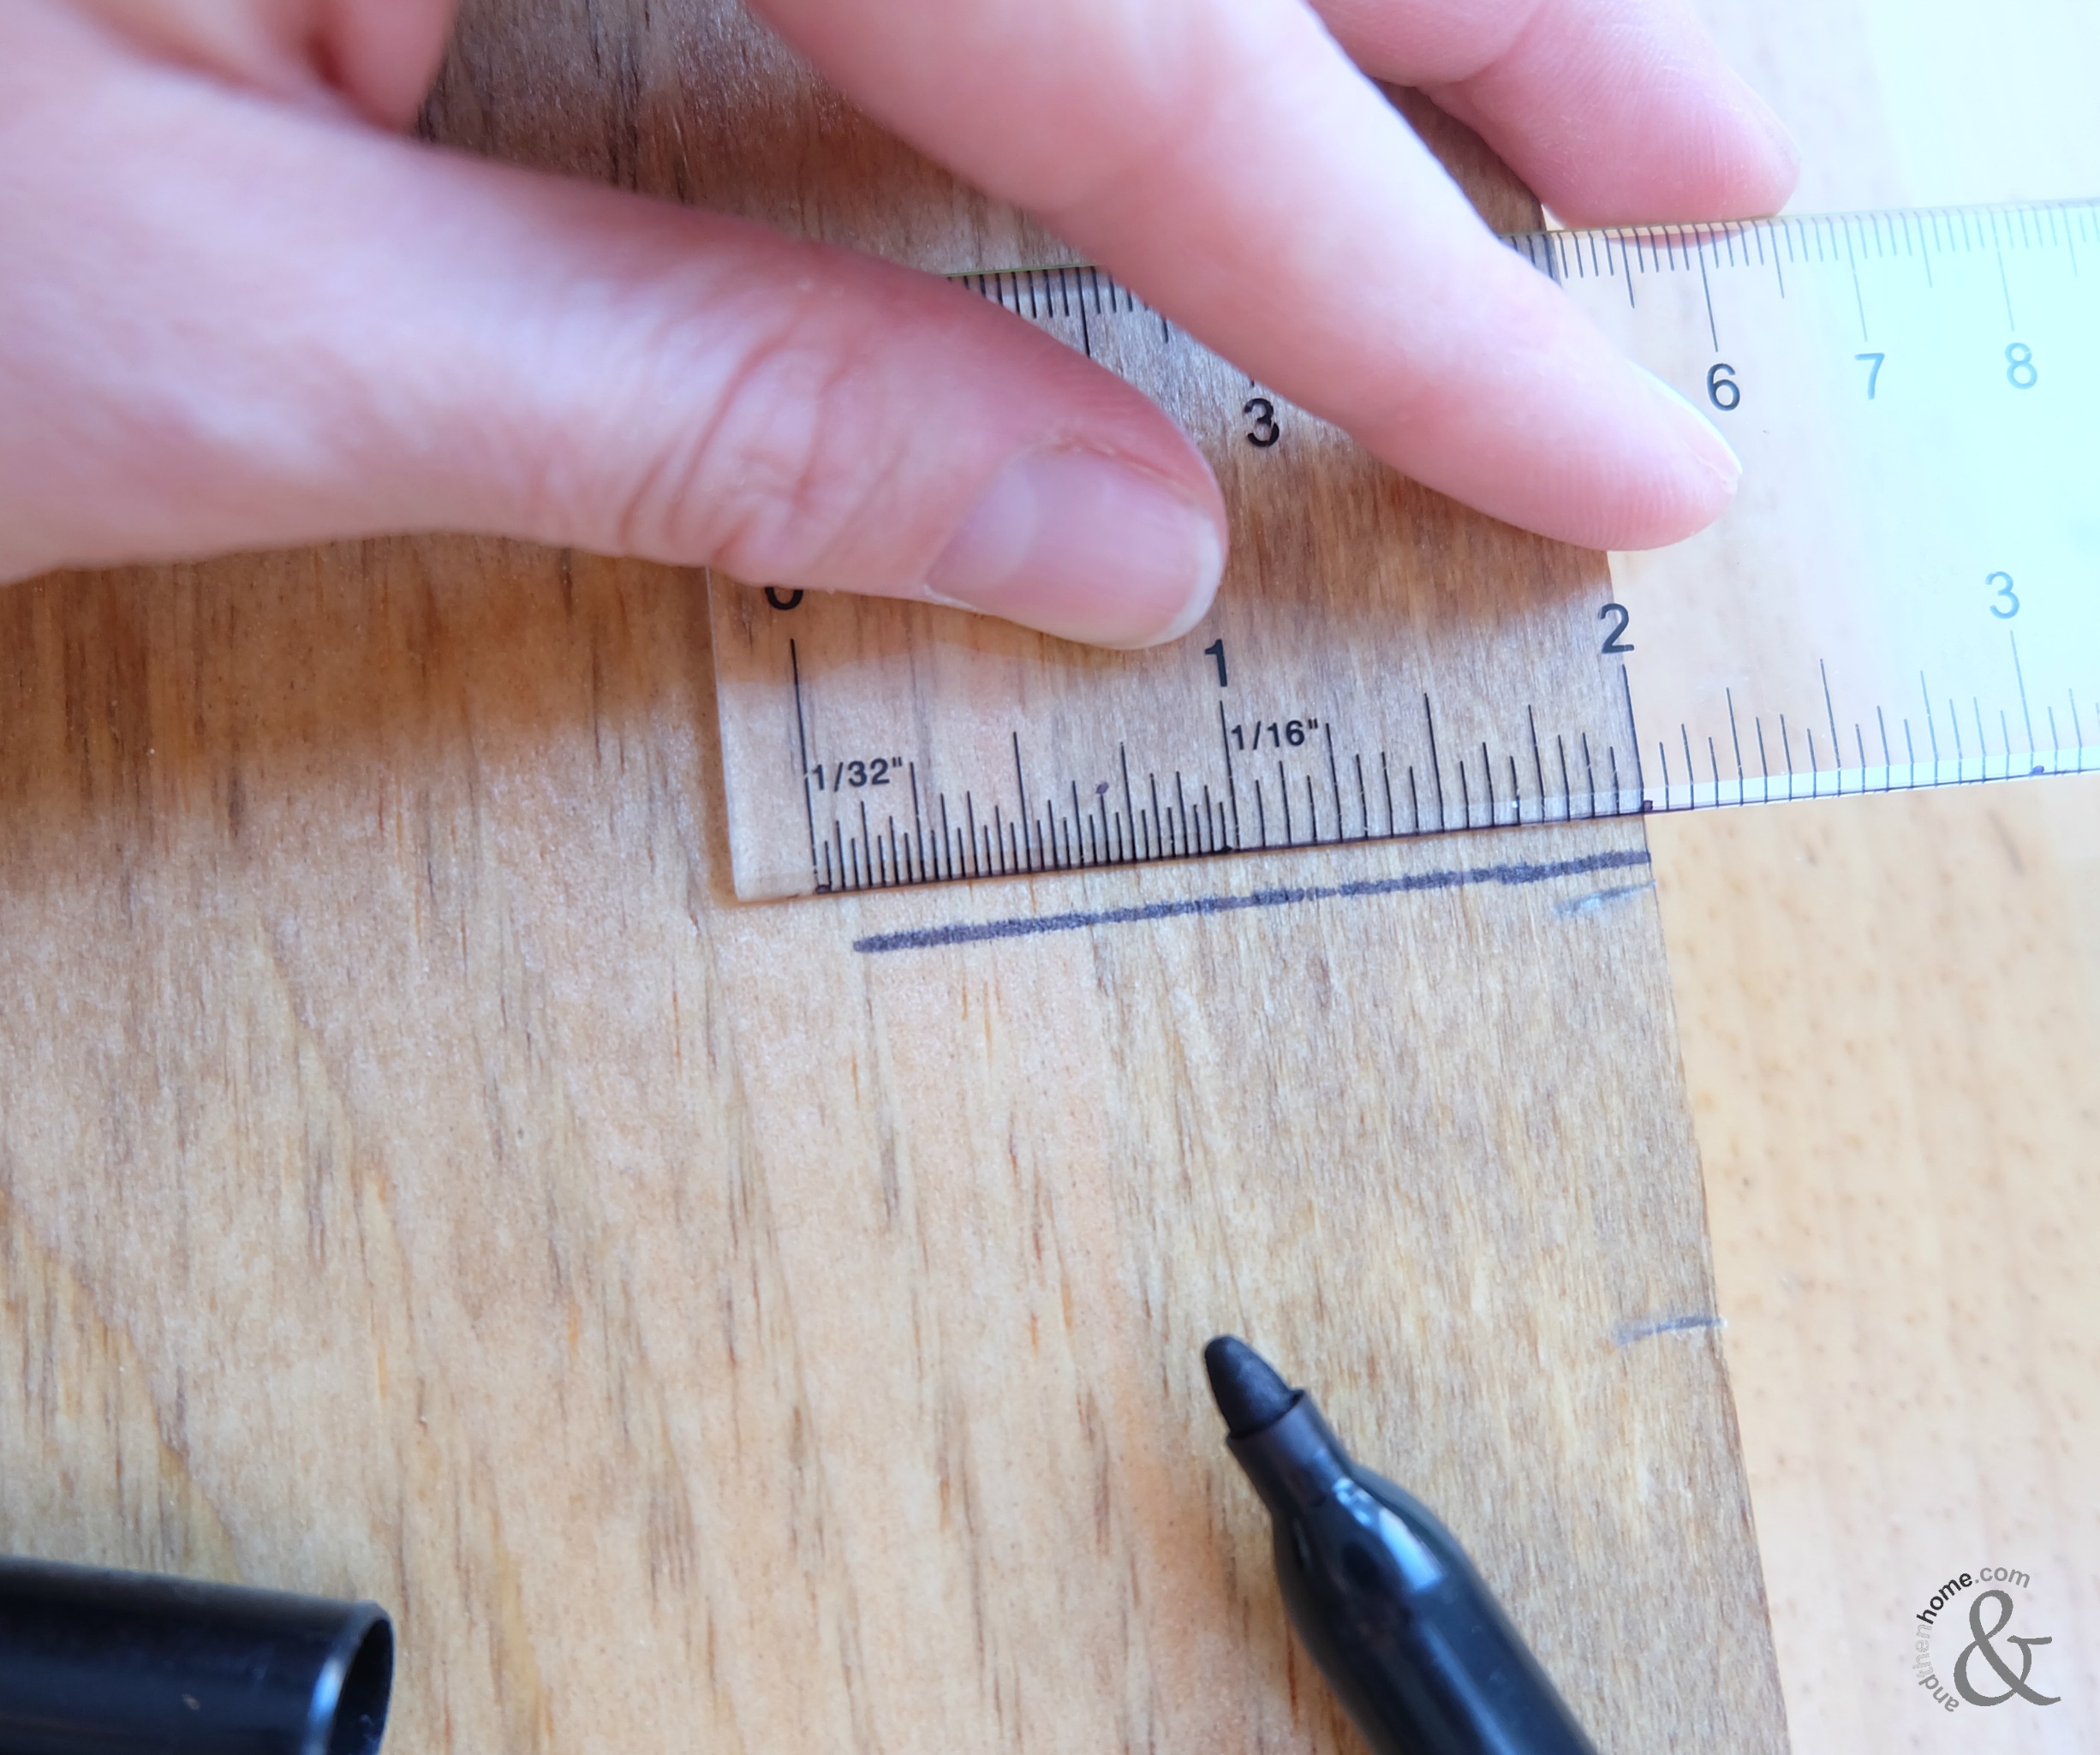
- Using your paint pen/permanent marker, go over every mark with the ruler making a 2” line.
- Onto the numbers. Begin number one at the 6 inch mark. Then add the other numbers every 12” until you reach 6. Use your stencil or freehand it!