DIY Back to School Memory Chalkboard

DIY Back to School Memory Chalkboard
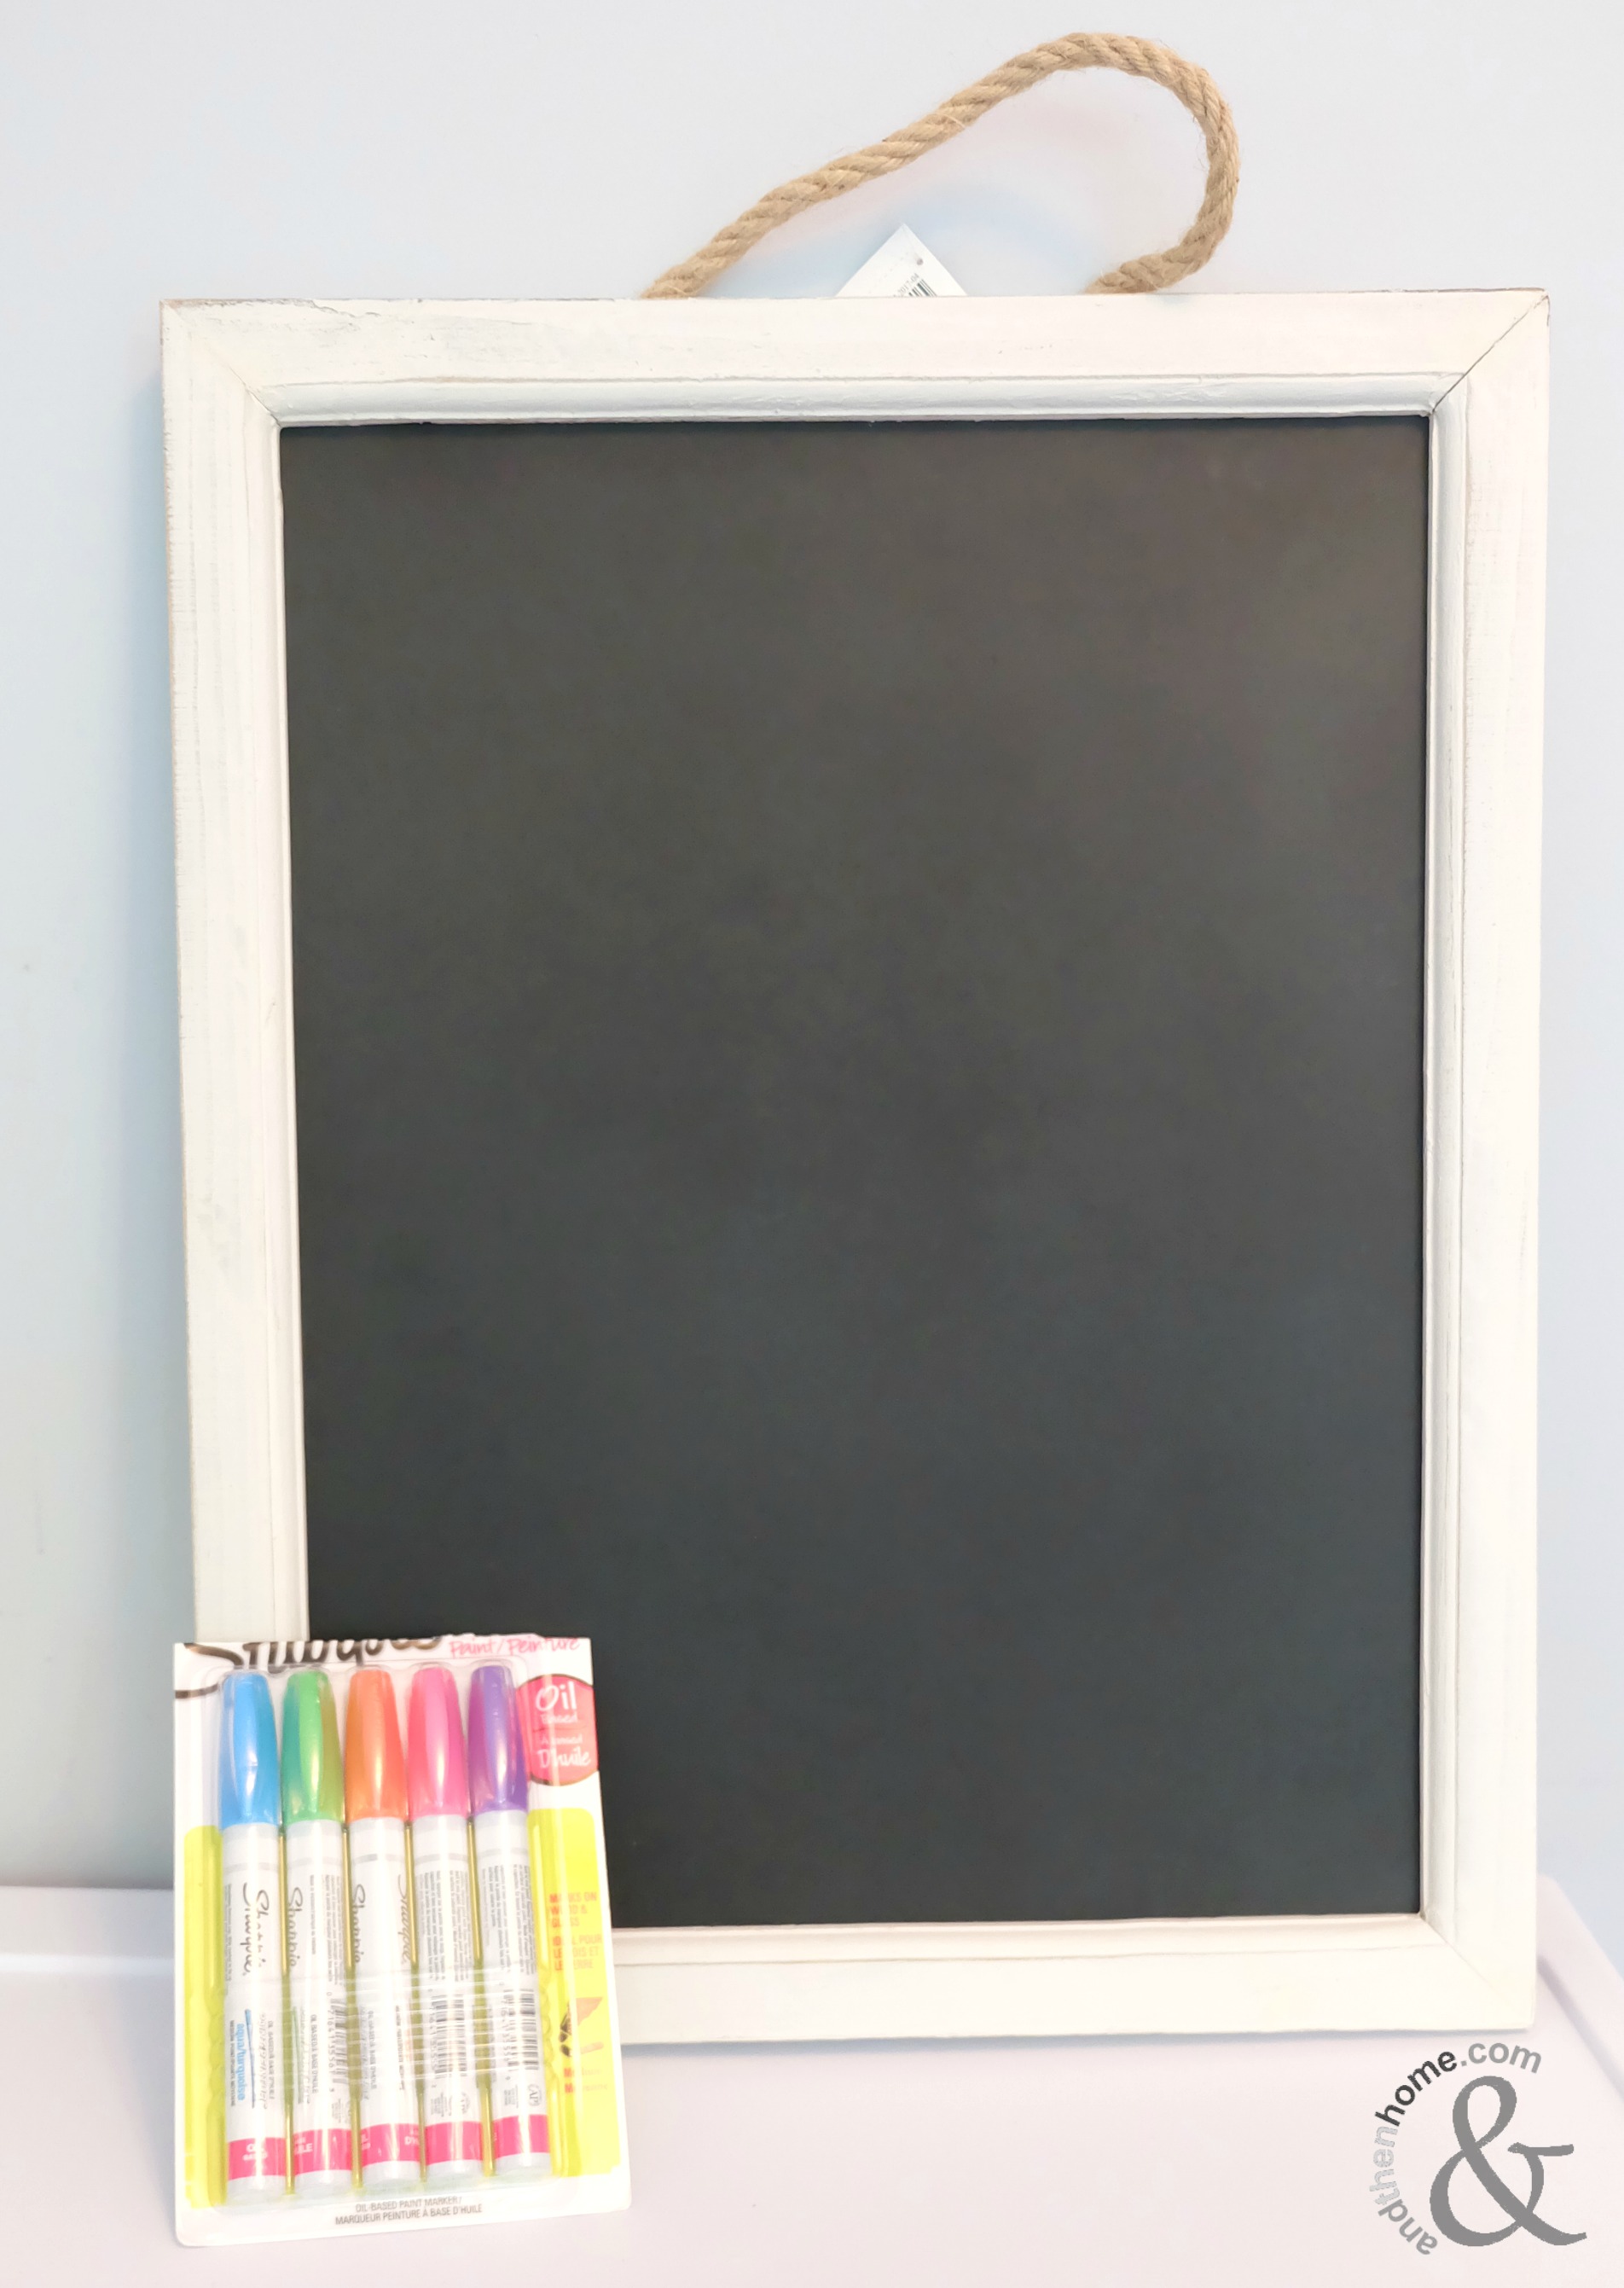
What you’ll need:
- Chalk board
- Oil based paint pens
- Chalk
- Ruler
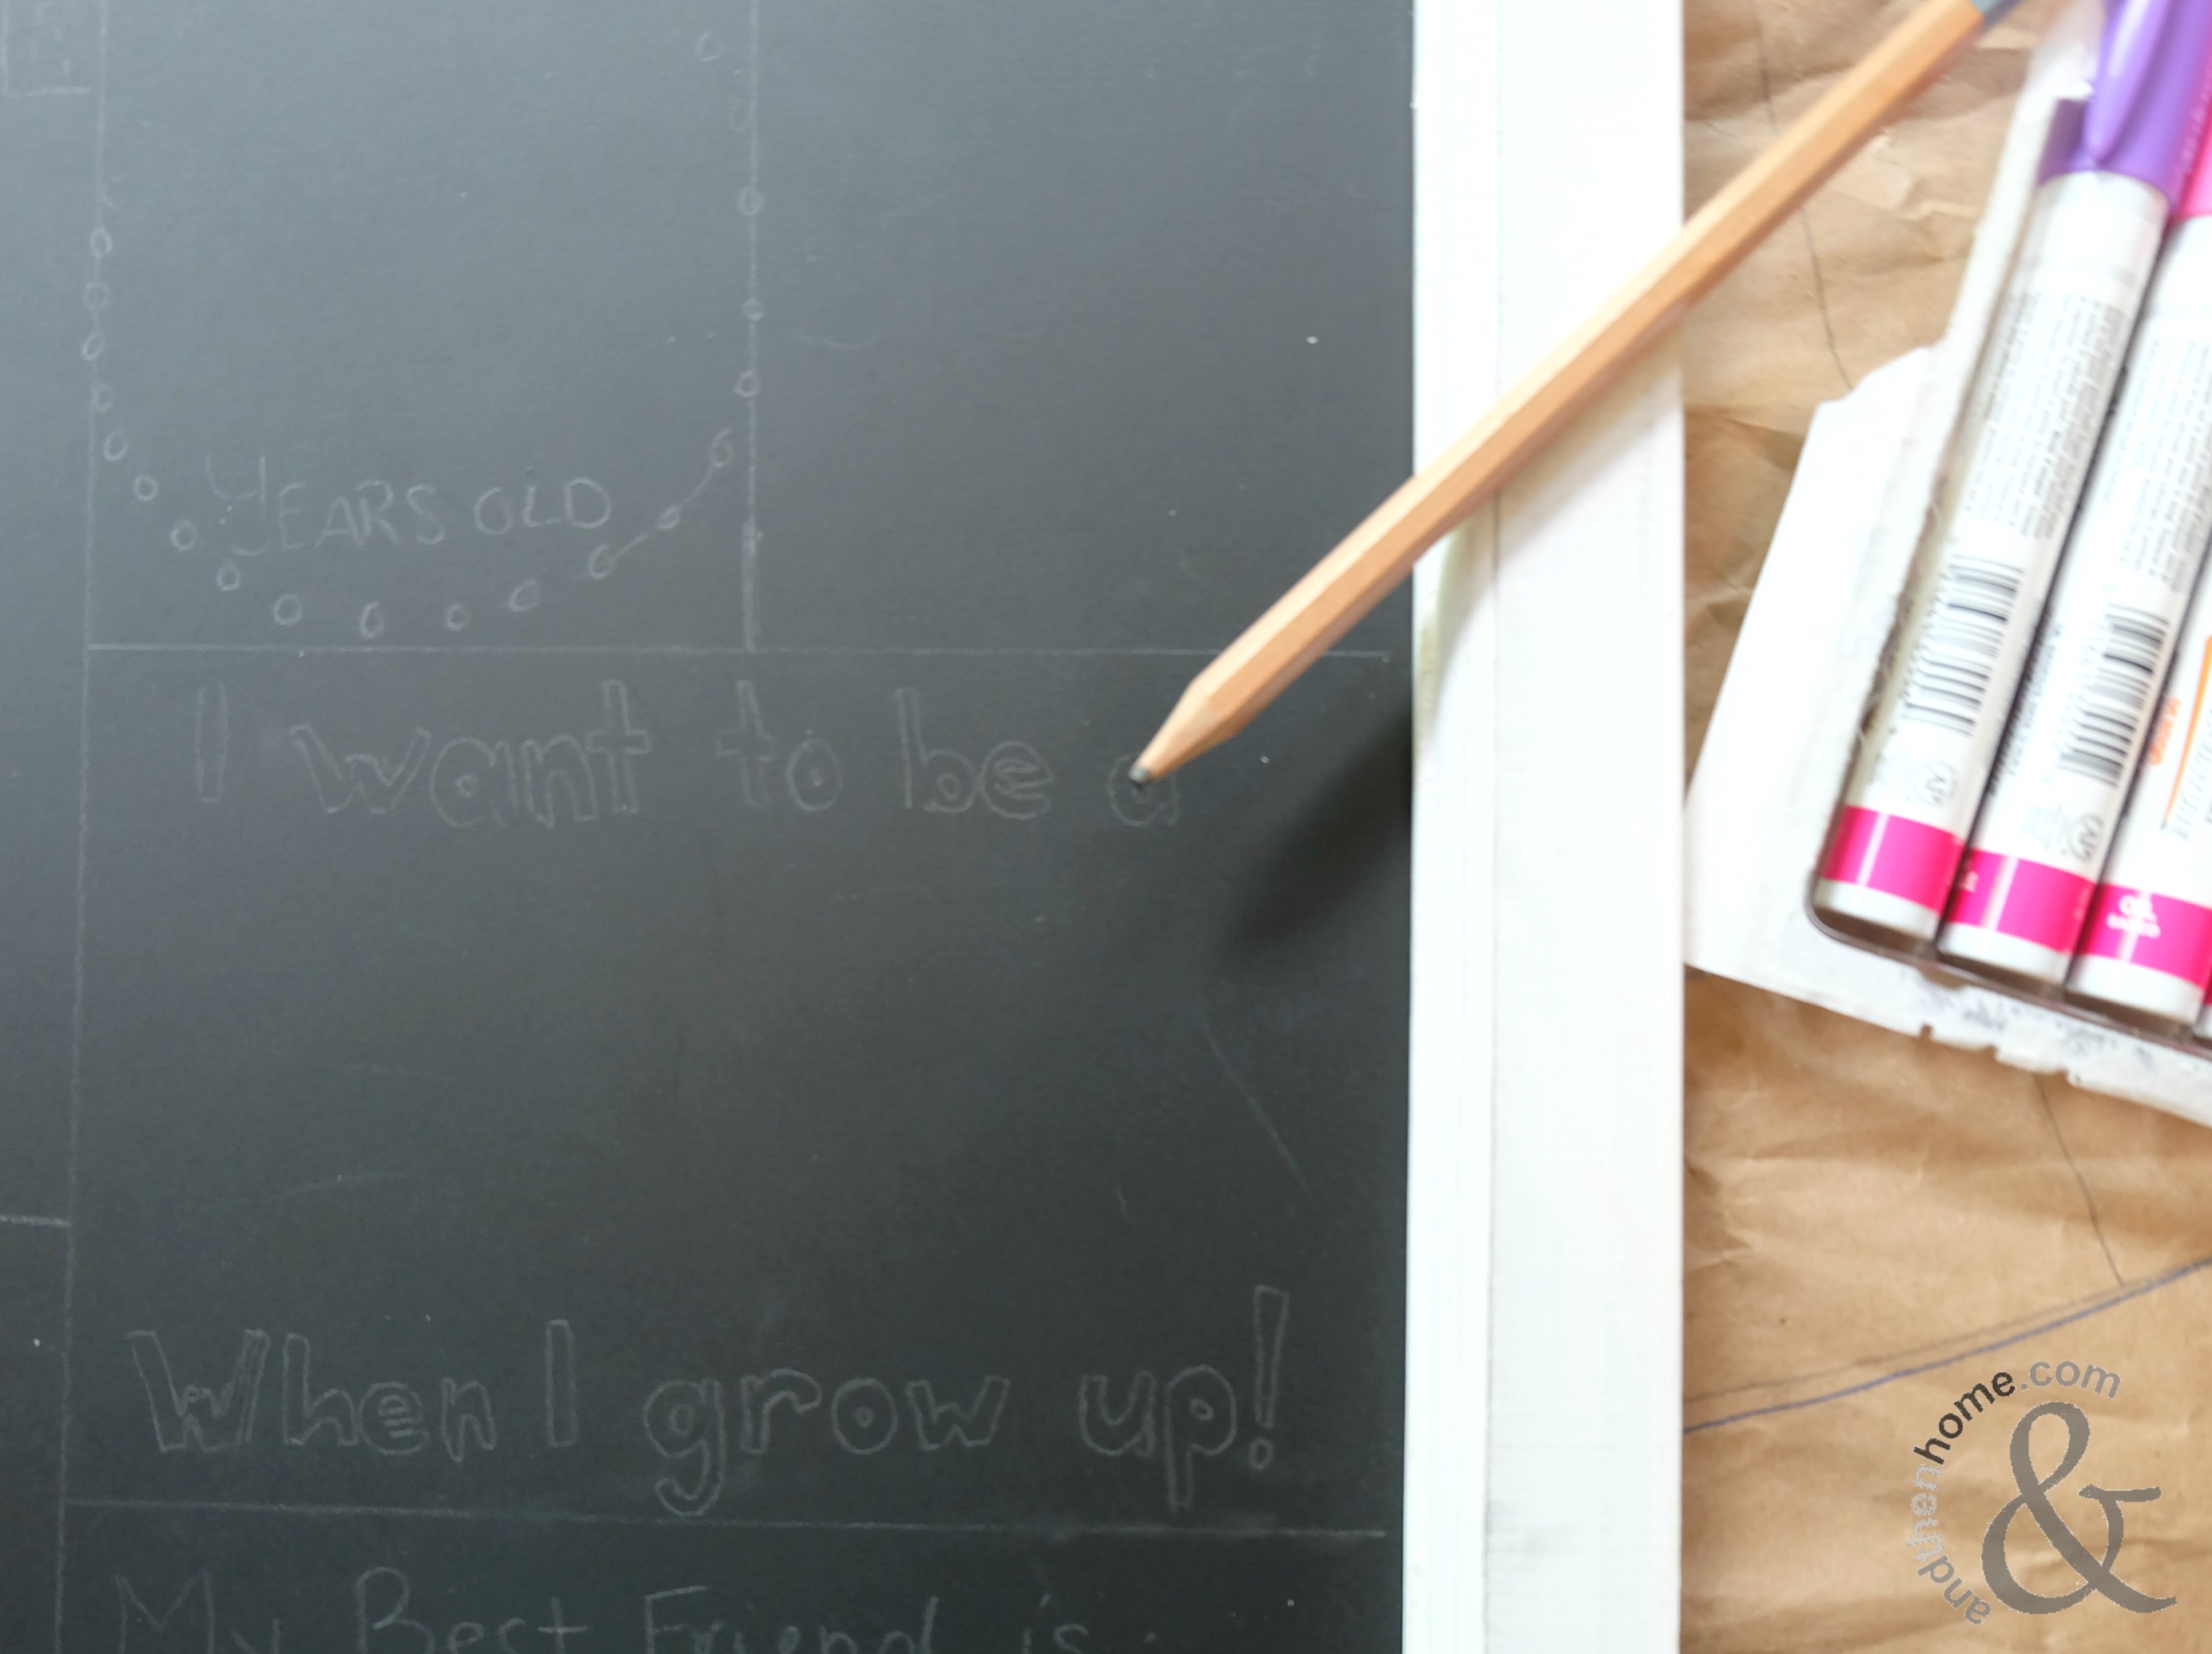
- Pencil (for roughing it in!)
Step 1. Pencil in your design and letters, don’t press too hard with the pencil, just light enough to see the design. Perhaps plan your design on a piece of paper first to give you an idea because once the pencil hits the board, it will be hard to erase.
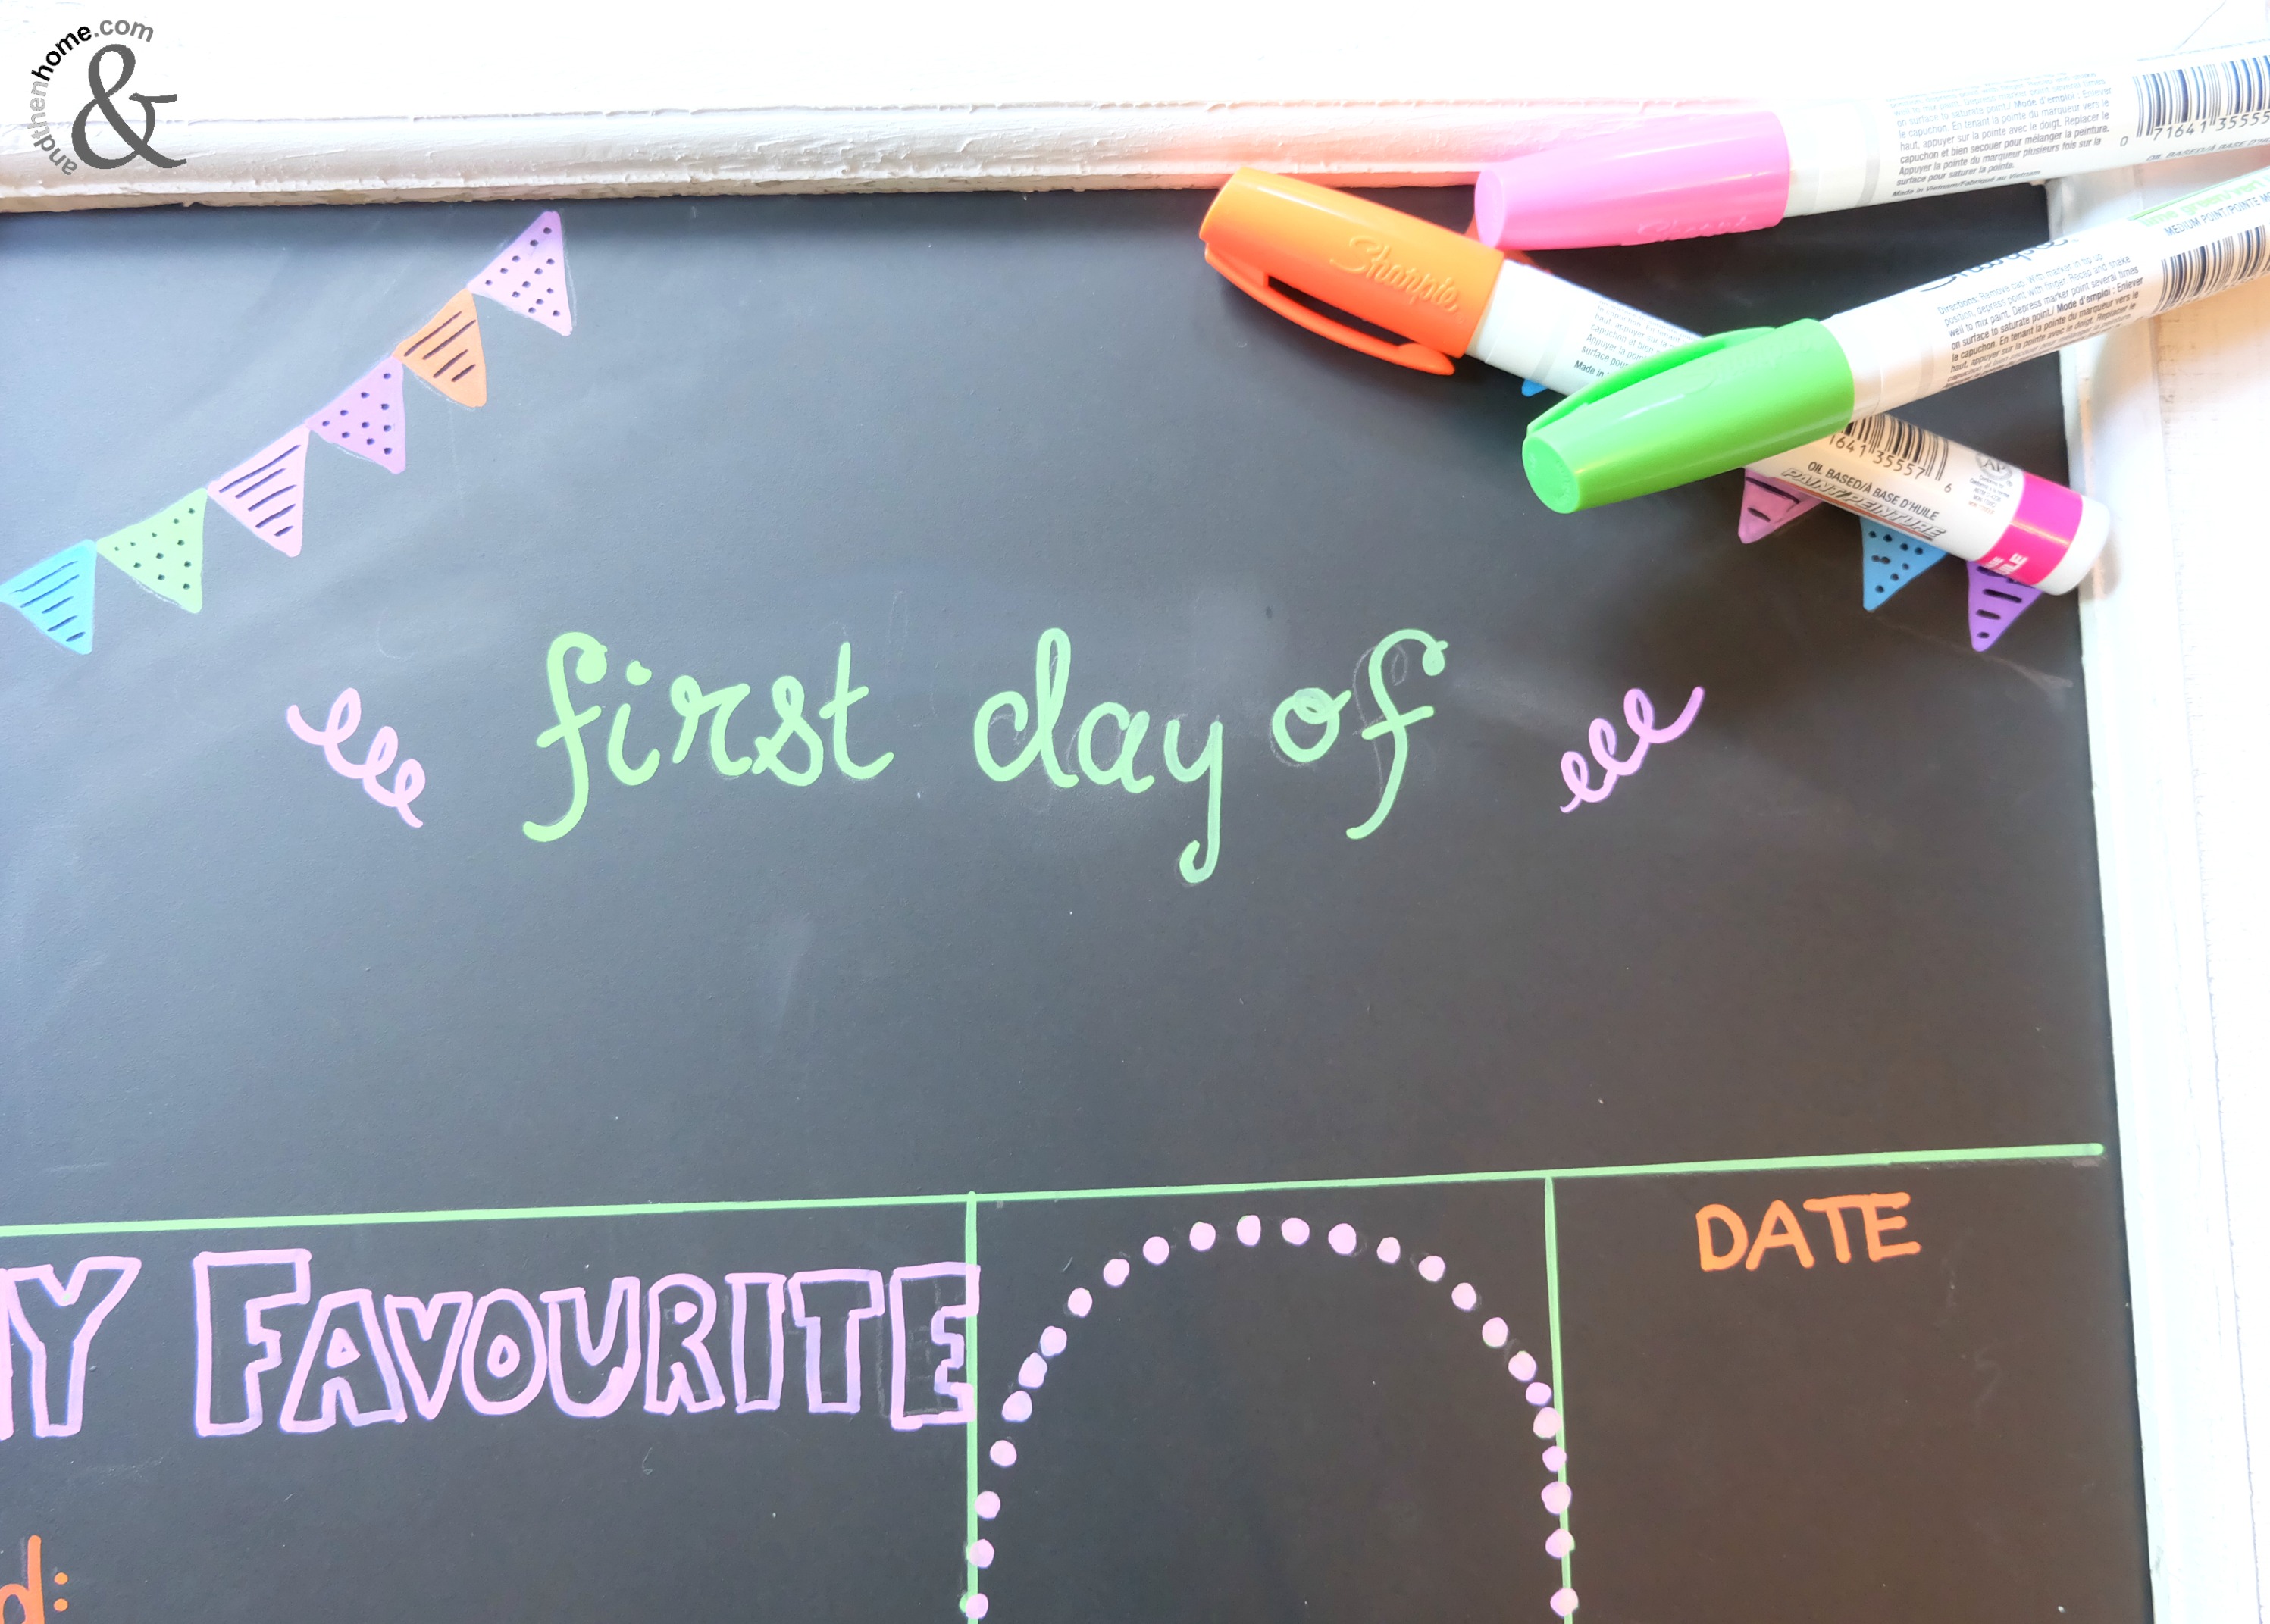
Step 2. Once you’re happy with your design and layout, you can start ‘painting’. Using the paint pens makes this project that much easier. Just follow the pencil lines and you’re set. Choose your colours as you see fit, have fun with it!
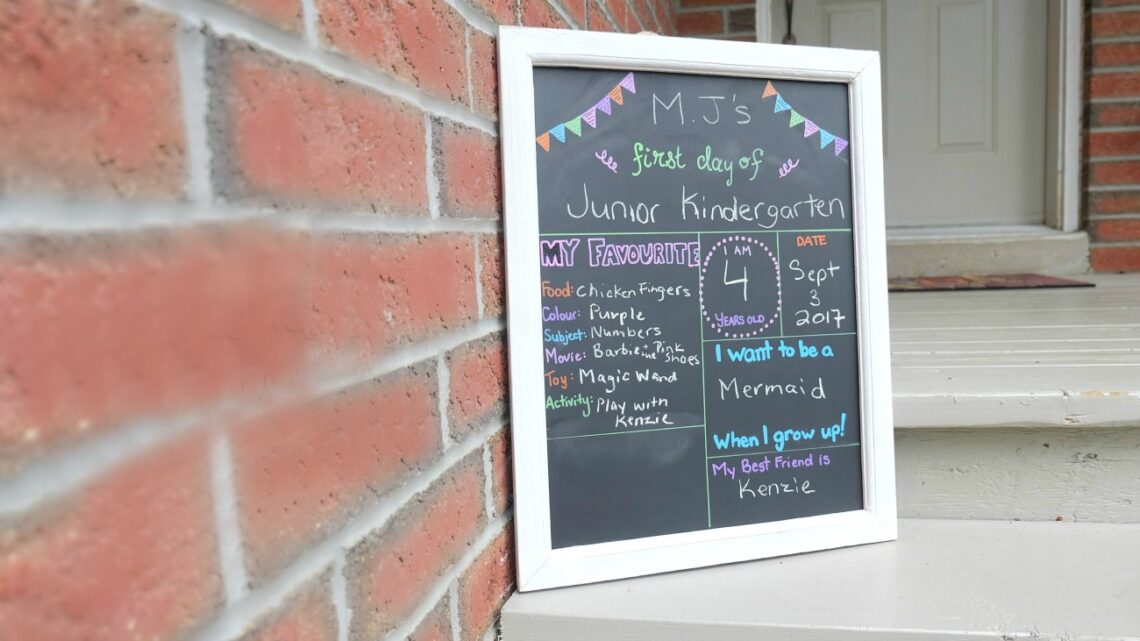
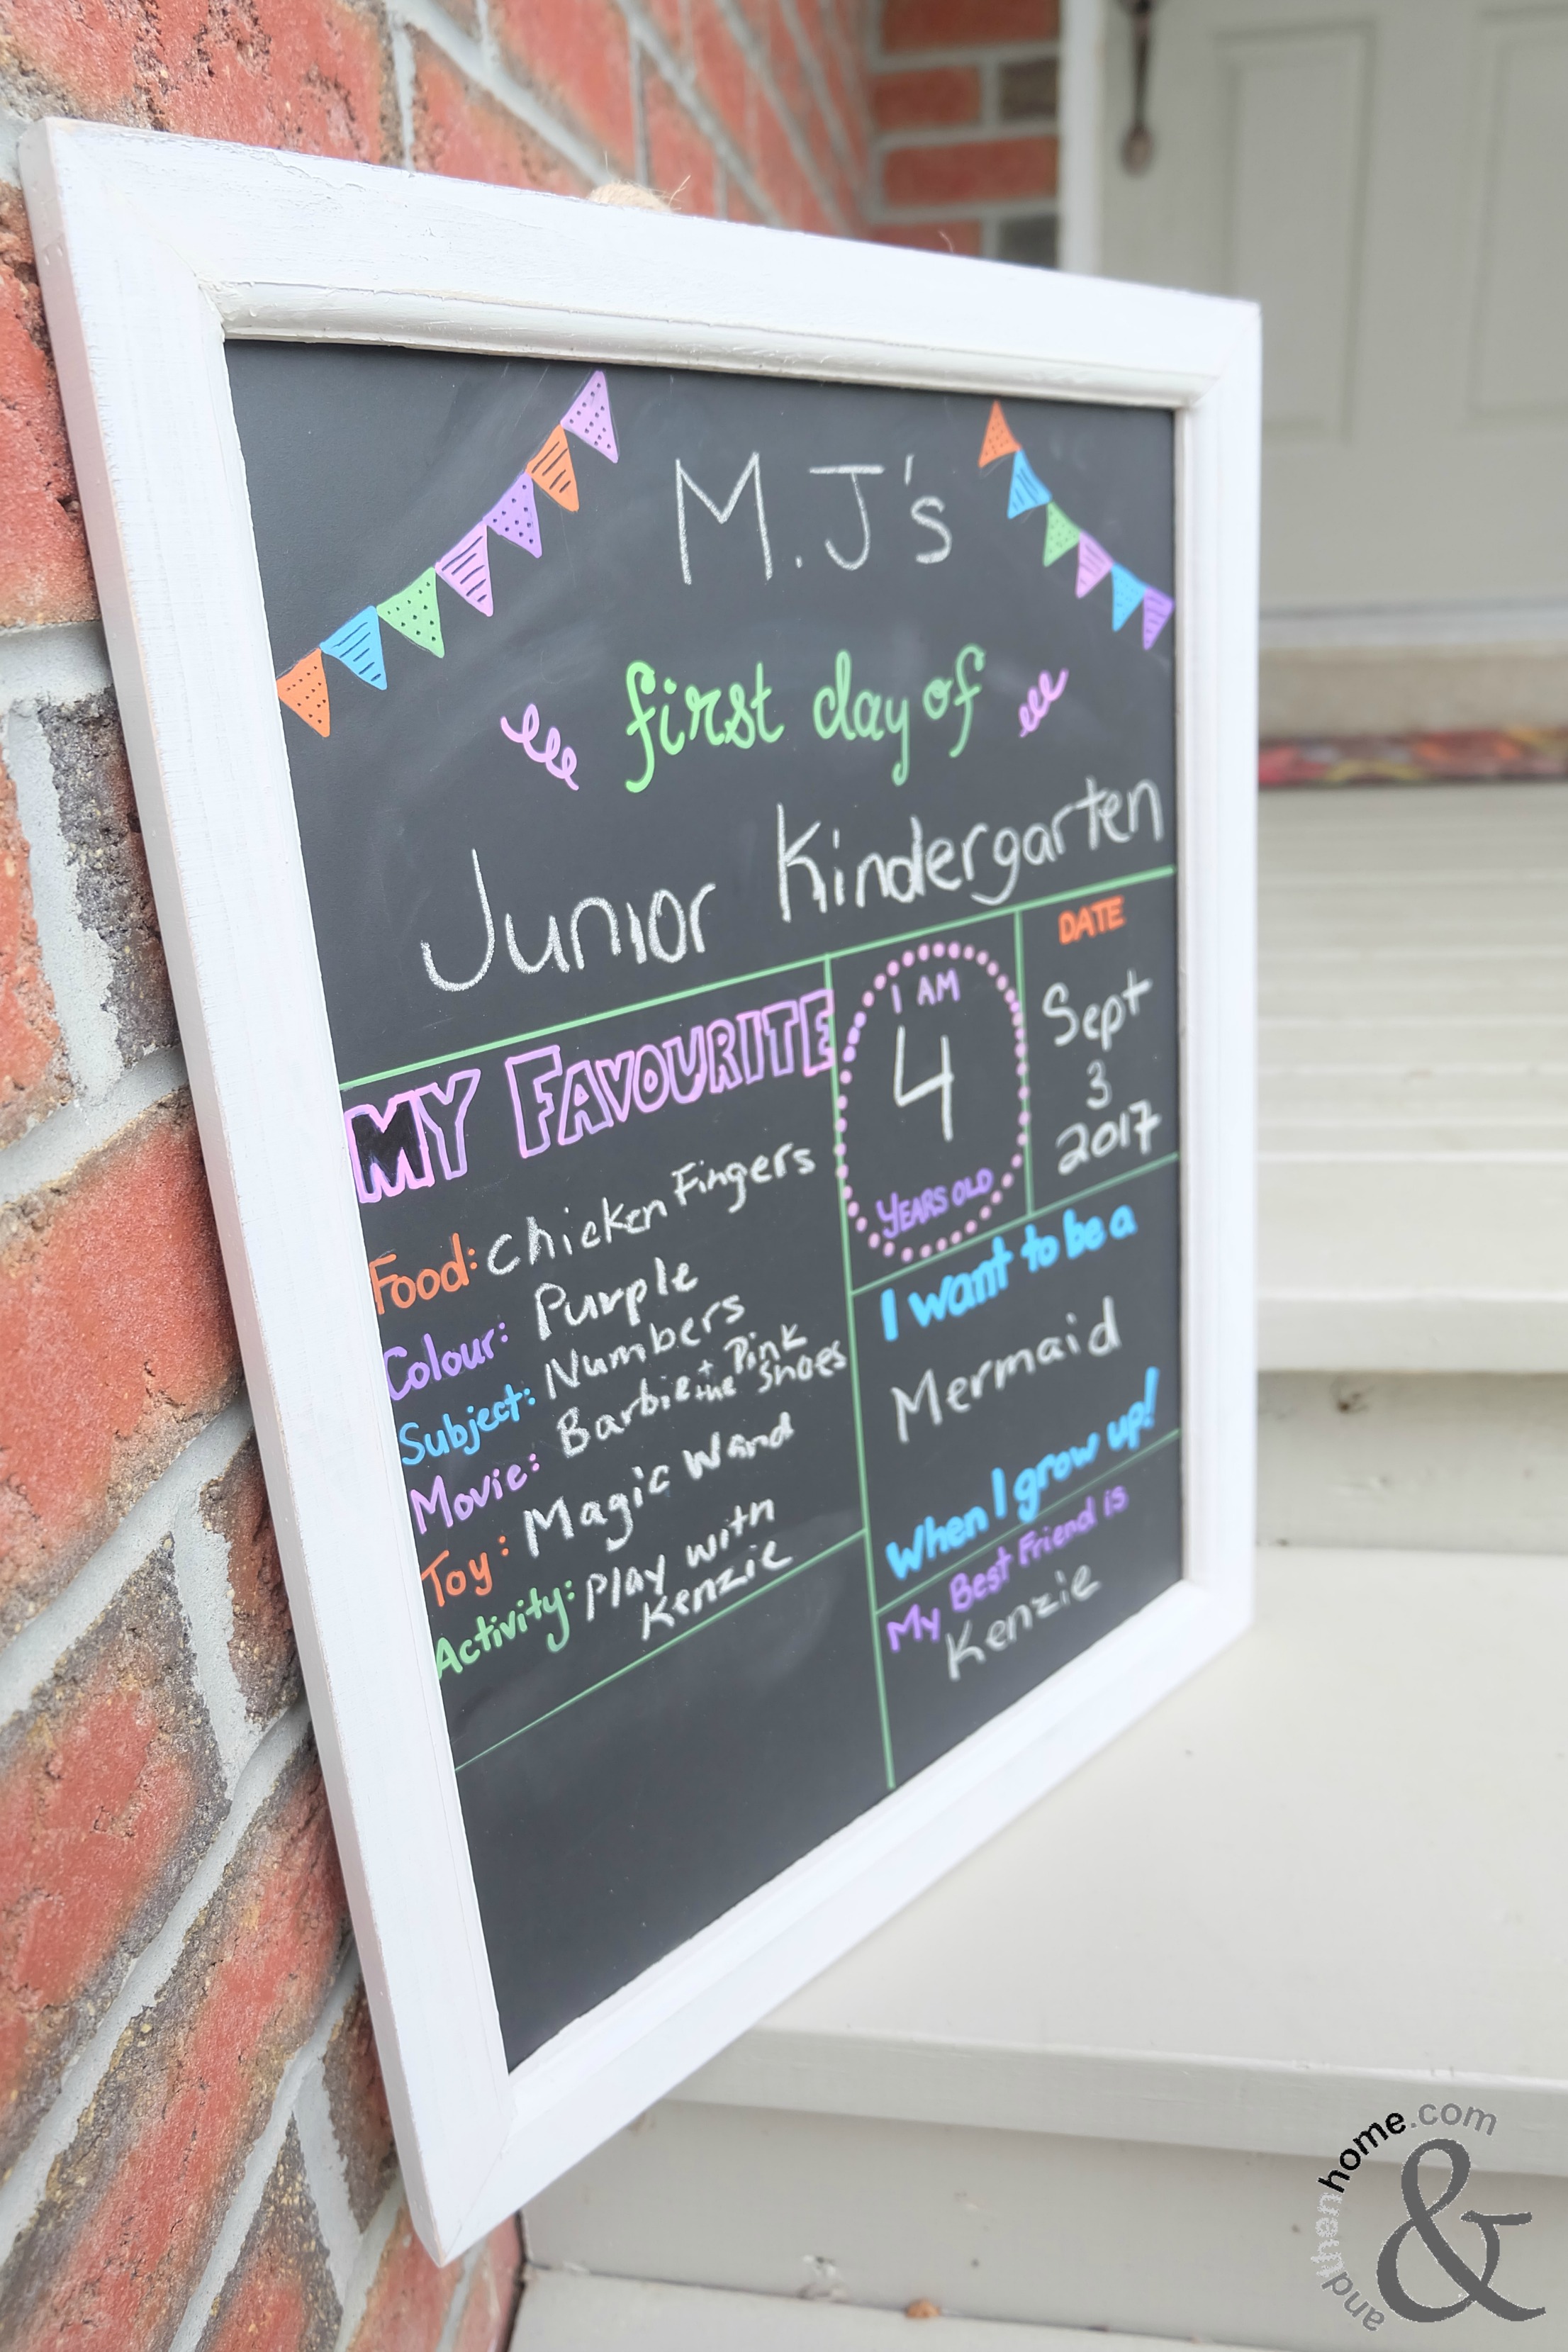
Step 3. Use the chalk to write your child’s memories, name, age and year. Take your back to school pictures with this awesome memory chalk board!
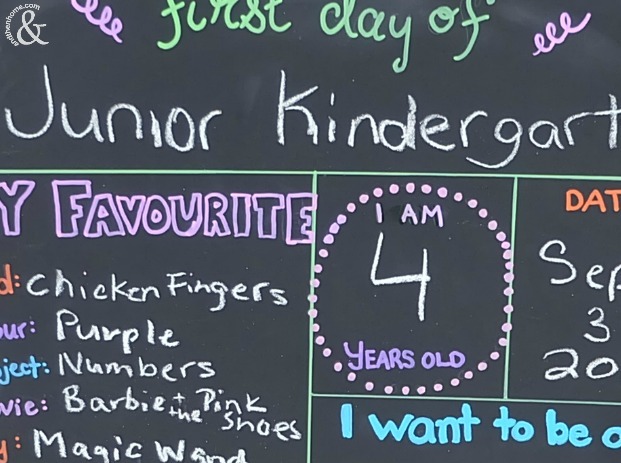
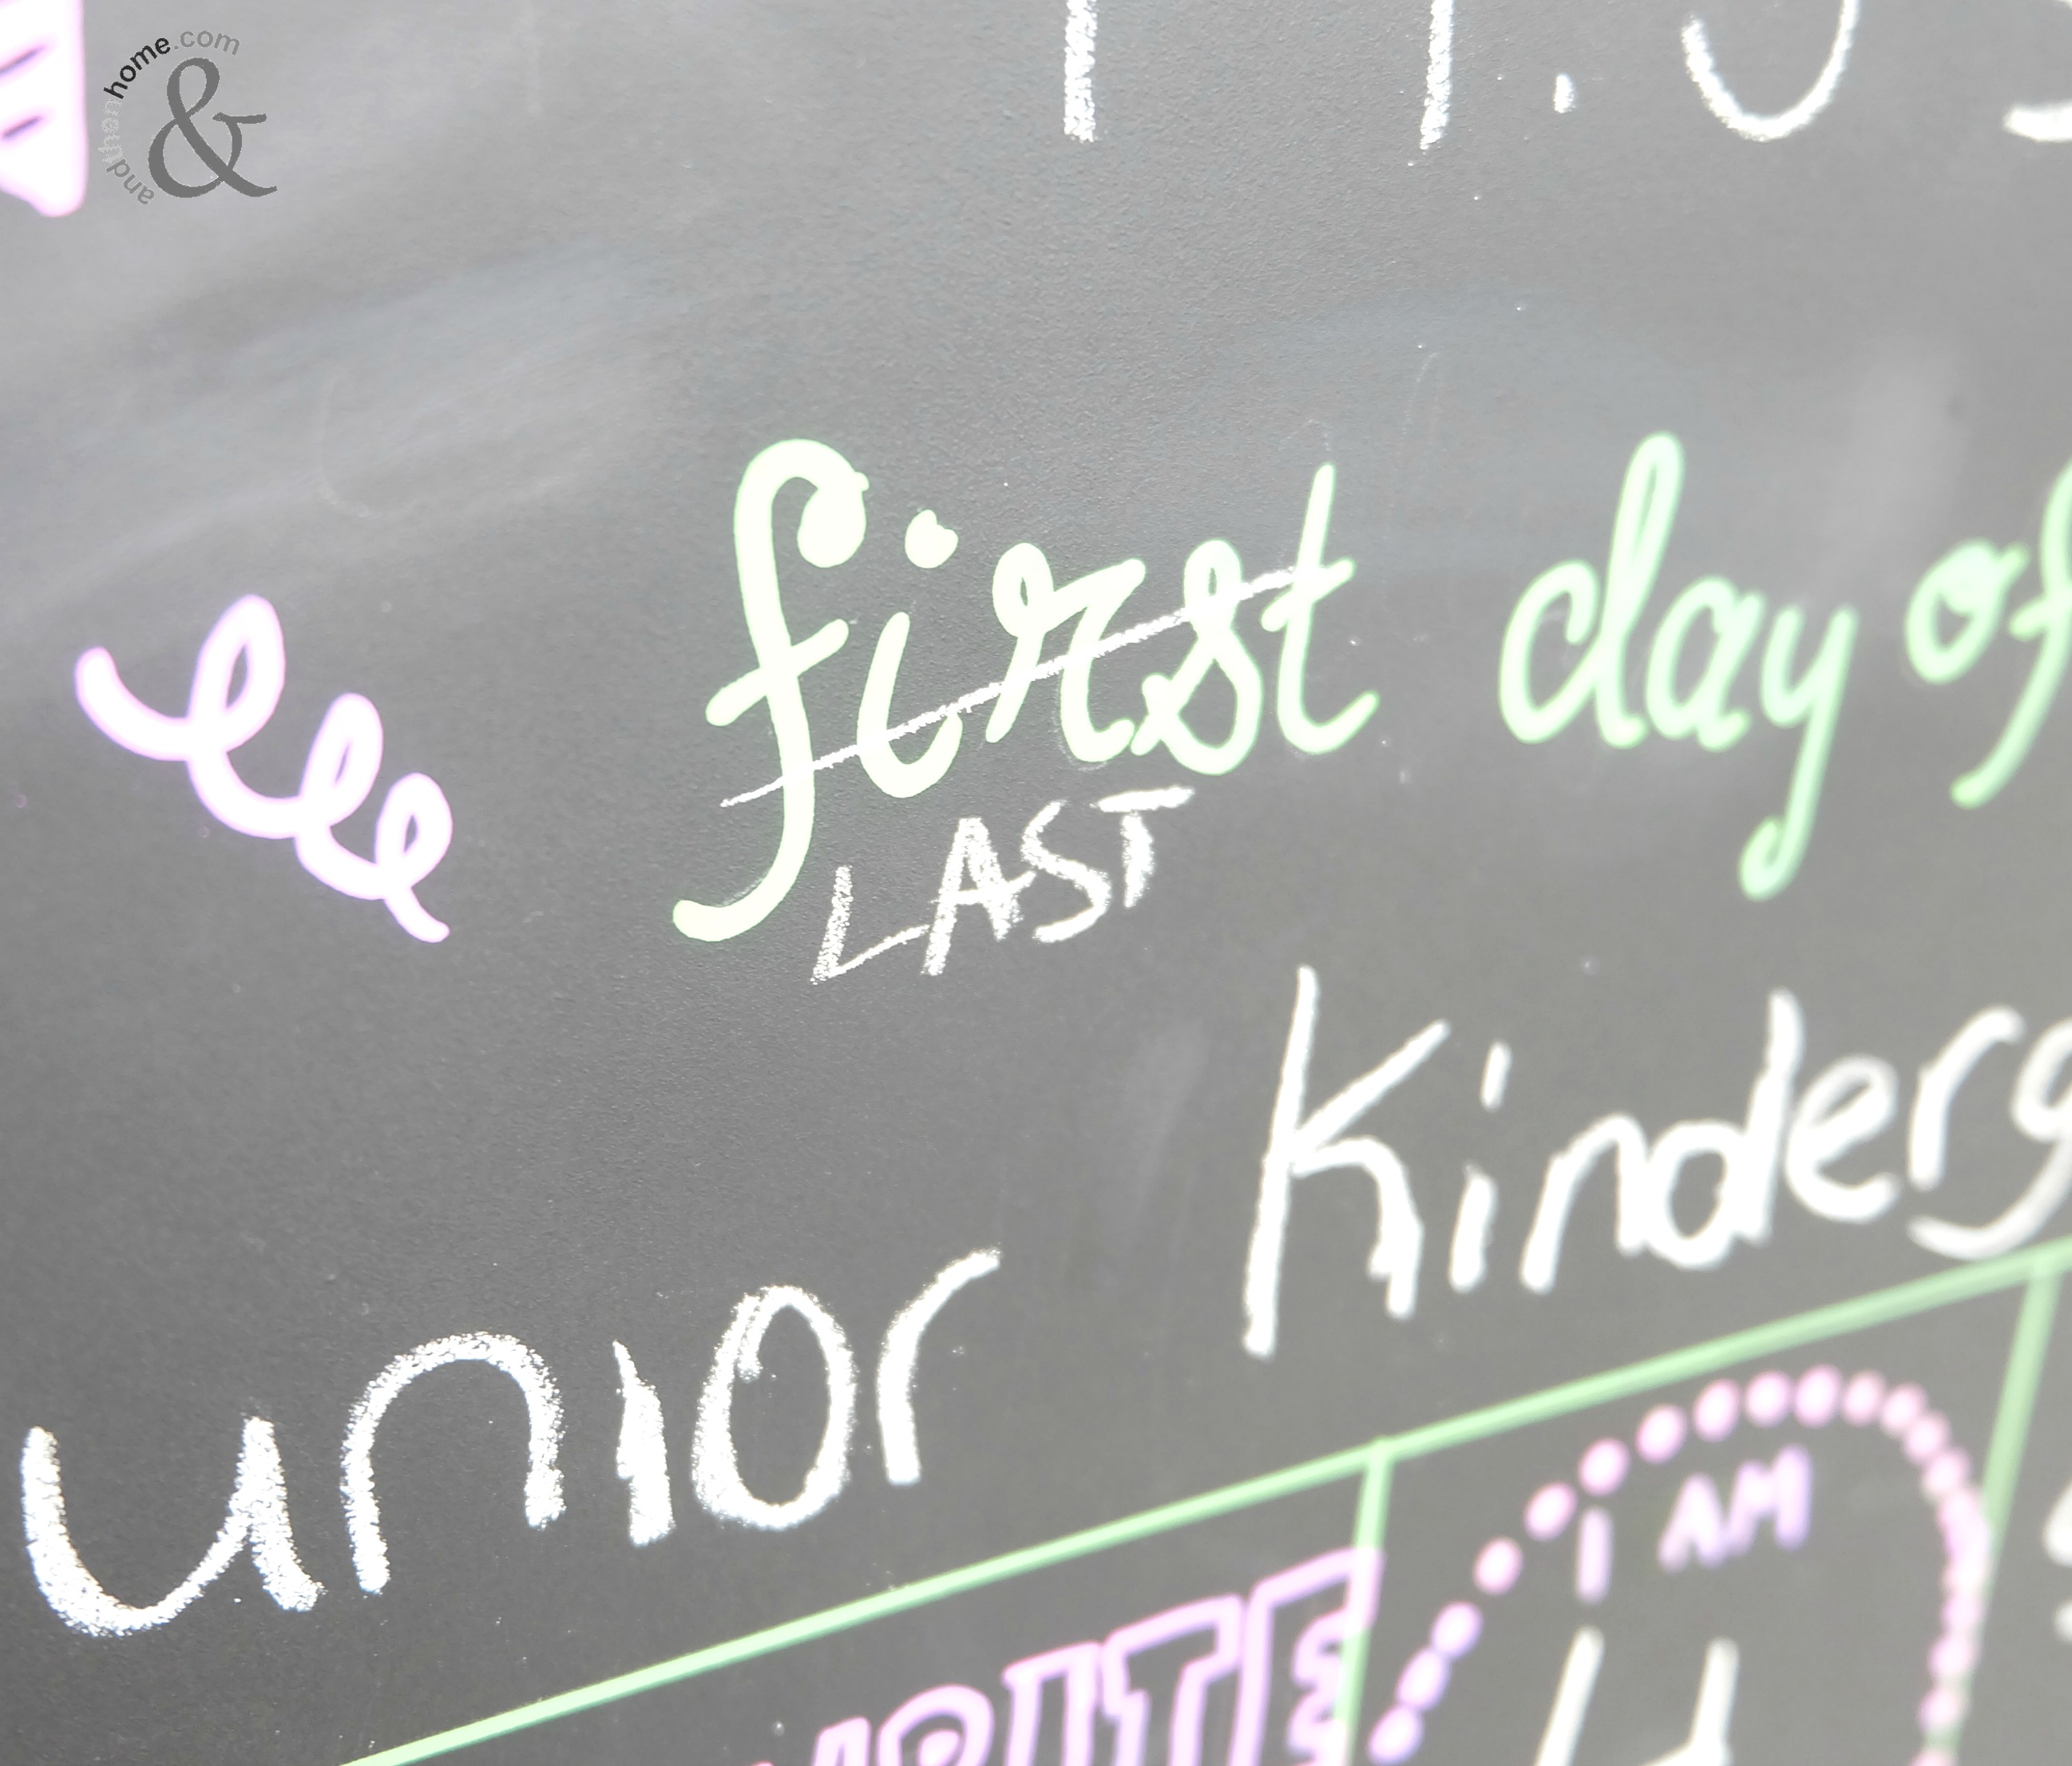
With 3 girls this board is going to get plenty of use!! Another way to use this board is to take some after school pictures. When they finish their school year, put a line through “First” and write in “Last” in chalk. Then write their answers down, take a picture and see how they’ve changed during the school year.
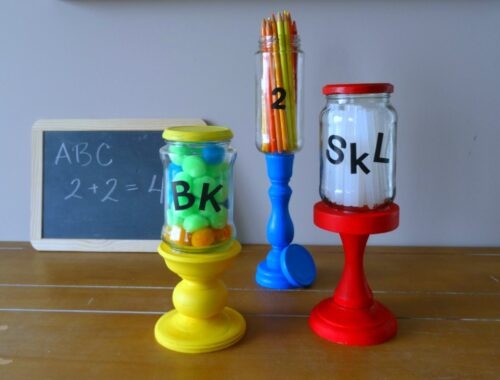
If you love this chalk board craft, check out our Chalkboard Clay Pots which are perfect for planting herbs or spring bulbs. The erasable chalkboard labels make reusing these pots simple! Or if you’re looking for a way to keep the kiddo’s entertained try making this easy DIY Stocking Butterfly Kids Craft.
Disclosure: Some of the links in this post are affiliate links. There may be a small commission made by our recommendations, and/or link to products mentioned or services on this website. Your purchase will help us continue to bring you amazing content, step-by-steps and product reviews.